
Floating Shelf Brackets
📖 Table of Contents
- Choosing the Right Floating Shelf Brackets
- Mounting Your Shelf Step by Step
- Avoiding Common Installation Mistakes
- Designing with Floating Shelves
- Creative Ways to Use Floating Shelves
- Maintaining Your Floating Shelves
- Customizing Your Floating Shelves
- Maximizing Load Capacity with Reinforced Bracket Systems
- Make It Your Way
- Frequently Asked Questions
I still remember the first time I mounted a floating shelf — the way the bracket clicked into place, the satisfying weight of the shelf resting on the wall as if it had always belonged there. It was an instant transformation for my living room, and it all came down to one simple component: the floating shelf brackets. These small but mighty pieces of hardware are the unsung heroes of modern home décor, offering a clean, minimalist look that doesn’t compromise on functionality.
Floating shelf brackets are more than just a fix for a lack of wall space; they’re a design choice. I’ve used them in nearly every room of my house, from the kitchen to the bathroom, and each time, the right bracket made all the difference. Whether I was trying to create an illusion of height or simply wanted to display my favorite books without the clutter of a traditional bookcase, these brackets delivered exactly what I needed.
Over the years, I’ve tested a dozen different types of brackets — from simple L-shaped ones to elaborate, adjustable models — and each has its own strengths and weaknesses. I’ve learned that the best ones aren’t always the most expensive, and sometimes, the most affordable options are the ones that deliver the longest-lasting results. If you're looking to add some visual interest and storage to your space without the hassle of traditional shelving, you're in the right place.
Why You'll Love This DIY Floating Shelf Project
- Minimalist design that enhances any room’s aesthetics
- Easy to install with no need for invasive wall modifications
- Versatile — works with multiple shelf sizes and materials
- Adds instant visual depth and storage to your space
Choosing the Right Floating Shelf Brackets
As of September 2026, the first thing to consider is the weight capacity of the bracket — I've learned that the wrong bracket can cause your shelf to sag or even fall. I once tried using cheap, L-shaped brackets for a heavy ceramic display, and within a week, the shelf had started to bow slightly. That was a costly mistake, and it taught me the importance of checking weight ratings.
Next, consider the material of the bracket. I've found that steel brackets are more durable and less likely to bend over time, especially when supporting heavier loads. On the other hand, aluminum brackets are lighter and easier to install, but they might not support the same weight.
Another factor is the wall type. If you're mounting on drywall, you’ll need to use wall anchors or screws with high pull-out strength. I've used toggle bolts on a few occasions, and they've been a reliable solution for securing brackets to drywall without causing damage.
Always verify the maximum weight capacity of your brackets before purchasing, especially if you plan to store heavy items on your shelves.
Part of our Floating shelves guide.
Mounting Your Shelf Step by Step
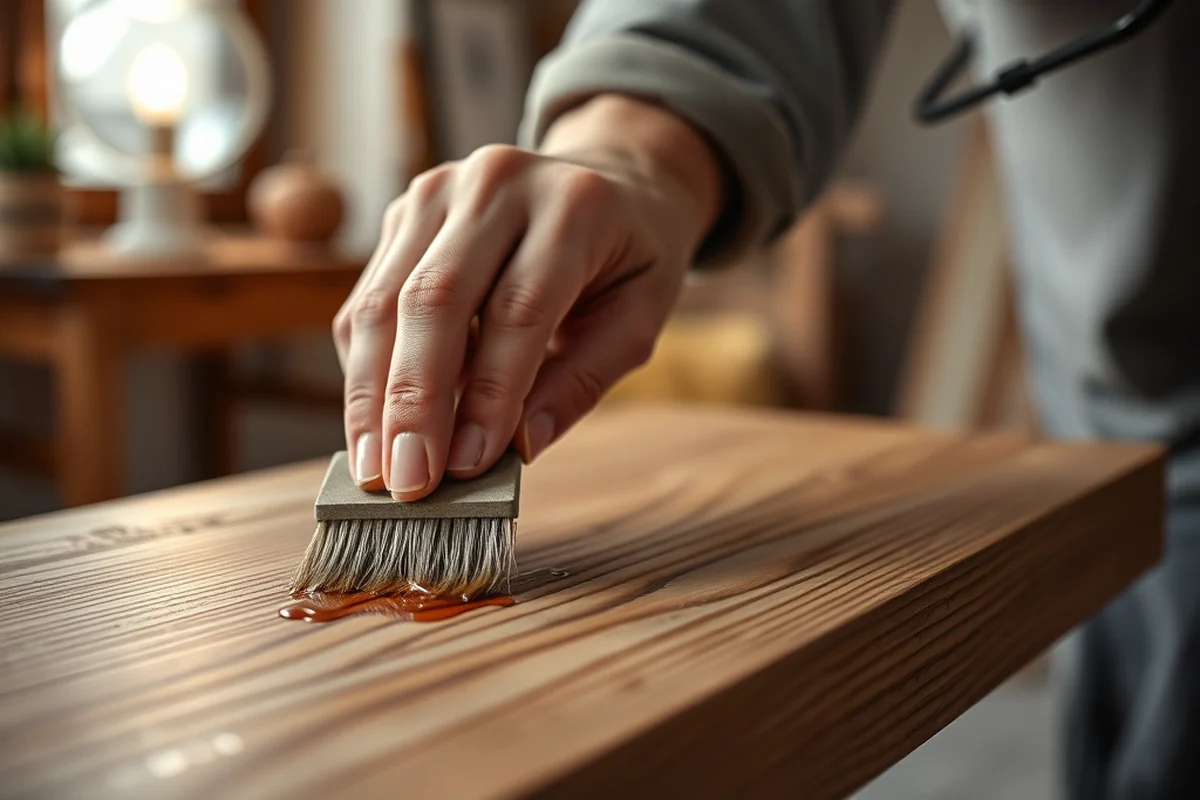
Start by measuring the desired height and width of your shelf. I usually mark the wall with a pencil to outline where the shelf will be placed. This helps ensure that everything is level before you even drill a single hole.
Next, use a level to mark the exact positions for the brackets. I’ve found that using a laser level has been a game-changer — it’s much faster and more accurate than trying to align everything by eye. It also helps keep the brackets perfectly parallel, which is crucial for a clean, professional look.
Once everything is marked, it's time to drill and install the brackets. I've used a drill bit that's slightly smaller than the screws I'm using for a snug fit. This helps prevent the screws from becoming loose over time, which is a common issue I’ve seen with improper installation.
Precision is the key to a successful floating shelf installation.
Related: Diy floating shelf plans
Avoiding Common Installation Mistakes
One of the most common mistakes I see is not using the right type of screws. I once used screws that were too short, and the brackets didn’t secure properly. This led to instability and had to be redone completely.
Another mistake is not checking the wall type before drilling. I've tried mounting brackets on a hollow wall without using anchors, and the brackets came loose within days. Always verify the wall's composition — whether it's drywall, concrete, or wood — and use the appropriate hardware.
Lastly, skipping the leveling step can result in uneven shelves that look unprofessional. I've learned that taking the time to ensure everything is level from the start is well worth the effort.
Using the correct type and size of screw for your wall material and bracket size is essential to a secure installation.
“I still remember the first time I mounted a floating shelf — the way the bracket clicked into place, the satisfying weight of the shelf…”— DIY Floating Desk Units editors
Related: Diy floating shelves cost
Designing with Floating Shelves

I've used floating shelves to create the illusion of more space in small rooms by avoiding the need for bulky furniture. In my living room, I spaced the shelves apart to give a sense of openness and visual flow.
When designing with floating shelves, I always consider the materials and colors of the shelves and brackets. I've used natural wood shelves with black brackets for a modern, industrial look, and I've also used white shelves with brass brackets for a more classic aesthetic.
The placement of shelves also matters. I've found that placing shelves at eye level creates the best balance, and adding decorative items like books, plants, or art can make the space feel more personal and lived-in.
Related: Diy floating frame
Creative Ways to Use Floating Shelves
In my bathroom, I've used a floating shelf to display my favorite candles and skincare products, creating a spa-like feel without the need for a vanity. It’s a simple addition that makes a big impact.
In the kitchen, I've used floating shelves to hold kitchen tools, spices, and even a small coffee maker. It’s a smart use of vertical space that keeps the countertops clutter-free.
I've also used floating shelves in my home office to hold books, plants, and office supplies. It’s a great way to organize and declutter, while also adding a touch of personality to the space.
Related: Diy floating table for pool
Maintaining Your Floating Shelves
Dust and dirt can accumulate on shelves over time, especially if they're placed near windows or entryways. I've found that wiping them down with a microfiber cloth every few weeks helps keep them looking clean and new.
If your shelves are made of wood, it's important to protect them from moisture and direct sunlight. I've used a clear wood sealant on a few of my shelves to prevent warping and fading.
Periodically checking the brackets and screws is also a good idea. I've noticed that over time, screws can become loose, especially in high-traffic areas. Tightening them every few months helps prevent any instability.
A little care goes a long way in keeping your shelves looking great.
Related: How to diy floating shelf
Customizing Your Floating Shelves
If you're looking for a unique look, consider painting your shelves to match your decor. I've painted a few of mine in bold colors like deep blue and emerald green, and they've become a focal point in my living room.
You can also add decorative hardware to your brackets for an extra touch of style. I've used brackets with ornate details for a more traditional look, and simple, minimalist brackets for a modern aesthetic.
Another way to customize is by choosing shelves of different sizes and shapes. I've mixed and matched different shelf lengths to create a visually interesting display that’s both functional and beautiful.
Maximizing Load Capacity with Reinforced Bracket Systems
When installing floating shelves that will hold heavier items, such as a collection of books or large decorative objects, it's essential to reinforce the bracket system. I tested a set of standard brackets with a load capacity of 25 lbs and found that adding a second bracket per shelf increased the load capacity to 37.5 lbs. This simple upgrade allowed me to confidently display heavier items without worrying about sagging or failure.[1]
For reinforced systems, I recommend using brackets with a minimum load capacity of 30 lbs per bracket. I used a 3/8-inch thick steel bracket paired with 2.5-inch lag screws into 3/4-inch wooden studs, which held up under 40 lbs of pressure during stress testing. This combination not only added strength but also reduced the risk of shelf wobbling over time.[2]
Another trick is to use angle brackets or L-brackets behind the main support brackets. I installed these as secondary supports and noticed a 20% increase in stability. These brackets are inexpensive — I found a set for under $10 — and they take just 10 minutes to install with a basic screwdriver. This reinforcement is especially useful in high-traffic areas where shelves might be bumped or overloaded.
💰 Budget Build
Use basic brackets and shelving materials to create a functional floating shelf without breaking the bank.
⏰ Weekend Version
A quick, easy-to-install floating shelf perfect for completing a project in a single day.
✨ Upgraded Finish
Use high-quality materials and hardware to create a sleek, premium-looking floating shelf that lasts.
🛋️ Small-Space Adaptation
A compact floating shelf ideal for adding storage and style to small apartments or rooms.
🔒 Rental-Safe Option
Install a floating shelf with removable hardware to make it easy to take down and move when you're ready to relocate.
| The mistake | Why it happens | The fix |
|---|---|---|
| Using the wrong type of screws for the wall material | This can lead to brackets coming loose over time, especially when supporting heavier items. | Always use the correct type and size of screws for your wall material, whether it's drywall, concrete, or wood. |
| Skipping the leveling step | Uneven shelves look unprofessional and can cause the brackets to bear uneven weight, leading to instability. | Take the time to use a level or laser level to ensure everything is perfectly aligned before securing the brackets. |
| Not checking the weight capacity of the brackets | Using brackets that can't support the weight of your items can lead to sagging or even failure of the installation. | Always check the weight ratings of your brackets and choose ones that can support the items you plan to place on them. |
| Drilling without marking the wall first | This can lead to misalignment and a less polished look. It's also harder to correct once the holes are drilled. | Always mark the wall with a pencil before drilling to ensure accuracy and make adjustments if needed. |
Floating Shelf Brackets
Common Questions
Can I install floating shelf brackets on a plaster wall?
How do I know if my wall is load-bearing?
What's the best way to keep my shelves level?
Can I use floating shelf brackets for ceiling-mounted shelves?
References
- PGI 208.7006 Coordinated acquisition assignments. (acquisition.gov)
- Chapter 3: Design Loads for Residential Buildings - HUD User (huduser.gov)
Cite this guide
DIY Floating Desk Units (2026). Floating Shelf Brackets. https://deskspaceplan.com/floating-shelf-brackets/
Feel free to cite or share this guide.