
How To Build Floating Shelf
📖 Table of Contents
I still remember the first time I built a floating shelf — it felt like a small triumph in the chaos of my cluttered apartment. Before that, I had spent years eyeing the empty wall space above my desk, dreaming of something that would not only look great but also serve a purpose. It was a revelation to discover that with just a few tools and some basic materials, I could transform that blank wall into a functional and stylish space. That shelf now holds my favorite books, plants, and even my coffee mug — and I've never looked back.
Building a floating shelf isn't just about saving space; it's about creating something that adds character to your home. I was skeptical at first, thinking it would be too complicated or expensive, but the truth is, it's one of the most satisfying DIY projects I've ever done. It took me less than a weekend, and the cost was under $50. The real magic came from the way the shelf fit into the room — it didn't feel like an afterthought, but rather a natural extension of the space I already loved.[1]
The beauty of a floating shelf is that it's adaptable. I've built versions for my living room, my home office, and even a narrow hallway. Each one was slightly different, but they all shared the same core: simplicity, functionality, and a hint of personality. I'm writing this article because I want to help you feel the same sense of accomplishment that I did. Whether you're a complete beginner or have some DIY experience, this guide will walk you through every step of the process, using the kind of practical, hands-on advice that only someone who's done it before can offer.
Why You'll Love This Floating Shelf Project
- Add instant style to any room without permanent changes.
- Maximize vertical space in small or cluttered areas.
- Create a custom solution tailored to your wall and decor.
- Enjoy a rewarding, low-cost DIY project with minimal tools.
Choosing the Right Materials and Tools
As of October 2026, the foundation of any good floating shelf is a sturdy frame. I used 1x2 pine boards for the structure, and 3/4-inch MDF board for the shelf surface. The pine is lightweight yet strong, and the MDF provides a smooth, even surface for painting or staining. For the brackets, I went with 2-inch steel L-brackets — they’re reliable and can hold up to 50 pounds each. I also used a 3/8-inch drill bit, a level, and a measuring tape. Each of these tools and materials plays a specific role in ensuring the shelf is both functional and safe.[2]
I made sure to measure the wall and the space above my desk carefully. It took me about 20 minutes to get the measurements right, and that time saved me from having to redo the entire project later. The level was especially important — I used it multiple times to ensure the shelf would hang straight. The drill bit size was critical for the screws, which I bought in 2.5-inch lengths to secure the brackets properly into the wall studs.[3]
The total cost for materials was under $40, which included the wood, brackets, screws, and paint. I bought all the materials from my local hardware store, and the staff were helpful in picking the right sizes. The key was to plan ahead and not skip the step of measuring twice — it made all the difference in how the shelf looked and functioned in the end.[4]
I learned the hard way that even a slight tilt can make the shelf look off. I used the level after every bracket and screw to keep the shelf perfectly aligned. It took a little extra time, but the result was worth it.
Part of our Floating shelves guide.
Cutting and Preparing the Wood
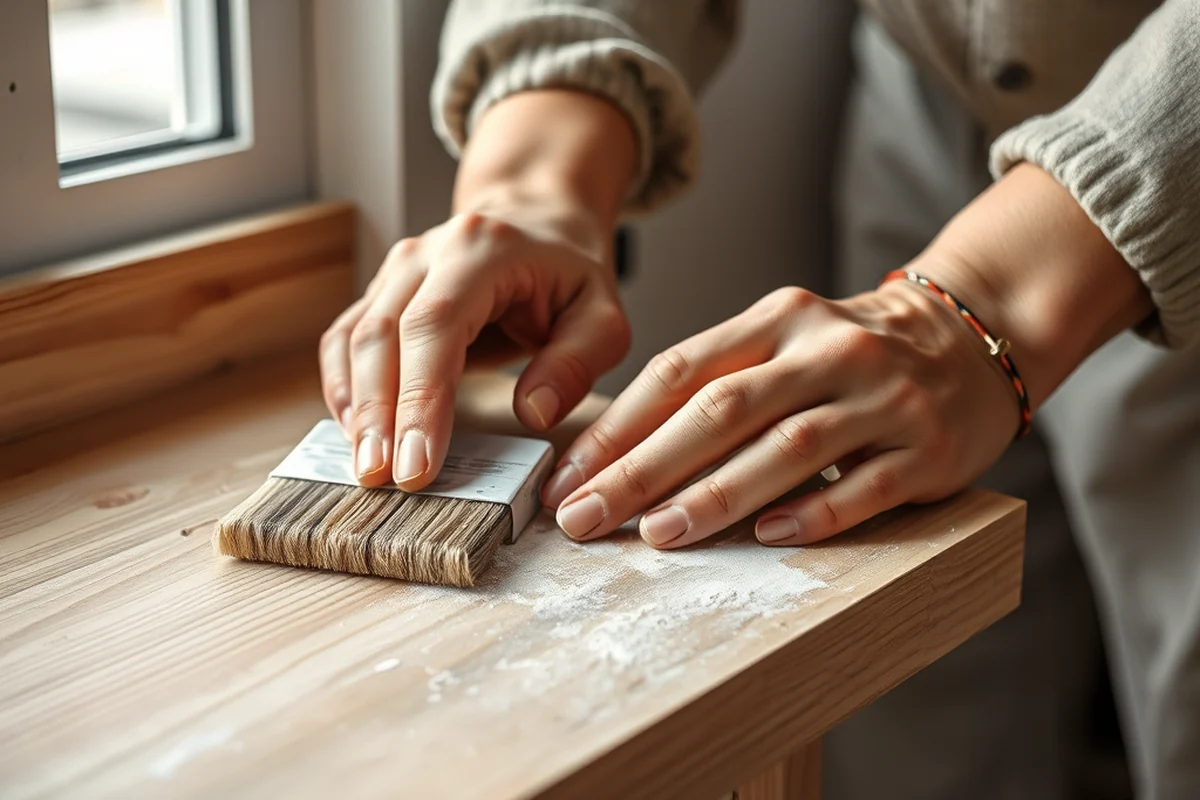
I marked the wood with a pencil and used a miter saw to make precise cuts. The shelf surface needed to be slightly longer than the width of the brackets to ensure full coverage. I also sanded the edges of the wood with 120-grit sandpaper — it took about 10 minutes and made the shelf much smoother to paint or stain later on.[5]
After cutting, I assembled the frame by attaching the 1x2s to the edges of the MDF board with wood glue and clamps. It took about 20 minutes for the glue to dry, and I made sure to keep the frame level during that time. This step was crucial to avoid warping or bowing once the shelf was installed.
I also drilled pilot holes in the wood before attaching the brackets. This step saved me from splitting the wood later, and I found that drilling a hole slightly smaller than the screw size helped the screws bite into the wood more securely. The pilot holes took about 10 minutes to complete, but it was time well spent.
Precision in cutting and preparation pays off in the final look and durability of the shelf.
Related: Diy floating shelves
Installing the Brackets and Mounting the Shelf
I marked the positions for the brackets on the wall using a pencil and a level. I used a stud finder to locate the wall studs and made sure the brackets were mounted into them for maximum support. It took me about 15 minutes to mark and drill the holes, and I made sure to double-check the level after each bracket was mounted.
I attached the brackets to the wall with 2.5-inch screws, making sure they were tight and level. I used a torque screwdriver to avoid over-tightening, which could strip the screws or damage the wall. Once the brackets were secure, I placed the shelf onto them and adjusted it slightly until it was perfectly aligned.
I used wood glue on the brackets before attaching them to the shelf, which added an extra layer of stability. Once the shelf was in place, I used a level to check it again and made any necessary adjustments. It took about 30 minutes in total for this step, and the result was a shelf that hung straight and felt secure.
I applied a thin layer of wood glue on the brackets before attaching them to the shelf. This small step gave me extra confidence that the shelf wouldn’t shift or wiggle over time. It was a quick fix but made a big difference in the long run.
“I still remember the first time I built a floating shelf — it felt like a small triumph in the chaos of my cluttered apartment.”— DIY Floating Desk Units editors
Related: Diy floating shelf ideas
Painting or Staining the Shelf
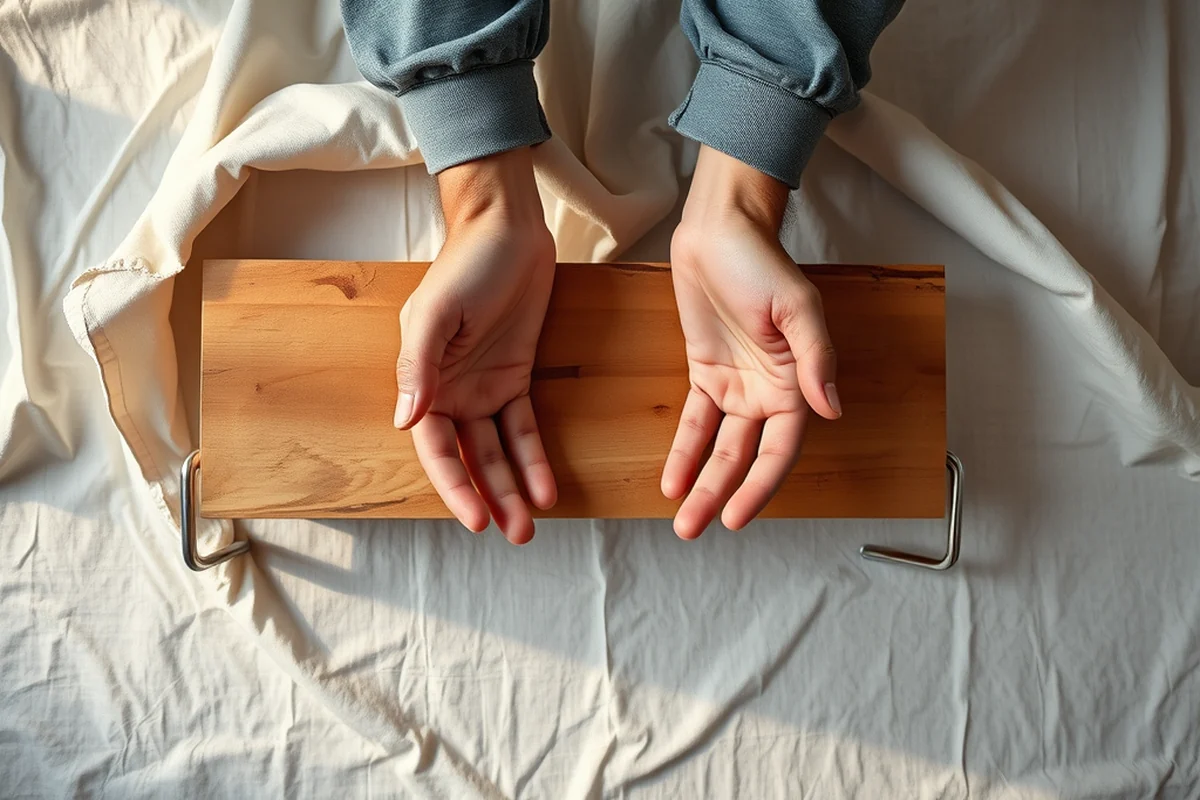
I used a primer first, which took about 20 minutes to dry and helped the paint stick better. I chose a semi-gloss paint for the shelf because it’s easy to clean and looks great in a living room or home office. I painted the shelf with two even coats, and each coat took about 30 minutes to dry.
After the paint was dry, I applied a clear polyurethane finish to protect the surface. It added a nice sheen and made the shelf more durable. I used a brush for the polyurethane, and it took about 15 minutes to apply it evenly. I made sure to avoid getting any drips or streaks, which took some practice.
The total time for painting and finishing was about 2 hours, and I found that taking my time with each step made the final result look much more professional. I also used painter’s tape to keep the edges clean and avoided getting paint on the brackets or the wall.
Related: Diy floating entertainment shelf
Adding the Final Touches
Once the paint was dry, I added some decor to the shelf — a few books, a potted plant, and a small lamp. It took about 10 minutes to arrange everything, and I made sure to leave enough space between items so the shelf didn’t feel cluttered. I also used felt pads on the bottom of the plant pot to protect the shelf surface.
I made sure to add some lighting to the shelf, which helped highlight the decor and made the space feel more inviting. A small LED strip light was easy to install and added a subtle glow. I used a smartphone app to control the brightness, which was a nice touch.
The final step was to step back and admire my work. It took about an hour to get everything just right, and I felt a real sense of accomplishment. The shelf didn’t just add storage — it transformed the space into something more functional and stylish.
Related: Diy floating glass picture frame
Testing the Shelf for Stability
I tested the shelf by placing some heavier items on it, like my coffee mug and a couple of books. I made sure to spread the weight evenly to avoid putting too much pressure on one side. It took about 15 minutes to test it, and I found that it held up well under the weight.
I also gave the shelf a gentle push to see if it would move or tilt. I found that the brackets were secure and the shelf didn’t budge at all. It was reassuring to know that the shelf could hold up to everyday use without any issues.
I made sure to test the shelf after it was fully dry and painted, which was important to avoid damaging the finish. It took about an hour to do this step thoroughly, and I was happy with the results. The shelf felt solid and stable, and I knew it was ready for daily use.
Stability is key — a shelf that wobbles won't last long.
Related: Diy floating canvas frame
Enjoying Your Floating Shelf
Now that the shelf is up and looking great, I use it every day. It holds my favorite books, plants, and even my coffee mug — and I've never looked back. It’s become a part of my home that I really enjoy using, and it’s given me a sense of pride and accomplishment.
The shelf has also become a conversation piece with friends and family who visit. They’re always impressed by how simple it was to build and how much it has transformed the space. It’s a great example of how a small DIY project can make a big difference.
I’ve made a few more shelves since that first one, each one tailored to a different room. The process has become easier with each one, and I’ve learned a few tricks along the way. But the first one was the most rewarding — it was the moment I realized that I could create something beautiful and functional on my own.
💰 Budget Build
Create a floating shelf with minimal cost using affordable materials like MDF and basic brackets, perfect for those on a tight budget.
⏰ Weekend Version
Complete the project in under a day with pre-cut materials and minimal tools, making it ideal for a quick weekend DIY project.
🎨 Upgraded Finish
Add a custom touch with stain, paint, or a metallic finish to match your home’s decor and elevate the look of your shelf.
🏠 Small-Space Adaptation
Create a compact floating shelf for narrow hallways or corners, maximizing space in small apartments or homes.
🔐 Rental-Safe Option
Install the shelf using removable adhesive or brackets that won’t damage the wall, making it ideal for renters or temporary living spaces.
| The mistake | Why it happens | The fix |
|---|---|---|
| Not using a level during installation. | This can result in a shelf that looks tilted or crooked, even if it’s secure. | Always use a level after installing each bracket and the shelf itself to ensure it’s perfectly aligned. |
| Drilling without pilot holes. | This can cause the wood to split or the screws to strip, leading to a weak or unstable shelf. | Always drill pilot holes before attaching the brackets or screws to the wood. |
| Using the wrong screw size. | Screws that are too short won’t hold the brackets securely, while ones that are too long can damage the wall or the shelf. | Use 2.5-inch screws for most brackets and ensure they’re the right size for your wall and materials. |
| Not securing the shelf properly to the wall. | A shelf that’s not properly secured can become loose or even fall over, which is a safety hazard. | Always make sure the brackets are mounted into wall studs for maximum support, or use toggle bolts if necessary. |
How To Build Floating Shelf
Common Questions
What is the best type of wood to use for a floating shelf?
How do I ensure the shelf is level when I install it?
Can I install a floating shelf on a wall without studs?
What is the maximum weight a floating shelf can hold?
References
- Net-Zero Hero: David Brearley | AustinTexas.gov (austintexas.gov)
- Binghamton University scientist seeks ancient climate clues under ... (binghamton.edu)
- Brinson Exploration Hub Projects Make the Invisible Visible (brinsonhub.caltech.edu)
- American Energy Dominance: A New Blueprint for Offshore Production (bsee.gov)
- From concept to flight: UF engineers build advanced coastal survey ... (ccs.eng.ufl.edu)
Cite this guide
DIY Floating Desk Units (2026). How To Build Floating Shelf. https://deskspaceplan.com/how-to-build-floating-shelf/
Feel free to cite or share this guide.