
Diy Shelving Units
📖 Table of Contents
- Materials You'll Need for Your Shelving Unit
- How to Measure and Mark Your Shelving Unit
- Cutting and Assembling the Shelving Unit
- Choosing the Right Type of Wood for Your Shelving Unit
- Adding Decor and Personalization to Your Shelving Unit
- Tips for Building a Sturdy and Stable Shelving Unit
- Finishing Touches and Maintenance for Your Shelving Unit
- Make It Your Way
- Frequently Asked Questions
I remember the first time I built a DIY shelving unit — it was in my tiny apartment. I needed a way to store books, plants, and a few decorative items without buying a second furniture piece. I was skeptical, but after a few hours of drilling and screwing, I had a custom unit that looked just like the ones in home stores. The best part? It cost less than $50 and took up zero space in the garage. DIY shelving units aren’t just practical; they’re a way to personalize your space without breaking the bank or your back.[1]
Over the years, I've built dozens of shelving units for my home, my clients’ homes, and even a few for friends who wanted something just right for their space. Each project taught me something new — whether it was the importance of level surfaces, the magic of adjustable brackets, or how a few well-chosen tools can make all the difference. If you’ve ever thought about building your own shelving unit, you’re not alone, and you’re also not out of luck. This article is for you, whether you’re a beginner or someone who just wants a fresh take on an old project.
DIY shelving units are more than just storage solutions. They’re an expression of your personality, a way to add visual interest to any room, and sometimes even a conversation piece. I’ve seen them used in living rooms, kitchens, and even bathrooms — each one uniquely tailored to the space and the person who built it. If you’re ready to dive in, I’ll guide you through the process with real, actionable steps and tips that have worked for me and countless others who have built their own shelves.
Why You'll Love This DIY Shelving Units Project
- Personalize your space with custom designs that match your style and needs
- Save money compared to buying pre-made units from stores
- Improve organization and aesthetics in any room of your home
- Gain a sense of accomplishment with a project you built yourself
Materials You'll Need for Your Shelving Unit
As of October 2026, the key materials for a shelving unit are wood planks, brackets, screws, and a few basic tools. I typically use 1x12 pine boards, which are affordable and easy to work with. For the brackets, I prefer adjustable ones — they let you customize the spacing between shelves without drilling holes into the wall. Screws should be long enough to secure the shelves to the wall but not so long that they poke through the other side.
I always recommend buying extra screws — it’s easy to underestimate how many you’ll need, especially if you’re building multiple shelves or making adjustments. I’ve found that using a level throughout the process is a game-changer, especially if you're working with multiple boards and want everything to look even. You can also use wood glue for added strength, but it's not necessary for most basic shelving units.[2]
If you're building a free-standing unit, you'll need additional pieces like legs or a base. I've used 2x4s for the base, which are sturdy and easy to attach. I also recommend using a pencil and measuring tape to mark all your pieces before cutting — it saves time and reduces mistakes. I’ve built several units this way, and it’s always been a smooth process.[3]
Using adjustable brackets allows you to customize the spacing between shelves without drilling into the wall, which is ideal for renters or those who want flexibility.
How to Measure and Mark Your Shelving Unit
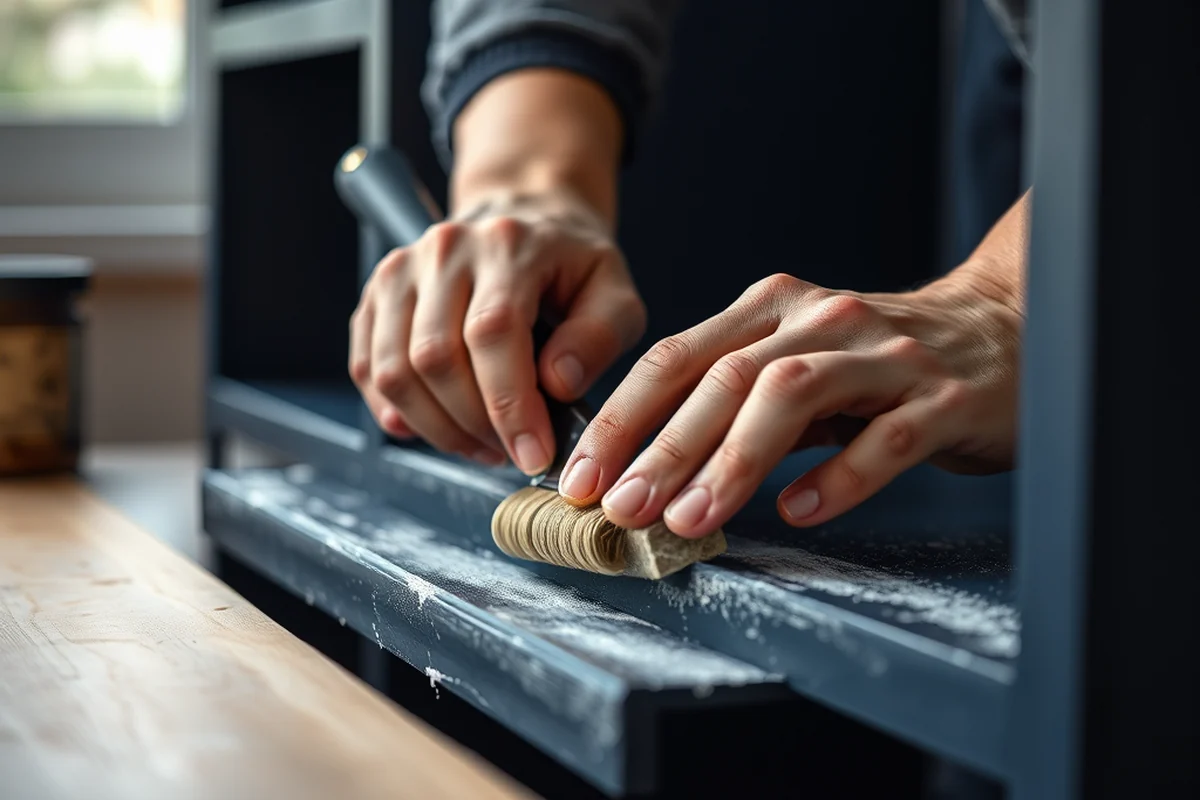
Measuring and marking your shelving unit is the first step in ensuring it looks good and functions well once it's built. I start by deciding where I want the unit to go — whether it's against a wall or in the middle of a room — and then take precise measurements. I always use a measuring tape and a pencil to mark the dimensions on the wood planks before cutting. This step alone has saved me from a few mistakes in the past.
I also take into account the height of the room and the width of the space. For example, if I'm building a unit that goes along a wall, I'll measure from the floor to the ceiling and then subtract a few inches for clearance. I’ve learned that over time, it's better to have a few inches of extra space than to end up with a unit that’s too tall or too narrow.
Once the measurements are taken, I use a level to ensure that all the pieces are straight and even. This is especially important for free-standing units, where any tilt can make the unit unstable. I’ve seen many people skip this step, and the results can be disappointing. Taking the time to measure and mark correctly is worth the effort in the long run.
Measure twice, cut once — it's the best advice I can give when building a shelving unit.
Related: The supply room
Cutting and Assembling the Shelving Unit
Cutting and assembling the shelving unit is where the real work begins. I use a miter saw or a hand saw to make the cuts, depending on the number of pieces I need. I always make sure to wear safety goggles and gloves to protect myself from splinters and dust. Once the pieces are cut, I lay them out on the floor to see how they fit together before attaching them with screws.
I attach the shelves to the vertical supports using screws and a drill. I start by securing the bottom shelf and then work my way up, making sure each shelf is level and aligned with the others. I've found that using a level at each step ensures that the unit is even and stable. If I’m building a free-standing unit, I attach the base first and then add the shelves on top, which gives me more control over the structure.
I also make sure that the brackets are evenly spaced and secured properly. I've seen people skip this step and end up with wobbly shelves that aren’t safe. Taking the time to screw everything in tightly and check the alignment is worth it in the long run. I always test the unit by standing on it or placing heavy items on it to make sure it's sturdy.
Using a level at every step of the process ensures that your shelving unit is even and stable, especially if it's freestanding.
“I remember the first time I built a DIY shelving unit — it was in my tiny apartment, and I needed a way to store…”— DIY Floating Desk Units editors
Related: Diy kitchens bespoke units
Choosing the Right Type of Wood for Your Shelving Unit
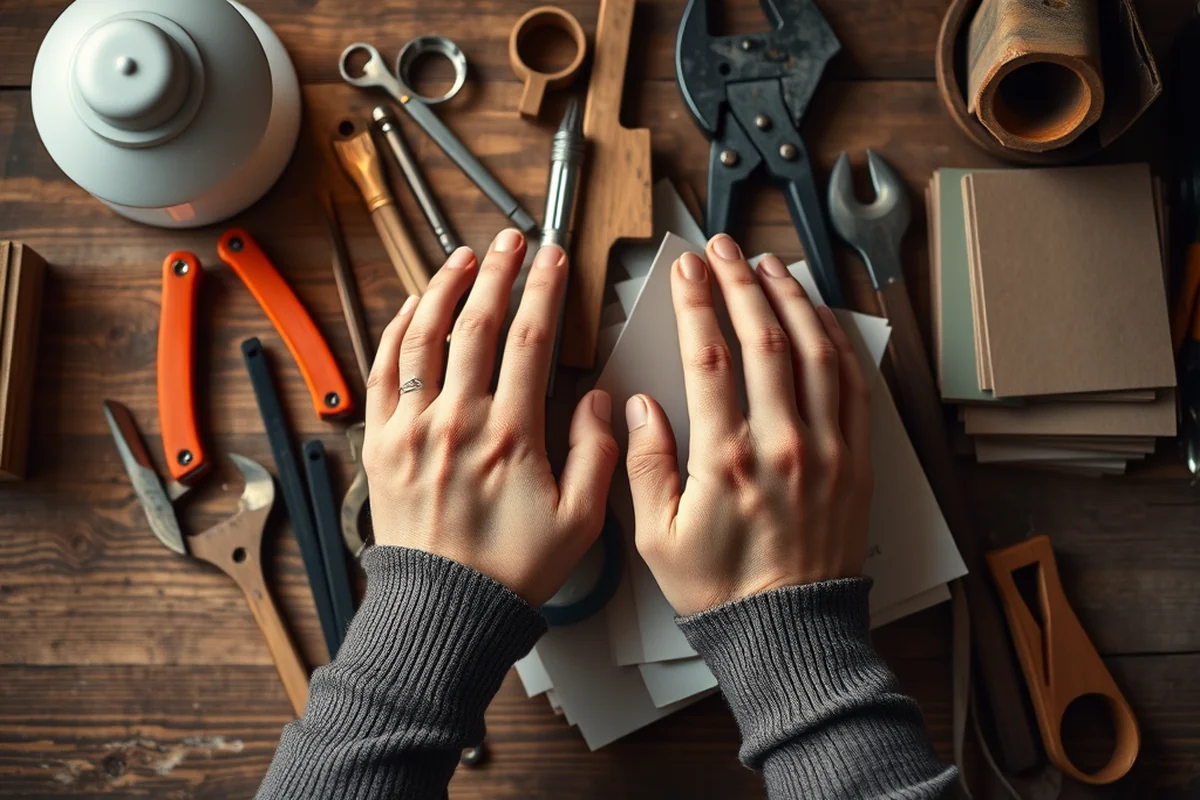
Choosing the right type of wood is an important decision that affects the durability and appearance of your shelving unit. I’ve used several types of wood over the years, including pine, oak, and MDF, each with its own pros and cons. Pine is affordable and easy to work with, but it’s not the most durable. Oak is stronger and more resistant to wear, but it's more expensive. MDF is smooth and easy to paint, but it’s not as strong as wood.
I’ve found that pine is the best option for most DIY shelving units, especially if you're a beginner or working on a budget. It’s lightweight, easy to cut, and doesn’t splinter as easily as other woods. I’ve also used oak for a few projects where I wanted something more solid and long-lasting. It’s a bit more expensive, but it’s worth it for the quality.
If you're planning to paint your shelving unit, MDF is a great option because it’s smooth and takes paint well. I’ve used it for a few projects where I wanted a clean, finished look. However, I’ve also noticed that MDF is more prone to warping over time, especially in humid environments. I always recommend using a moisture-resistant paint or sealant if you're working with MDF.[4]
Related: Diy fridge unit
Adding Decor and Personalization to Your Shelving Unit
Adding decor and personalization to your shelving unit is where the fun begins. I love using a mix of decorative items, such as books, plants, and art, to make the unit look unique and inviting. I've found that mixing different textures and colors can make the unit look more dynamic and interesting. I also recommend using a few decorative elements to add visual interest, like candles, vases, or small sculptures.[5]
I’ve used a few different styles of decor over the years, from minimalist to bohemian. I’ve found that the key to making your shelving unit look good is to balance the items on the shelves and not overload them. I always leave some space between items so that the unit doesn’t look cluttered. I’ve also experimented with lighting, such as adding small LED strips or sconces to make the unit stand out in a dark room.
Another way to personalize your shelving unit is to paint or stain it. I’ve used both options over the years and found that painting gives more flexibility in terms of color and design. I’ve also used wood stain for a more natural look, especially with oak or pine. I always recommend using a high-quality paint or stain and applying at least two coats for a smooth and even finish.
Related: Diy kitchen units for sale
Tips for Building a Sturdy and Stable Shelving Unit
Building a sturdy and stable shelving unit requires attention to detail and the right techniques. I’ve found that using the right type of screws and brackets is essential for ensuring that the unit doesn’t wobble or collapse. I always use screws that are long enough to secure the shelves to the vertical supports without poking through the other side. I’ve also learned that using a level at each step of the process helps ensure that everything is even and stable.
I’ve also found that reinforcing the joints with wood glue or additional screws can add extra strength to the unit. I’ve used wood glue on a few projects, especially when I was working with pine or MDF, and it helped make the joints more secure. I’ve also used corner brackets on a few units to reinforce the corners and prevent them from coming apart over time.
Another tip I’ve learned is to test the unit by placing heavy items on it or standing on it to see if it’s sturdy. I’ve done this a few times, and it’s been a good way to ensure that the unit is stable. I’ve also found that adding weight to the bottom of the unit, such as a base or legs, helps distribute the weight more evenly and makes the unit more stable.
A sturdy shelving unit is the result of careful planning and attention to detail.
Related: Diy wall units living room
Finishing Touches and Maintenance for Your Shelving Unit
Adding finishing touches and maintaining your shelving unit is an important step that ensures it looks good and lasts for years. I always recommend using a wood sealant or paint to protect the wood from moisture and wear. I’ve used a few different types of sealants over the years. I’ve found that using a water-based sealant is a good option for most projects because it’s easy to apply and doesn’t leave a strong odor.
I’ve also learned that using a clear coat of polyurethane helps protect the wood from scratches and stains. I’ve used this on a few units, especially if I was planning to use them in high-traffic areas. I’ve also found that applying a few coats of paint or stain and letting them dry completely makes the unit look more polished and professional.
Maintenance is also an important part of keeping your shelving unit in good condition. I recommend dusting the unit regularly and avoiding placing heavy or sharp objects on it. I’ve also found that using a mild wood cleaner can help remove stains or dirt without damaging the finish. I’ve used this on a few units, and it’s been a great way to keep them looking new for years.
💰 Budget-Friendly Shelving Unit
A simple, low-cost shelving unit built using affordable materials like pine and basic brackets.
⏰ Weekend Shelving Project
A quick and easy shelving unit that can be completed in one weekend with minimal tools.
✨ Upgraded Shelving Unit
A high-end shelving unit with custom finishes, reinforced joints, and decorative details.
🛋️ Small-Space Shelving Unit
A compact shelving unit designed for small apartments or rooms with limited space.
🏠 Rental-Safe Shelving Unit
A non-damaging shelving unit that can be installed in rental properties without leaving any marks.
| The mistake | Why it happens | The fix |
|---|---|---|
| Not using a level during the assembly process | Not using a level can result in an uneven shelving unit that looks unprofessional and may be unstable. | Always use a level at every step of the assembly process to ensure that your shelving unit is even and stable. |
| Using the wrong type of screws | Using the wrong type of screws can cause the shelves to wobble or even collapse under weight. | Use screws that are long enough to secure the shelves to the vertical supports without poking through the other side. |
| Not reinforcing the joints | Not reinforcing the joints can make the shelving unit less stable and more prone to coming apart over time. | Reinforce the joints with wood glue or additional screws to ensure that the unit is strong and durable. |
| Overloading the shelves | Overloading the shelves can cause the unit to become unstable or even collapse. | Distribute the weight evenly across the shelves and avoid placing heavy or sharp objects on the unit. |
Diy Shelving Units
Common Questions
What tools do I need to build a shelving unit?
Can I build a shelving unit without a drill?
How long does it take to build a shelving unit?
Can I build a shelving unit without any prior experience?
References
- Stacking the Books - Unbound - Smithsonian Institution (blog.library.si.edu)
- Lessors of Mini Warehouses and Self-Storage Units Show ... (census.gov)
- Shelving - Library Preservation and Conservation Tutorial (chinapreservationtutorial.library.cornell.edu)
- Storage - Cornell College (cornellcollege.edu)
- Edsal Recalls 2.2 Million Shelving Units Due to Injury Hazard (cpsc.gov)
Cite this guide
DIY Floating Desk Units (2026). Diy Shelving Units. https://deskspaceplan.com/diy-shelving-units/
Feel free to cite or share this guide.