
Diy Floating Headboard Ideas
📖 Table of Contents
I remember the first time I saw a floating headboard in a friend’s bedroom — it looked like a piece of art, not a piece of furniture. It wasn’t just the design that caught my attention, but how it seemed to hover effortlessly against the wall, as if it had no legs or hardware. That’s when I decided to explore DIY floating headboard ideas. It turned out to be one of the most satisfying projects I’ve ever tackled, blending creativity with practicality in a way that transformed my own space.
Floating headboards are more than a design trend; they’re a statement. They can change the entire look of a bedroom, making it feel larger, more modern, and infinitely more personal. What I love most is how versatile they are. Whether you're going for a rustic wooden look or a sleek minimalist design, there's a DIY floating headboard idea that fits your style and space. Plus, building one yourself is incredibly satisfying — it’s the kind of project where you can see your vision take shape, step by step.
I’ve tested a few different methods over the years, from using wood panels to repurposing old furniture. Each approach has its own set of challenges and rewards. One of the best parts of this project is the cost — you can create a beautiful floating headboard for under $50, using materials you might already have at home. It’s not just about saving money, either. It’s about making something that feels truly yours, something that reflects your personality and effort.[1]
Why You'll Love This DIY Floating Headboard Project
- Customizable to match your bedroom’s style and color palette
- Easily built in a weekend with minimal tools
- Cost-effective, with materials often found at home or low-cost retailers
- Adds instant visual impact and depth to any bedroom
Choosing the Right Materials
As of August 2026, the first step is to decide on the material. Plywood is a popular choice due to its affordability and ease of workability. I used a 3/4-inch sheet of birch plywood for my own project, which cost me about $25. It’s sturdy, smooth, and easy to paint or stain.[2]
If you're going for a more rustic or natural look, consider using reclaimed wood. I once built a floating headboard from old barn wood, and the texture and patina made it feel unique and rich. It was a bit pricier, but the character was worth it.
Another option is MDF (medium-density fiberboard), which is great for painting and can give a clean, modern finish. It’s a bit less durable than plywood, though, so it’s better suited for low-traffic areas.
Plywood is great for a smooth, clean look. Reclaimed wood adds character and texture. MDF is ideal for a modern, painted finish.
Measuring and Planning
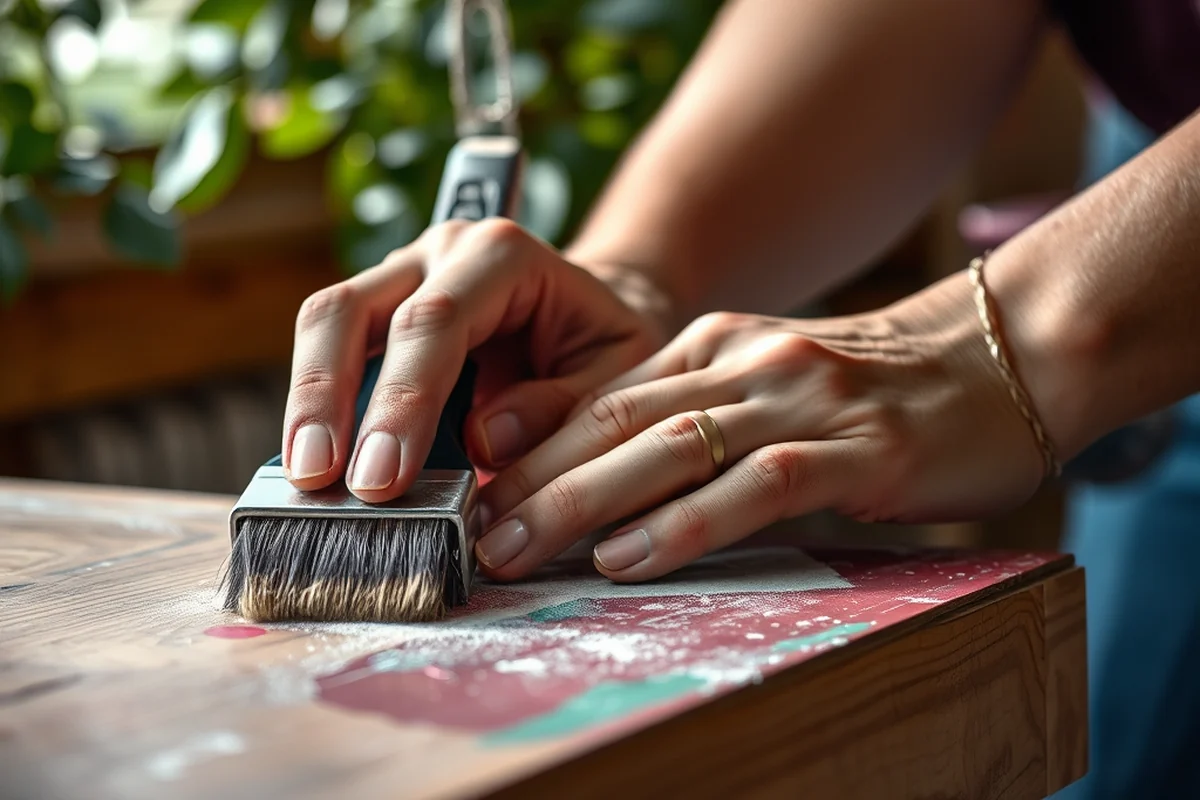
Before you start cutting any materials, measure your bed and the wall space where you’ll be installing the headboard. I made a mistake once by not measuring the wall’s height, and the headboard ended up too tall, which threw off the entire look.
I recommend sketching a rough layout on paper, noting the dimensions of your bed and the wall. This helps ensure that the headboard will be proportionate and visually balanced. I also marked the center of the wall and bed to make alignment easier.[3]
Once you’ve got your measurements, you can calculate how much material you’ll need. If the headboard is going to be wide, you may need to join multiple pieces of wood together. Don’t forget to account for any overhang or edge details you want to add.
Measure twice, cut once — this rule saved me from a costly mistake.
Related: Diy floating headboard
Related: Diy floating boat 2
Related: Diy floating floorboards
Related: Diy Floating Shelf Ideas
Related: Office Warehouse Near Me Within 1.6 Km
Related: Lego Storage Ideas
Cutting and Assembling the Frame
After marking your cuts, it's time to go to work with the saw. I used a circular saw for straight cuts and a jigsaw for any curved or angled edges. Always wear safety goggles and take your time — rushing here can lead to mistakes.
Once all the pieces are cut, it's time to assemble the frame. I used wood screws and a drill for this part. I found that pre-drilling holes prevented the wood from splitting, especially with MDF or thinner plywood.
I also added some corner brackets for extra reinforcement, especially on the back of the frame. This helped keep the structure sturdy and prevented it from warping over time.
Adding corner brackets to the back of the frame increases stability and helps prevent warping over time.
“I remember the first time I saw a floating headboard in a friend’s bedroom — it looked like a piece of art, not a piece…”— DIY Floating Desk Units editors
Adding the Backing and Hanging Hardware
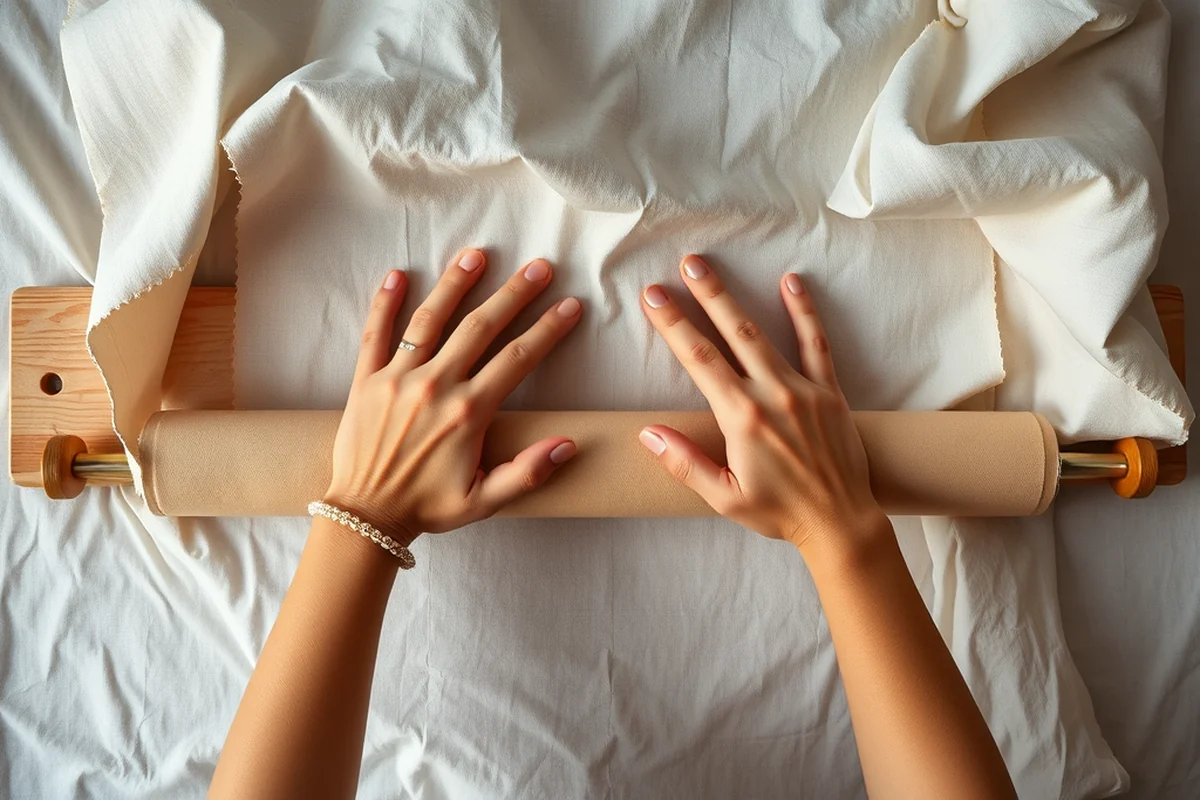
After the frame is assembled, it's time to attach the backing. I used a piece of MDF or plywood cut to the same size as the frame and attached it with wood glue and screws. This gave the headboard a solid structure and made it easier to hang later.
Next, I attached the hanging hardware. I used L-shaped brackets, which I mounted to the back of the headboard. These brackets made it easy to install the headboard without damaging the wall — a huge plus if you're renting or worried about wall damage.
I also used a level to ensure the headboard was perfectly straight once it was mounted. It made a huge difference in the final look and made the headboard feel more professional.
Finishing Touches and Painting
Once the headboard is mounted, it's time to add the finishing touches. I painted mine with a high-quality primer and then a few coats of paint in my favorite color. I used a brush for the edges and a roller for the flat areas — it made the process faster and more even.
If you're going for a more natural look, staining is a great option. I used a wood stain that was easy to apply and gave the headboard a warm, rich finish. I also applied a clear sealant to protect the wood from moisture and scratches.
I found that letting the paint or stain dry completely before hanging the headboard was important. Otherwise, you risk smudging or damaging the finish. I also took a few hours to let it cure before putting it on the wall.
Hanging the Headboard Safely
After the headboard is painted or stained, it's time to mount it on the wall. I used the L-shaped brackets I installed earlier and secured them to the wall with screws. I made sure the wall was sturdy enough — I used a stud finder to locate the wall studs for extra support.
I used a level to ensure the headboard was straight as I attached it. It’s easy to over-tighten the screws, so I took care to be gentle and stop once the brackets were snug against the wall.
Finally, I gave the headboard a quick inspection to make sure everything was secure. I also made sure the brackets were tight and the headboard was properly aligned. It felt like a huge relief when everything was in place and looked perfect.
A secure headboard makes all the difference in the final look and durability.
Final Inspection and Enjoyment
After the headboard is mounted and all the hardware is secure, it's time for the final inspection. I made sure the paint or stain was fully dry and that the headboard was level and secure. I also checked the brackets to ensure they were properly fastened to both the headboard and the wall.
I found that stepping back and looking at the headboard from different angles helped me spot any imperfections or areas that needed touch-ups. I used a small brush to fix any spots and made sure everything looked even and professional.
Once I was satisfied with the result, I sat back and enjoyed the transformation. The headboard made a huge difference in the room — it added depth, character, and a personal touch that I really loved.
Incorporating Storage and Display Elements
Consider adding shallow drawers or open shelves directly into the headboard frame. A 4-inch deep shelf can hold books, decorative objects, or lamps, while drawers can store items like remotes or extra bedding. I built a headboard with two 12-inch wide drawers and a 24-inch wide shelf, which took about 4 hours to assemble and cost around $150 in materials. Use soft-close drawer slides for a polished look and to prevent slamming.[4]
To integrate these features, adjust your initial measurements and frame design. For example, a headboard with a 60-inch width and 36-inch height can accommodate two drawers on the sides and a shelf in the center. I used 3/4-inch plywood for the shelves and drawers, which added durability without excessive weight. Ensure the headboard is still lightweight enough to hang safely on the wall—ideally under 25 pounds.
For the hardware, I installed 3-inch L-shaped brackets on the back of the headboard for added support. I also used 1x2 pine for the drawer fronts and painted them to match the headboard. This approach not only adds functionality but also enhances the visual appeal. If you're unsure about the weight, test the headboard by hanging it with a temporary bracket setup before fully installing it.
💰 Budget Build
Create a functional floating headboard using inexpensive materials like MDF or leftover wood from other projects.
⏰ Weekend Version
Finish a floating headboard in a single day using pre-cut wood and pre-made brackets for quicker assembly.
✨ Upgraded Finish
Add a high-end touch by using premium wood, custom stain, or a designer paint finish for a luxurious look.
🏠 Small-Space Adaptation
Build a narrow, wall-hugging floating headboard that maximizes small bedroom space without overwhelming the room.
🔒 Rental-Safe Option
Use removable adhesive or temporary brackets to create a floating headboard that can be easily taken down without damaging the wall.
| The mistake | Why it happens | The fix |
|---|---|---|
| Not measuring the wall or bed accurately. | This can lead to a headboard that doesn’t fit the space or is misaligned with the bed. | Measure the wall and bed thoroughly before cutting any materials. Use a level and sketch a layout for reference. |
| Skipping the backing for the headboard. | A headboard without a solid backing can be unstable and may not hold up over time. | Attach a piece of MDF or plywood to the back of the headboard for extra support and durability. |
| Using the wrong type of screws or brackets. | This can lead to the headboard becoming loose or falling from the wall over time. | Use screws and brackets that are appropriate for the weight of the headboard and the type of wall you're mounting it on. |
| Rushing the painting or staining process. | This can lead to smudges, uneven coverage, or damage to the finish once the headboard is mounted. | Allow the paint or stain to fully dry and cure before hanging the headboard. Take your time and apply even, thin coats. |
Diy Floating Headboard Ideas
Common Questions
Can I build a floating headboard without any prior experience?
How do I ensure the headboard is level after installation?
What should I do if my wall isn't strong enough to support the headboard?
Can I paint my headboard after it's mounted?
Cite this guide
DIY Floating Desk Units (2026). Diy Floating Headboard Ideas. https://deskspaceplan.com/diy-floating-headboard-ideas/
Feel free to cite or share this guide.
References
- FFY22 DME - AHCCCS (azahcccs.gov)
- Dorm Design Tips from BU and Professional Design Experts (bu.edu)
- Study Details | NCT04415970 | Understanding Physiology During Float ... (clinicaltrials.gov)
- 2020-hcpcs-alpha-numeric-hcpcs-files-disclaimer.txt - CMS (cms.gov)