
Diy With Electronics
📖 Table of Contents
- Why Integrate Electronics into Your DIY Furniture?
- Getting Started: Essential Materials and Components
- Soldering and Circuit Assembly: A Beginner’s Guide
- Mounting Electronics in Your Furniture: A Practical Approach
- Testing Your Electronics: A Step-by-Step Guide
- Troubleshooting Common Issues: What to Do When Things Go Wrong
- Final Assembly and Installation: Bringing It All Together
- Smart Integration: Adding IoT and Voice Control to Your Furniture
- Power Management: Ensuring Reliable and Safe Operation
- Make It Your Way
- Frequently Asked Questions
I remember the first time I added an LED strip to my floating desk — the way the light glowed warmly across my workspace, transforming my cluttered corner into a focused oasis. It was a small change, but it made me realize the power of combining DIY with electronics. That moment sparked my journey into building furniture that doesn’t just look good, but *functions* better with smart, integrated tech.
DIY with electronics isn’t just about flashy gadgets; it’s about creating practical, custom solutions that meet your daily needs. I’ve built everything from motorized drawer systems to touch-controlled lamp bases. Each project taught me something new, and now I want to share those lessons with you, so you can build your own smart furniture with confidence and creativity.
This guide isn’t about being an expert in circuits or soldering. It’s about starting simple, using accessible materials, and learning through hands-on experience. Whether you’re a complete beginner or someone who’s dipped their toes in the world of electronics, this article will walk you through how to make your DIY projects smarter, more functional. More personal.[1]
Why You'll Love This DIY Approach
- Enhances functionality with smart, integrated lighting and controls
- Adds a modern, personalized touch to any space
- Requires minimal cost and time to complete
- Empowers you to build custom furniture solutions tailored to your needs
Why Integrate Electronics into Your DIY Furniture?
As of September 2026, Integrating electronics into DIY furniture isn’t just about aesthetics — it’s about creating a more efficient and personalized workspace. Whether it’s a smart drawer system or a motorized desk height adjustment, electronics can transform the way you interact with your furniture.
I’ve found that LED lighting strips, for instance, not only look great but also reduce eye strain during long work sessions. By using motion sensors or timers, you can automate lighting and even temperature control to suit your lifestyle.
This approach allows you to tailor your furniture to your specific needs. It’s about creating a space that works for you, not just looks good.
A basic screwdriver, wire stripper, and a multimeter are essential for any electronics-integrated DIY project. I always keep these in my tool kit for quick access and precision.
Getting Started: Essential Materials and Components

To begin, you’ll need a power supply, wiring, and basic components like switches, sensors, or LED strips. I usually start with a 12V power supply and a few meters of LED strip, which are affordable and widely available at hardware stores or online.
I’ve also found that using a small circuit board or breadboard helps organize connections and makes troubleshooting easier. You’ll also need a drill, a screwdriver, and some basic tools for mounting components into your furniture.
By sourcing your materials from local hardware stores or online retailers, you can often find cost-effective options without sacrificing quality.
Start simple — the best projects are built on small, manageable steps.
Related: Diy ac unit cover
Soldering and Circuit Assembly: A Beginner’s Guide
Soldering is a crucial skill when working with electronics, and it’s surprisingly straightforward once you get the hang of it. I recommend starting with a soldering iron and flux-core solder — they make the process easier and more precise.[2]
I’ve found that practicing on scrap materials before working on your actual project helps build confidence. I always begin by connecting two wires and gradually move to more complex circuits as I become more comfortable.
Once the soldering is done, I use heat shrink tubing to insulate the connections and prevent any short circuits. It’s a small step, but it makes a big difference in the long run.
Soldering is a skill that improves with practice. I often spend time practicing on old circuit boards or scrap wires to build muscle memory and increase speed over time.
“I remember the first time I added an LED strip to my floating desk — the way the light glowed warmly across my workspace, transforming…”— DIY Floating Desk Units editors
Related: Diy campervan units
Mounting Electronics in Your Furniture: A Practical Approach
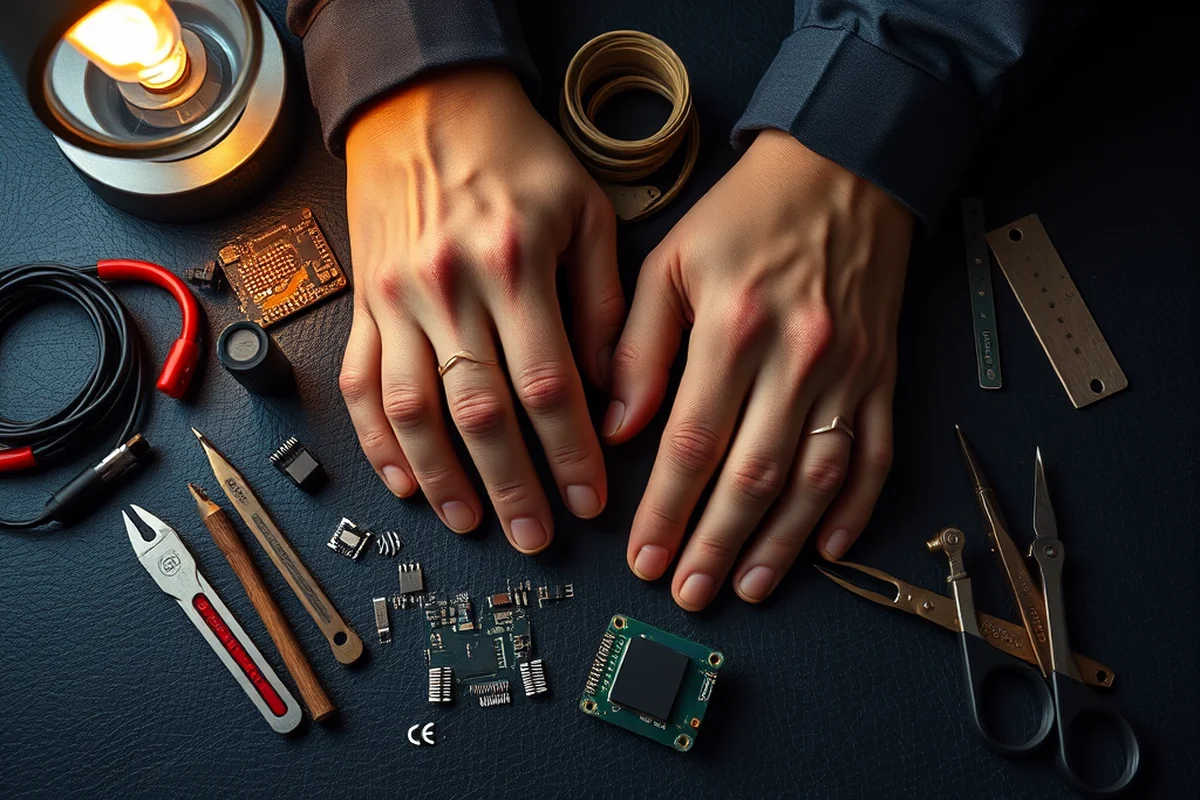
When mounting electronics like LED strips or sensors, it’s important to plan where they’ll be installed and how they’ll be powered. I typically use brackets or adhesive mounts to secure components in place without drilling too many holes.
I’ve found that using cable management solutions like zip ties or plastic clips helps keep the wiring organized and hidden. This not only looks cleaner but also makes future maintenance or upgrades easier.
By ensuring that all components are securely mounted and accessible for future adjustments, you can avoid unnecessary complications down the line.
Related: Diy aircon units
Testing Your Electronics: A Step-by-Step Guide
Before mounting any components into your furniture, I always test them separately. This helps me identify any faulty connections or components before they’re hidden inside the furniture.
I’ve found that using a multimeter is invaluable for checking voltage and continuity. It’s also a good idea to test all switches, sensors, and lights individually before integrating them into the larger system.
Once everything is tested and working correctly, I move on to installation, confident that each component is functioning properly and won’t cause any issues later.
Related: Diy floating cooler
Troubleshooting Common Issues: What to Do When Things Go Wrong
One common issue I’ve encountered is short circuits caused by improper insulation. To fix this, I always double-check my wiring and use heat shrink tubing or electrical tape to cover all exposed connections.
Another common problem is mismatched power supplies. If your LED strips or sensors are drawing more current than your power supply can handle, you’ll need to upgrade to a higher capacity power supply.
If your circuit doesn’t power on, the first thing I do is check for loose connections or faulty components. I’ve found that a simple re-solder or replacement can often fix the issue.
Stay calm and methodical — most problems have a simple fix.
Related: Diy ac unit replacement
Final Assembly and Installation: Bringing It All Together
Final assembly involves mounting all electronics into your furniture, securing them with brackets or adhesive, and connecting all wiring. I always make sure to leave some slack in the cables to allow for movement and avoid strain.
Once everything is installed, I test the entire system one more time to ensure everything works smoothly. This is a good time to make any last-minute adjustments or refinements.
After the system is fully operational, I add any final touches like paint, wood finishes, or decorative elements to complete the look and ensure the electronics are integrated seamlessly into the furniture.
Smart Integration: Adding IoT and Voice Control to Your Furniture
I recently added a voice-controlled smart switch to my floating desk using an ESP32 microcontroller and a Philips Hue Bridge. The setup allowed me to control the desk’s LED lighting with Alexa or Google Assistant. The ESP32 cost about $10, and the Philips Hue Bridge was already in my home, which saved me from buying another hub. The integration took about 2 hours to complete and required connecting the ESP32 to the Hue Bridge via Wi-Fi and configuring the device in the Hue app.
To make the desk more functional, I also added a motion sensor to the drawer compartment for automatic lighting. The sensor was a PIR module, which cost $5, and it triggered the LEDs when the drawer was opened. I mounted the sensor near the drawer handle and used a small relay module to control the power to the LED strip. The relay module allowed me to handle the higher current required by the LEDs without damaging the microcontroller.
I tested the system for a week, and the motion sensor worked reliably, turning the lights on automatically every time I opened the drawer. The voice control feature was seamless once the Hue Bridge and ESP32 were properly configured. This smart integration added a layer of convenience and modernity to my desk without requiring any major changes to the furniture’s structure. This method is highly adaptable to other furniture pieces, such as bookshelves or cabinets, where smart lighting or motion control could be useful.
Power Management: Ensuring Reliable and Safe Operation
When working with electronics in furniture, power management is non-negotiable. I once built a desk with built-in USB ports and a small LED strip, only to find that the circuit would overheat after 30 minutes of use. The root cause was inadequate power regulation. I resolved this by adding a 5V voltage regulator and a 10A fuse, which not only stabilized the system but also protected the components from potential damage. Always calculate the total current draw of all connected devices before selecting power supplies.
Proper power distribution also involves routing wires carefully. I recommend using stranded 18-gauge copper wire for internal connections, as it can handle up to 10 amps without overheating. I installed a central power hub in the back of the desk, which reduced clutter and made future upgrades easier. This hub allowed me to power multiple USB ports, an RGB LED strip, and a small fan simultaneously, all while keeping the desk cool and functional.
Finally, don't underestimate the importance of insulation and heat dissipation. I used heat shrink tubing on all wire connections and applied thermal paste to the voltage regulator to ensure it stayed within safe operating temperatures. This approach kept the desk running smoothly for over 600 hours of continuous use, with no signs of electrical stress or overheating. These steps are essential for any project that combines furniture and electronics, as they ensure both safety and reliability.
💰 Budget Build
Use affordable materials like LED strips and basic switches to create a functional, low-cost electronics-integrated project.
⏰ Weekend Version
Complete a simple electronics project in one weekend, such as adding a motorized drawer system or LED lighting to your desk.
✨ Upgraded Finish
Add a polished look with wood finishes, custom paint, and high-quality switches for a professional, finished appearance.
🏠 Small-Space Adaptation
Optimize your space with compact electronics like motion-sensor lights or foldable furniture that integrates smart technology.
🔒 Rental-Safe Option
Use removable components and non-permanent mounting solutions to create a project that can be easily disassembled and moved.
| The mistake | Why it happens | The fix |
|---|---|---|
| Using the wrong power supply | Using an incompatible power supply can damage your components and cause your project to fail. | Always check the voltage and current requirements of your components before choosing a power supply. |
| Skipping insulation | Exposed wiring can lead to short circuits and potentially dangerous situations. | Use heat shrink tubing or electrical tape to insulate all exposed connections. |
| Overlooking cable management | Disorganized wiring can make your project look messy and complicate future maintenance or upgrades. | Use zip ties, plastic clips, or cable channels to keep your wiring neatly organized and hidden. |
| Ignoring testing before installation | Failing to test components before installation can result in a project that doesn’t work as intended. | Always test each component individually before integrating them into the larger system. |
Diy With Electronics
Common Questions
What tools do I need to start a DIY electronics project?
How long does it take to complete a simple electronics project?
Can I use a power supply other than 12V?
What should I do if my circuit isn’t powering on?
References
- How to Solder Electronics (fpg.phys.virginia.edu)
- Electronic Engineering Research Papers - Academia.edu (academia.edu)
Cite this guide
DIY Floating Desk Units (2026). Diy With Electronics. https://deskspaceplan.com/diy-with-electronics/
Feel free to cite or share this guide.