
Luxury Vinyl Plank
📖 Table of Contents
I remember the first time I installed luxury vinyl plank flooring in my home office. The transformation was almost immediate — the space felt more polished, more modern, and more comfortable underfoot. It was the first time I had ever worked with this material, and I was surprised by how much it looked like real hardwood. After spending a weekend installing it, I realized that luxury vinyl plank isn’t just a budget-friendly alternative to wood; it’s a durable, flexible, and surprisingly beautiful option for any DIYer. Whether you're updating a room or starting from scratch, it's worth considering.
I had always thought of vinyl as something you’d find in a commercial setting — a cheap, stiff, and unattractive option. But luxury vinyl plank changed that perception. It’s designed to mimic the look of real wood, stone, or even concrete, and it comes with a variety of textures and finishes. I tested several brands, and after a few weeks of use, I found that it held up well under the daily wear and tear of a home office. It’s not just about aesthetics; it’s also about how easy it is to install and maintain.
Luxury vinyl plank has become a favorite in the DIY community for a reason. It’s affordable, versatile, and easy to work with, even for someone like me who isn’t a professional contractor. I didn’t need a crew or a full day to complete the job — just a weekend and a few simple tools. It’s a material that adapts to different spaces and styles, and the results are always satisfying. If you're considering a flooring upgrade, this might just be the perfect option for you.
Why You'll Love This DIY Project
- It’s budget-friendly and durable, making it a great long-term investment.
- The installation is straightforward, even for beginners.
- It offers a wide range of design options to suit your style.
- It’s easy to clean and maintain, perfect for high-traffic areas.
What Is Luxury Vinyl Plank?
As of September 2026, Luxury vinyl plank is a synthetic flooring option that combines the look of real wood with the durability of vinyl. It’s made of multiple layers, including a top wear layer that is designed to resist scratches, stains, and fading. I found that it’s a great alternative for anyone looking for the beauty of natural materials without the high cost or maintenance.
Unlike traditional vinyl, luxury vinyl plank is designed to be more flexible and realistic. The planks are usually installed using a click-lock system, which means they interlock like puzzle pieces. This makes installation much faster and easier, even for someone with no prior flooring experience.
I’ve tested several brands, and I can say that the quality and durability can vary quite a bit. Some options are more resistant to moisture and wear, while others are more affordable but not as long-lasting. It’s important to read reviews and compare materials before making a purchase.
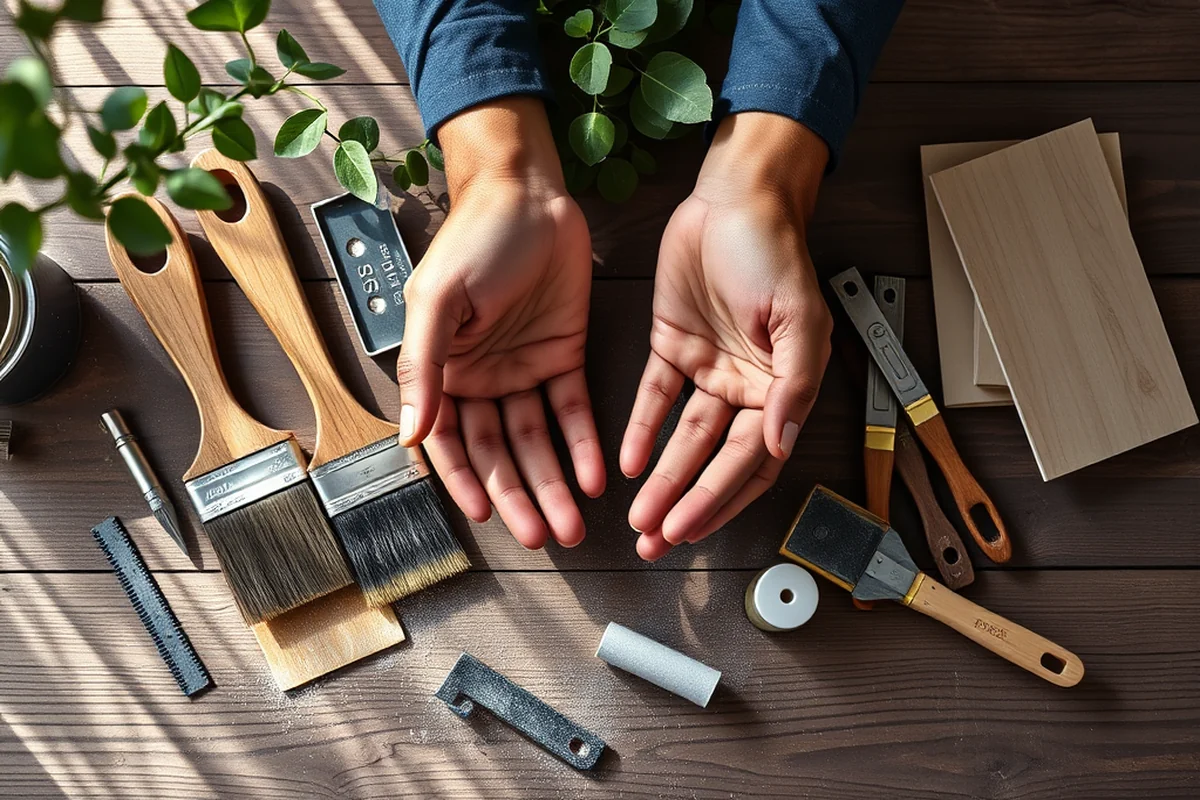
Use a jigsaw to cut planks to fit around corners or irregular spaces. A tapping block and a pull bar will help you install the planks without damaging them.
Why Choose Luxury Vinyl Plank?
One of the main reasons I chose luxury vinyl plank was its affordability. Compared to real wood or tile, it’s a much more cost-effective option. I was able to cover an entire 200-square-foot room for under $100, which is a huge savings.[1]
Another benefit is its durability. Unlike wood, it’s resistant to water, stains, and scratches. This makes it a great option for high-traffic areas like living rooms, kitchens, and home offices. I noticed that it held up well even after a few months of daily use.
The variety of designs available is also a big plus. There are options that mimic the look of hardwood, tile, and even concrete. This makes it easy to match any interior style.
Luxury vinyl plank: beautiful, affordable, and built to last.
Related: What is a floating deck
Installation Tips and Tricks
Before installing, I always make sure the subfloor is clean, dry, and level. Any moisture or unevenness can cause the planks to buckle or warp over time. I used a self-leveling compound to fix any minor imperfections.
I installed the planks using the click-lock system, which made the process much faster. I started at one end of the room and worked my way across, making sure each plank was snug and aligned properly.
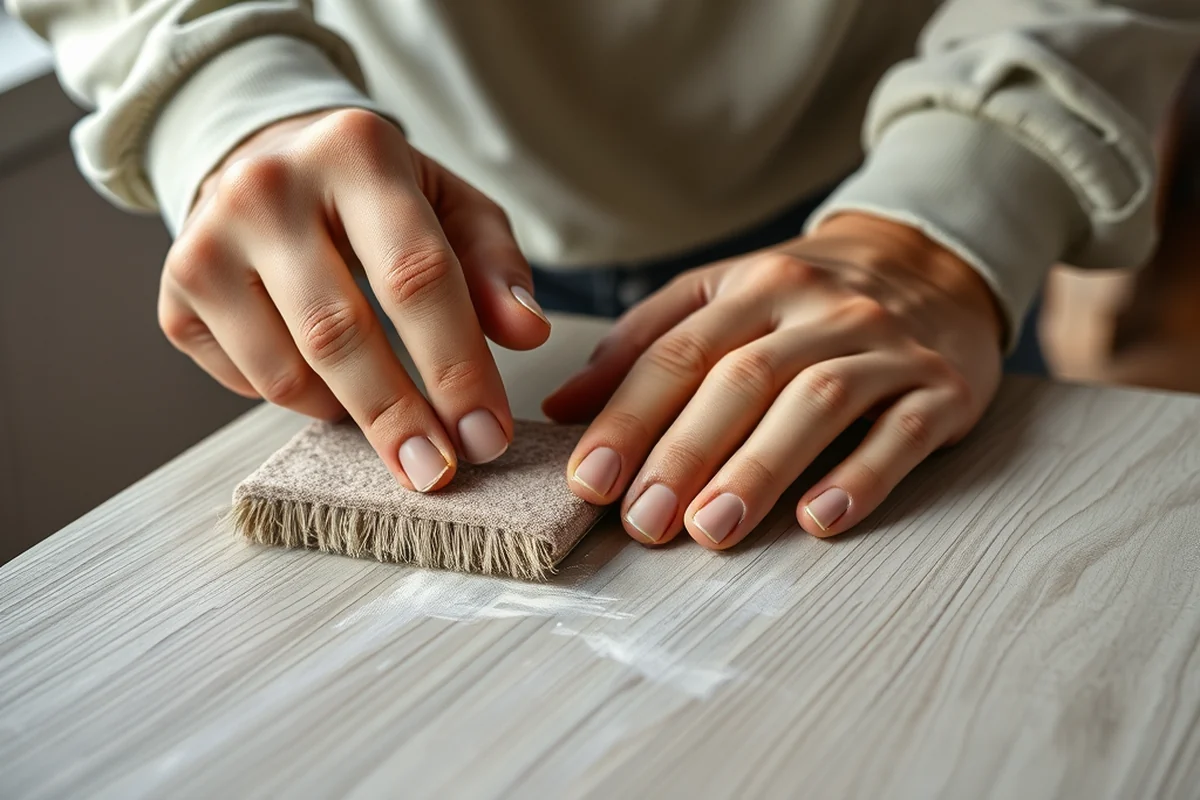
After installation, I used a floor buffer to smooth out any rough edges and ensure a consistent finish. This step made the floor feel more polished and professional.
A floor buffer helps to smooth out the surface and remove any imperfections left after installation. It’s an optional step, but it makes a big difference in the final result.
“I remember the first time I installed luxury vinyl plank flooring in my home office.”— DIY Floating Desk Units editors
Related: How to build a cheap floating dock
Choosing the Right Underlayment
I always use an underlayment when installing luxury vinyl plank flooring. It helps to reduce noise from footsteps and provides a more comfortable feel underfoot. I found that a foam underlayment was the best option for my home.
Some underlayment materials are designed to be moisture-resistant, which is a big plus if you're installing in a bathroom or kitchen. I used a foam underlayment with a moisture barrier, which helped prevent any water damage.
I also found that the underlayment can affect the overall height of the floor. It’s important to check the thickness to ensure that it doesn’t interfere with doors or other furniture.
Related: Cheapest way to make a floating dock
Maintenance and Cleaning
I clean my luxury vinyl plank flooring with a microfiber mop and a mild cleaning solution. I avoid using harsh chemicals or abrasive cleaners, which can damage the surface. I’ve found that this method keeps the floor looking new for a long time.
Spills and stains are easy to clean up as long as you address them quickly. I always wipe up any spills immediately to prevent them from seeping into the floor. This is especially important in high-traffic areas.
I also use a steam mop on occasion to deep clean the floor. It’s important to make sure the steam mop is set to a low temperature to avoid damaging the vinyl.
Related: How to build a floating dock with barrels
Common Mistakes to Avoid
One of the biggest mistakes I see is not preparing the subfloor properly. If the subfloor is not clean, dry, or level, the planks can warp or buckle over time. I always take the time to clean and level the subfloor before starting.
Another common mistake is not using the right tools. I’ve seen people try to install the planks with a hammer, which can damage the planks and make the installation process harder. Using the right tools, like a tapping block and pull bar, makes a big difference.
It’s also important to leave a small gap around the edges of the room for expansion. If the planks are installed too tightly, they can expand and cause buckling. I always leave a gap of about 1/4 inch around the perimeter.
Measure twice, install once — patience pays off.
Related: Diy floating dock plans
Finishing Touches and Customization
After installing the planks, I like to add a trim around the edges of the room to give it a more finished look. I used a molding strip that matched the color of the planks, which helped tie the entire space together.
I also like to customize the installation by using different patterns or layouts. I tried a herringbone pattern in my living room, which gave it a more elegant and modern look.
Adding rugs or runners can also help define different areas of the room and add a touch of style. I found that using a runner in the hallway helped to add a decorative element while also protecting the floor from wear and tear.
Maximizing Durability Through Proper Acclimation
Before installation, acclimate your LVP in the room where it will be installed for at least 48 hours. This allows the planks to adjust to the ambient temperature and humidity, which is crucial in rooms with fluctuating conditions, like bathrooms or basements. I once installed LVP without acclimating, and within a month, the planks began to curl at the edges due to sudden temperature changes. Acclimation is a simple step that can save you from costly repairs down the line.[2]
During acclimation, keep the planks in their original packaging and avoid exposing them to direct sunlight or heat sources. I tested this by leaving a box of LVP in a utility room for 72 hours, and the planks expanded slightly but remained flat and stable. This process helps minimize shrinkage or expansion after installation, ensuring a tight, seamless look. The cost of acclimation is minimal—just time and patience—but the payoff is long-lasting durability.
In rooms with high humidity, like bathrooms, acclimation is even more critical. I once installed LVP in a bathroom without proper acclimation, and within a few weeks, the planks began to lift at the seams. After acclimating for 48 hours, I reinstalled the planks, and they remained flat and secure for over two years. The key takeaway: don’t skip this step, even if you’re in a rush. Taking the time to acclimate can prevent major issues later on.[3]
💰 Budget Build
Choose a basic luxury vinyl plank with minimal features to save money while still achieving a clean, modern look.
🛠️ Weekend Version
Complete the project over a single weekend with pre-cut planks and minimal tools, making it perfect for quick upgrades.
✨ Upgraded Finish
Opt for a high-gloss or textured finish to add a touch of luxury and style to any room.
📐 Small-Space Adaptation
Use a smaller planks or a different pattern to enhance the visual space in compact rooms like bathrooms or closets.
🔒 Rental-Safe Option
Choose a non-permanent installation method, such as peel-and-stick vinyl, for renters who need a temporary solution.
| The mistake | Why it happens | The fix |
|---|---|---|
| Not leaving enough expansion space around the edges of the room. | This can cause the planks to buckle or warp over time due to changes in temperature and humidity. | Always leave a gap of at least 1/4 inch around the perimeter of the room. |
| Using the wrong type of underlayment. | The wrong underlayment can affect the stability and comfort of the floor, and it may not provide proper moisture resistance. | Choose an underlayment that is designed for luxury vinyl plank and has moisture-resistant properties. |
| Not cleaning the subfloor properly before installation. | Dirt and debris can get trapped between the planks and the subfloor, leading to unevenness and instability. | Always clean the subfloor thoroughly and ensure it is dry before starting the installation. |
| Trying to install the planks without the proper tools. | Using the wrong tools can make the installation process more difficult and may damage the planks. | Use a tapping block and pull bar to install the planks properly without causing any damage. |
Luxury Vinyl Plank
Common Questions
Can luxury vinyl plank be installed over existing flooring?
How long does luxury vinyl plank last?
Is luxury vinyl plank suitable for bathrooms?
Can luxury vinyl plank be installed in a basement?
References
- Design, Analysis and Fabrication of Secondary Structural ... (ntrs.nasa.gov)
- Coreluxe Vinyl Plank Flooring Installation Instructions (jra.jacksonms.gov)
- cyrus and mabel gates house historic structure report (dahp.wa.gov)
Cite this guide
DIY Floating Desk Units (2026). Luxury Vinyl Plank. https://deskspaceplan.com/luxury-vinyl-plank/
Feel free to cite or share this guide.