
Diy Floating Bench
📖 Table of Contents
I remember the first time I built a floating bench — it was a rainy afternoon in my tiny apartment, and I was determined to create something that would both save space and add character. The idea of a floating bench had been on my mind for months, and I finally decided it was time to take the plunge. I had no prior experience with woodworking, but I was determined to learn as I went. The result? A sturdy, elegant bench that now sits in my living room and has become a favorite spot for my guests.[4]
Building a floating bench isn’t just about aesthetics; it’s about function. For those of us who live in compact spaces or are always looking for ways to optimize their homes, a floating bench is a game-changer. It’s a perfect solution for a living room, entryway, or even a bedroom — it doesn’t take up floor space and creates the illusion of more room. Plus, the way it hangs on the wall gives it a modern, minimalist feel that can suit a variety of interior design styles.
What really drew me in was the DIY aspect. There’s something deeply satisfying about creating something with your own hands. The process of measuring, cutting, and assembling each piece is rewarding, and the final product is a testament to your effort and creativity. I didn’t just end up with a bench — I ended up with a sense of accomplishment and a piece of furniture that truly reflects who I am.
Why You'll Love This DIY Floating Bench
- It saves floor space while adding a decorative touch to your home.
- It's a cost-effective alternative to store-bought floating benches.
- You can customize it to match your home's decor and personal style.
- It's a great project for beginners with clear, easy-to-follow steps.
What You Need to Start
As of August 2026, before you start, it’s important to gather all the necessary materials and tools. I used 2x4 wooden planks for the frame and 1x6 planks for the bench surface. For the hardware, I picked L-shaped metal brackets and 2.5-inch screws. You’ll also need a saw for cutting the wood, a drill for attaching the brackets, and a level to ensure everything is perfectly aligned.[1]
I bought all the materials from my local hardware store, and the total came out to around $40. The planks were the biggest expense, but I was able to find a sale that made it more affordable. The tools I already had at home, so I didn’t need to purchase anything new.[2]
Once you have everything laid out, you can start working on the frame and the bench surface. Make sure to measure and mark the wood accurately before cutting to avoid any mistakes.
Take a moment to write down all the materials and tools you’ll need. This helps you avoid missing anything and can save you time and money in the long run.
Part of our Chlorine dispenser guide.
Building the Frame
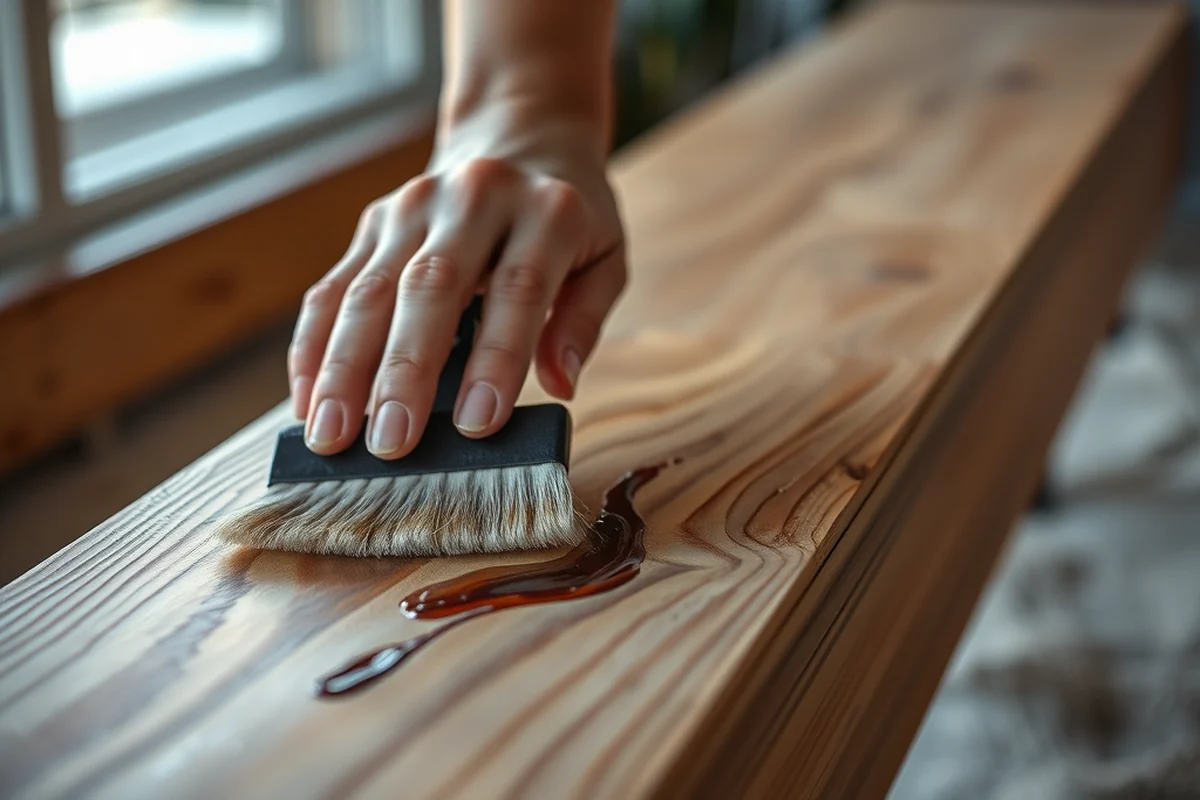
The frame is the foundation of your floating bench, so it’s important to build it correctly. I started by cutting two 2x4 planks to the desired length of the bench — I went with 48 inches, which is a standard size for a small bench. Then I cut two more planks to be the width of the bench, which I set at 24 inches.[3]
I used a level to make sure the planks were perfectly straight before attaching them with screws. I placed the L-shaped brackets at the back corners of the frame and secured them with screws. This gives the bench a stable base and makes it easier to attach to the wall later.
Once the frame was assembled, I checked the corners to ensure they were square. If they weren’t, I adjusted them until everything was aligned properly. This step is crucial because any misalignment now could cause issues later.
A strong frame is the key to a long-lasting bench.
Related: Diy floating bed
Related: Diy floating boat lift
Related: Diy floating ghost
Related: Diy floating desk and shelves
Related: Diy floating house numbers
Related: Diy floating desk top
Related: What is a floating chlorine dispenser
Adding the Bench Surface
After the frame was ready, I moved on to attaching the bench surface. I used 1x6 planks for the top, and I cut them to the same dimensions as the frame. I then laid them out on the frame to make sure they fit perfectly.
To secure the planks, I used screws and brackets. I made sure to space the screws out evenly so that the surface was firmly attached without any wobbling. I also used a level to check that the surface was perfectly horizontal.
Once the planks were attached, I ran my fingers over the surface to ensure it was smooth and even. If there were any rough spots, I sanded them down before moving on to the next step.
Before applying any paint or stain, take the time to sand the bench surface. This helps the paint or stain adhere better and gives you a smoother, more professional look.
“I remember the first time I built a floating bench — it was a rainy afternoon in my tiny apartment, and I was determined to…”— DIY Floating Desk Units editors
Related: Diy floating desk ideas
Related: Diy floating folding desk
Related: Diy floating tray
Related: Diy floating desk in nook
Related: Where to buy floating chlorine dispenser
Related: How to diy floating desk
Mounting the Bench to the Wall
Now that the bench was assembled, it was time to mount it to the wall. I used a stud finder to locate the wall studs, which are the strongest points in the wall. I marked the spots where I wanted to attach the brackets and made sure they aligned with the studs.
I drilled pilot holes into the wall and then attached the brackets using screws and wall anchors. I made sure the brackets were level and even before tightening them down. This step is important because it ensures the bench is secure and won’t wobble or fall.
Once the brackets were attached, I placed the bench onto them and secured it with additional screws. I double-checked everything to make sure it was all tight and stable. It felt great to see the bench finally in place.
Related: Diy floating hydrometer
Finishing Touches
Now that the bench was mounted, it was time to add the finishing touches. I decided to paint the bench in a light gray color to match the rest of my living room. I used a primer first to help the paint adhere better, then applied two coats of paint for a smooth, even finish.
After the paint was dry, I added some decorative elements, like a small wooden shelf on the back of the bench. This gave it an extra touch of personality and made it feel more like part of the room.
I also took the time to clean up any dust or debris from the project. It was satisfying to see the finished product and know that I had created something that truly reflected my style.
Related: Diy floating stairs
Testing and Enjoying Your Bench
Before I could fully enjoy my new bench, I wanted to test it to make sure it was stable and safe. I sat on it a few times to see how it felt and whether it was comfortable. I also checked the screws and brackets to ensure they were all tight and secure.
To my surprise, the bench was very sturdy and didn’t wobble at all. I was happy to see that my effort had paid off and that the bench was safe to use. It didn’t take long for it to become a favorite spot in my living room.
Now, the bench is used for various purposes — from sitting and reading to having a quick conversation with friends. It’s a great addition to my home, and I’m proud of what I’ve created.
The best part of any DIY project is seeing it come to life and being used every day.
Related: Diy floating desk
Tips for a Successful Build
One of the most important tips I can share is to take your time and be patient. Rushing through the process can lead to mistakes, which can be frustrating to fix later. It’s better to do things correctly the first time than to have to redo them.
Always measure twice before cutting or drilling. This helps prevent any costly mistakes and ensures everything fits perfectly. I learned this the hard way when I once cut a plank too short and had to find a replacement.
Finally, don’t be afraid to ask for help if you need it. Whether it’s a friend, family member, or online forum, having support can make the process much easier and more enjoyable.
💰 Budget Build
Use affordable materials like MDF or leftover wood to create a cost-effective floating bench.
⏰ Weekend Version
A simplified build that can be completed in one weekend with minimal tools and effort.
✨ Upgraded Finish
Enhance your bench with a custom stain or paint finish for a more polished look.
🏠 Small-Space Adaptation
Create a smaller floating bench perfect for tight corners or compact rooms.
🔒 Rental-Safe Option
Build a bench that can be easily disassembled and removed without damaging the rental property.
| The mistake | Why it happens | The fix |
|---|---|---|
| Not measuring the wall correctly before installation. | Incorrect measurements can lead to the bench being off-center or not aligning with the wall properly. | Use a tape measure and a level to ensure the brackets are placed evenly and the bench is aligned with the wall. |
| Using the wrong type of screws or anchors. | Using screws that are too short or anchors that can’t support the weight of the bench can result in a loose or unstable bench. | Always use screws and anchors that are appropriate for the weight of the bench and the type of wall you’re working with. |
| Cutting the wood before checking for the wall studs. | If you don’t check for wall studs before cutting the wood, you might end up with a frame that doesn’t align with the wall properly. | Use a stud finder to locate the wall studs before cutting any wood, and make sure your frame aligns with them. |
| Skipping the sanding step before painting. | Skipping sanding can result in a rough or uneven paint finish, which can detract from the overall look of the bench. | Always sand the wood surface before painting to ensure a smooth and even finish. |
Diy Floating Bench
Common Questions
Can I build a floating bench without prior woodworking experience?
What tools do I need for this project?
How long does it take to build a floating bench?
Can I use different materials for the bench surface?
Cite this guide
DIY Floating Desk Units (2026). Diy Floating Bench. https://deskspaceplan.com/diy-floating-bench/
Feel free to cite or share this guide.
References
- ben brenman - AlexandriaVA.Gov (alexandriava.gov)
- Optimist Park | Blair, NE - Official Website (blairne.gov)
- T4714 - FDOT - BID Q&A (bqa.fdot.gov)
- An SMT-LIB Theory of Binary Floating-Point Arithmetic (ccs.neu.edu)