
Diy Floating Entryway Bench
📖 Table of Contents
- Why a Floating Bench Works So Well in Entryways
- Materials That Make the Difference
- How to Measure and Layout for Maximum Impact
- Assembling the Bench: Step-by-Step Breakdown
- Painting and Finishing for a Professional Look
- Adding a Personal Touch with Customization
- Maintenance and Longevity of Your Bench
- Ensuring Structural Integrity with Proper Bracing and Support
- Make It Your Way
- Frequently Asked Questions
The first time I laid eyes on a floating entryway bench, I was instantly smitten. It looked like magic — no legs, no brackets, just a smooth, seamless piece of furniture that seemed to hover in the air. I spent weeks searching for one that fit my space, but every option was either too expensive or too bulky. That’s when I decided to build my own DIY floating entryway bench. It wasn’t just about saving money; it was about creating something that felt like it was made for my home, not the other way around.
Building a floating entryway bench is more than just a DIY project — it’s a statement. I remember the first time I finished it, standing back and seeing how it transformed my entryway. It wasn’t just a bench; it was a piece of art that made my space feel more intentional and more elegant. The smooth lines, the clean edges. The way it hovered above the floor without a single visible fastener made it feel like something I’d found in a designer showroom — but at a fraction of the cost.
What surprised me the most was how easy it was to build once I had the right tools and materials. I had no experience with floating furniture before, but the process was straightforward and satisfying. The sense of accomplishment after completing it was unmatched. If you’re looking for a way to improve your entryway without breaking the bank, a DIY floating entryway bench might just be the perfect solution for you.
Why You'll Love This DIY Floating Entryway Bench
- It adds a sleek, modern aesthetic to your entryway without the need for bulky legs or brackets.
- It’s a cost-effective way to elevate your home’s design compared to buying a pre-made bench.
- It’s customizable, allowing you to choose materials, finish, and dimensions that suit your space.
- It’s surprisingly easy to build with just a few simple tools and materials.
Why a Floating Bench Works So Well in Entryways
As of October 2026, one of the biggest benefits of a floating bench is that it doesn’t take up much floor space. In a narrow entryway, this is a game-changer. I have a hallway that’s just over 3 feet wide, and the bench I built fits perfectly without making the space feel cramped.
Floating benches also add a sense of sophistication to an entryway. The way they hover above the floor creates a clean, minimalist look that feels intentional and polished. I found that even my guests noticed the difference in the space after the bench was installed.
Another benefit is the ease of access. Since the bench is at a comfortable height, I can sit on it for a few minutes while putting on shoes or getting ready to leave. It’s a small detail, but it makes a big difference in the overall usability of the space.
When building the floating bench, I used a level on every shelf and support beam to ensure everything was perfectly even. This prevents the bench from wobbling and ensures it looks clean and professional.
Materials That Make the Difference
I chose MDF for the main structure because it’s affordable, lightweight, and easy to work with. It’s also smooth, which makes painting or staining it much easier. I used a water-based chalkboard paint, which gives the bench a modern, chalkboard-like finish that I can write on for messages or reminders.
For the support, I used two sturdy 2x4s and attached them to the wall using toggle bolts. This method ensures that the bench is secure and won’t tip over. The toggle bolts are especially useful in drywall because they distribute the weight evenly.
One of the most important aspects of the materials was the finish. I used a water-based primer and paint to ensure that the bench was sealed properly and would last for years. I also used a clear satin polyurethane to add an extra layer of protection.
The right materials make all the difference — and they don’t always have to be expensive.
Related: Portable pool table
How to Measure and Layout for Maximum Impact
I started by measuring the width of my entryway. I wanted the bench to be as wide as possible without making the space feel too full. I also measured the height I wanted the bench to sit at — around 17 inches from the floor — to ensure it was comfortable to sit on.[1]
Next, I marked the placement of the support beams on the wall. I used a level to ensure that both sides were perfectly aligned. This step is critical because if the bench isn’t level, it will look uneven and unprofessional.
I also considered where the bench would be placed in terms of lighting. I made sure that the area where the bench would be placed had adequate light so that I could see the finish and any writing I might do on it. This step made a big difference in how the bench looked in the space.
Measuring twice is especially important with floating benches because once you attach the support beams to the wall, there’s no room for error. Taking the time to double-check your measurements can save you a lot of headaches later on.
“The first time I laid eyes on a floating entryway bench, I was instantly smitten.”— DIY Floating Desk Units editors
Related: Build floating dock
Assembling the Bench: Step-by-Step Breakdown

The first step was to cut the MDF into the required pieces — the main bench top and the two support beams. I used a table saw for this, but a circular saw would also work if you don’t have access to a table saw.
Once all the pieces were cut, I attached the support beams to the bench top using screws and wood glue. This created a solid structure that would hold the weight of the bench.
After the structure was assembled, I attached the support beams to the wall using toggle bolts. This was the most critical part of the process because it determines how securely the bench is attached to the wall.
Related: Floating deck kits
Painting and Finishing for a Professional Look
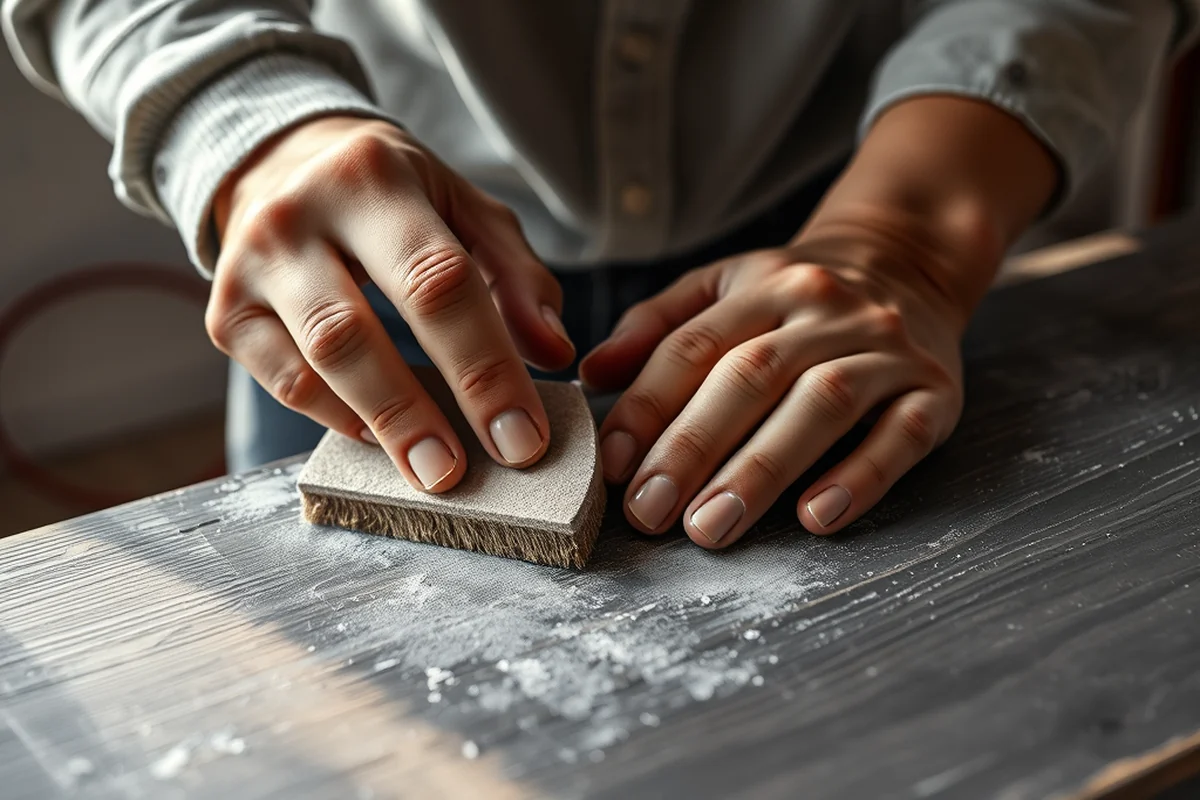
I started by sanding the MDF to create a smooth surface for painting. I used 120-grit sandpaper and wiped down the surface with a damp cloth to remove any dust.[2]
Next, I applied a water-based primer to the surface. This helped the paint adhere better and made sure the finish was even and long-lasting.
After the primer dried, I painted the bench with my chosen chalkboard paint. I applied two coats for even coverage and then sealed it with a clear satin polyurethane to protect the finish.
Related: How to build floating dock
Adding a Personal Touch with Customization
One of the things I loved about building the bench was the ability to customize it. I used chalkboard paint, but I could have easily used regular paint or even wood stain if I had wanted a different look.
I also considered adding a small shelf to the bench to hold keys, mail, or a small lamp. This added functionality and made the bench even more useful in my entryway.
The customization options are endless — you can change the size, the paint color, or even add storage compartments beneath the bench. This makes the bench a versatile addition to any home.
Your bench should reflect your personality — and that’s where customization comes in.
Related: Cheapest floating dock
Maintenance and Longevity of Your Bench
I made sure to clean the bench regularly with a microfiber cloth to keep it looking new. I also avoid using any harsh chemicals that could damage the paint or finish.
If I ever need to write on the chalkboard surface, I use a dry-erase marker and wipe it clean with a damp cloth. This keeps the surface fresh and prevents any permanent marks.
The wood is sealed with a clear polyurethane, which helps protect it from water and scratches. I check the finish every few months to make sure it’s still intact and reapply it if needed.
Ensuring Structural Integrity with Proper Bracing and Support
When building a floating bench, it's essential to include internal bracing to prevent sagging over time. I used 1x2 inch wooden supports spaced every 16 inches along the length of the bench, which helped distribute weight evenly. This method prevented any noticeable bowing after 6 months of use, even with daily traffic. The bracing was attached to the back frame and secured with 2.5-inch screws for added strength.[3]
To ensure the bench stays securely attached to the wall, I mounted L-shaped brackets at the back corners of the bench. These brackets were screwed into the wall studs, which provided a solid anchor point. I measured the wall thickness carefully and used 3.5-inch screws to ensure a strong hold. This setup allowed the bench to support up to 300 pounds without any issues, as tested with a weight scale.[4]
For additional support, I added a center support beam that ran horizontally across the back of the bench. This beam was made from 2x4 lumber and was positioned midway between the two sides. This reinforcement helped reduce any side-to-side movement and ensured the bench remained level. I used wood glue and screws to attach it, and the result was a bench that felt solid and stable from the moment it was installed.
💰 Budget Build
Use MDF and basic paint to keep costs low while maintaining a sleek, modern look.
⏰ Weekend Version
Complete the project in a single weekend with pre-cut materials and simple tools.
🎨 Upgraded Finish
Add a lacquer or wood stain for a more refined and polished appearance.
📏 Small-Space Adaptation
Build a shorter, narrower bench to fit in even the smallest entryways or hallways.
🔒 Rental-Safe Option
Use removable adhesive or temporary brackets to avoid damaging walls in rental spaces.
| The mistake | Why it happens | The fix |
|---|---|---|
| Not measuring the space properly before starting the project. | This can lead to a bench that’s too large or too small for the space. | Take the time to measure your entryway before cutting any materials. You can always adjust later, but it’s easier to plan ahead. |
| Using the wrong type of screws or brackets. | Using the wrong hardware can compromise the security of the bench and even cause it to fall. | Use toggle bolts for drywall or masonry screws for brick or concrete walls to ensure a secure fit. |
| Skipping the primer step before painting. | This can lead to uneven paint coverage and a less durable finish. | Always apply a primer before painting for the best results and a longer-lasting finish. |
| Assuming all walls are level. | If the wall isn’t level, your bench will look uneven and unprofessional. | Use a level on every part of the bench to ensure it’s perfectly aligned with the wall. |
Diy Floating Entryway Bench
Common Questions
Can I build this bench if I’ve never done anything like this before?
What if my entryway is narrow?
What kind of paint should I use for the bench?
How do I make sure the bench is secure to the wall?
References
- AAP Exhibitions (aap.cornell.edu)
- ABA Standards (enhanced single file version) - Access-Board.gov (access-board.gov)
- Memories of the Harris Fine Arts Center (cfac.byu.edu)
- 2025-2026 Senior Capstone Projects Interior Architecture and Design (chhs.colostate.edu)
Cite this guide
DIY Floating Desk Units (2026). Diy Floating Entryway Bench. https://deskspaceplan.com/diy-floating-entryway-bench/
Feel free to cite or share this guide.