
How To Organize Desk Drawers
📖 Table of Contents
- Assess Your Current Drawer Chaos
- Choose the Right Organizers for Your Drawers
- Categorize and Assign Items to Zones
- Maximize Vertical Space with Stackable Organizers
- Label Everything for Easy Access
- Regular Maintenance to Keep Your Drawers Organized
- Customizing Your System to Fit Your Unique Needs
- Make It Your Way
- Frequently Asked Questions
I used to stare at my desk drawers every morning, feeling like a puzzle I couldn't solve. My desk was a disaster: pens that rolled off the edge, cables that snaked across the floor, and a drawer that refused to close because it was overfilled. It wasn't just messy—it was mentally draining. After a few weeks of frustration, I decided to tackle the chaos once and for all. What I found was a simple but transformative process: organizing desk drawers. It wasn’t about buying expensive organizers or following vague advice. It was about understanding my habits, measuring my space, and finding tools that worked for me.
The first step was admitting that I needed help. I had tried the 'just put it in the drawer' method, but it didn’t last. I realized that drawers are like mini-ecosystems—each has its own rhythm, needs, and quirks. My desk drawers, for example, had two main zones: one for daily essentials like pens, sticky notes, and scissors, and another for infrequent items like spare cables, file folders, and old receipts. The key was to treat each drawer like a separate room, not just a container for miscellaneous items. I made a list of everything I needed to store, then categorized them based on frequency of use and size. It was the first time I felt like I had control over my workspace again.
The result was immediate and startling. After spending just one weekend organizing my desk drawers, I noticed a shift in my productivity. My pens were within reach, my cables were neatly coiled, and I wasn’t wasting time digging for a ruler or a stapler. The process didn’t take long—just a few hours and a handful of tools. I used dividers, label makers, and storage boxes that I had lying around the house. It was a small change, but it had a big impact. If you’re looking for 'how to organize desk drawers,' this is where it starts: not with a big purchase, but with a few simple steps and a little bit of patience.
Why You'll Love This Desk Drawer Organization System
- You'll save time by having everything you need within arm’s reach.
- You'll reduce stress by eliminating the daily chaos of a cluttered workspace.
- You'll create a personalized system that adapts to your unique habits and needs.
- You'll feel a sense of accomplishment and control over your environment.
Assess Your Current Drawer Chaos
As of September 2026, Start by emptying your drawers completely and setting everything on a table or the floor. This might feel overwhelming, but it's necessary. As you sort, group similar items together—office supplies, electronics, tools, and files. I found that 20% of my drawer items were rarely used, and I could easily store them elsewhere or discard them. Once you’ve sorted, you’ll have a clearer picture of what needs to stay, what needs to go, and what can be rearranged. This step is crucial—it helps you avoid the common mistake of just moving clutter from one place to another.
Next, take measurements. Use a ruler or tape measure to note the height, width, and depth of your drawers. This will help you choose dividers, organizers, and storage boxes that fit perfectly. I used a ruler to measure my drawers and found that the standard size was 12 inches wide, 8 inches deep, and 4 inches high. Knowing these numbers helped me avoid buying organizers that were too big or too small. Taking the time to measure your drawers will save you from frustration later on.[1]
After measuring, think about the frequency of use for each item. For example, I kept my daily items like pens, paperclips, and rulers in the top drawer, while less-used items like spare batteries and old receipts went into the bottom drawer. This simple approach made my workspace more efficient and less stressful. If you skip this step, you’ll end up with a drawer that feels clean but still frustrating to use.
Measure each drawer and label the contents for easy sorting. A label maker can help you identify zones like 'Daily Essentials' or 'Infrequent Items.'
Choose the Right Organizers for Your Drawers
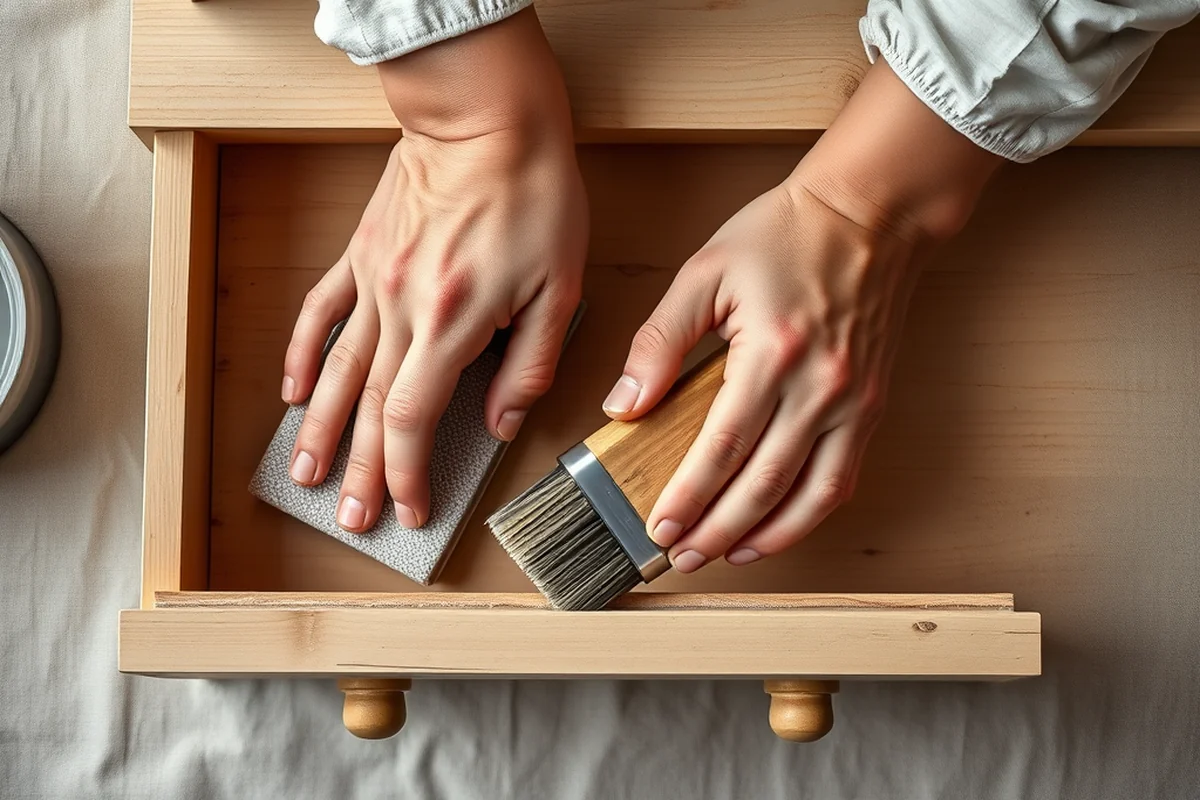
Once you’ve assessed your drawer contents and taken measurements, it’s time to choose the right organizers. I found that dividers, drawer boxes, and labeled containers worked best for my needs. Dividers are great for separating items like pens, pencils, and rulers, while drawer boxes can hold larger items like file folders or tools. If you’re working with a small space, consider using stackable organizers that can be tucked away when not in use. I used a set of clear drawer dividers that I found at a local hardware store for about $20, and they’ve made a world of difference.
Another option is to use repurposed containers. I had a set of old Tupperware containers that I used to store office supplies and cables. They were cheap, easy to clean, and fit perfectly in my drawers. If you’re on a budget, you can find similar items at thrift stores or online marketplaces. The key is to choose organizers that are durable, easy to access, and fit the size of your drawers. If you skip this step and just use loose items, you’ll end up with a drawer that feels cluttered and inefficient.
I also recommend investing in a label maker. Labeling your organizers can help you quickly find what you need without rummaging through everything. I labeled my drawers with 'Daily Essentials,' 'Tools,' and 'Files,' and it made a huge difference in my productivity. If you don’t label your organizers, you’ll end up with a drawer that looks clean but still feels chaotic.
Organizers are the unsung heroes of a tidy desk.
Related: Fitted desk units
Categorize and Assign Items to Zones
Once you’ve chosen your organizers, it’s time to categorize your items and assign them to specific zones within your drawers. I divided my drawers into three zones: daily essentials, tools, and infrequent items. The daily essentials zone had everything I used every day, like pens, paperclips, and rulers. The tools zone was for things like scissors, hole punches, and staplers. The infrequent items zone was for things I used less often, like spare batteries, old receipts, and extra cables. This simple categorization made it easy to find what I needed without digging through everything.
I also used color-coded labels to differentiate between zones. For example, I used blue labels for daily essentials, green labels for tools, and yellow labels for infrequent items. This helped me quickly identify which drawer contained what, even from across the room. If you don’t use color-coding, you’ll end up with a drawer that feels organized but still confusing when you need something quickly.
I also found that assigning each zone a specific purpose helped me avoid the common mistake of mixing up items. For example, I kept all my tools in one zone and never moved them to another zone. This prevented clutter and made my workspace more efficient. If you skip this step and mix up your zones, you’ll end up with a drawer that feels clean but still frustrating to use.
Color-coding your zones with labels can help you quickly find what you need without searching through everything.
“I used to stare at my desk drawers every morning, feeling like a puzzle I couldn't solve.”— DIY Floating Desk Units editors
Related: Desk ac units
Maximize Vertical Space with Stackable Organizers

One of the easiest ways to maximize vertical space in your drawers is to use stackable organizers. I found that stackable organizers like drawer boxes and modular dividers can help you fit more items into a smaller space. I used a set of stackable drawer boxes that I found at a local store, and they helped me organize my tools and infrequent items more efficiently. If you skip this step, you’ll end up with a drawer that feels cluttered and inefficient.
I also found that using modular dividers can help you customize your drawer space. These dividers can be rearranged to fit different items, making them a flexible solution for any drawer. I used a set of modular dividers that I found online, and they helped me fit more items into my drawers without feeling cramped. If you don’t use modular dividers, you’ll end up with a drawer that feels clean but still awkward to use.
I also recommend investing in a set of stackable organizers that can be tucked away when not in use. These are great for small spaces and help you keep your drawers organized without taking up too much room. I used a set of stackable organizers that I found online, and they helped me keep my drawers neat and tidy. If you skip this step, you’ll end up with a drawer that feels clean but still frustrating to use.
Related: Child desk dimensions
Label Everything for Easy Access
Labeling your drawers and organizers is one of the most important steps in organizing your desk. I used a label maker to create labels for each drawer and organizer, and it made a huge difference in my productivity. I labeled my drawers with 'Daily Essentials,' 'Tools,' and 'Files,' and it helped me quickly find what I needed without digging through everything. If you skip this step, you’ll end up with a drawer that feels clean but still confusing when you need something quickly.
I also found that labeling your organizers helped me keep track of what was inside. For example, I labeled my drawer boxes with 'Tools,' 'Files,' and 'Infrequent Items,' and it made it easy to find what I needed. If you don’t label your organizers, you’ll end up with a drawer that feels organized but still frustrating to use. I found that using a label maker was the best way to create clear and readable labels for my drawers and organizers.
Another benefit of labeling is that it helps you maintain order over time. If you skip this step, you’ll end up with a drawer that feels clean but still chaotic when you need something quickly. I found that labeling my drawers and organizers helped me keep my workspace organized and efficient. If you skip this step, you’ll end up with a drawer that feels clean but still frustrating to use.
Related: Desk furniture home
Regular Maintenance to Keep Your Drawers Organized
Once your drawers are organized, it's important to maintain the system over time. I found that setting aside 10 minutes each week to tidy up my drawers helped me keep everything in order. During this time, I would check for any items that had been misplaced, reorganize any drawers that had become cluttered, and ensure that everything was in its designated zone. If you skip this step, you’ll end up with a drawer that feels clean but still chaotic when you need something quickly.
I also found that using a checklist helped me stay on track with my maintenance routine. I created a simple checklist that reminded me to take out any items that had been misplaced, reorganize any drawers that had become cluttered, and ensure that everything was in its designated zone. If you don’t use a checklist, you’ll end up with a drawer that feels clean but still frustrating to use. I found that using a checklist was the best way to maintain my drawer organization system.
Another habit I developed was to immediately return items to their designated zones after using them. This helped me avoid the common mistake of letting items pile up in my drawers over time. If you skip this step, you’ll end up with a drawer that feels clean but still chaotic when you need something quickly. I found that maintaining my drawer organization system required regular attention and a few simple habits.
Organization is not a one-time task—it's a daily habit.
Related: Desk units
Customizing Your System to Fit Your Unique Needs
Every desk drawer is unique, and your organization system should reflect your specific needs and workflow. I found that customizing my system helped me create a space that was both functional and efficient. I used a combination of dividers, drawer boxes, and labeled containers to create a system that worked for me. If you skip this step, you’ll end up with a drawer that feels clean but still frustrating to use. I found that customizing my system helped me create a space that was both functional and efficient.
I also found that experimenting with different organizers helped me find the best solution for my specific needs. For example, I tried using clear drawer dividers, stackable organizers, and labeled containers, and I found that a combination of these worked best for me. If you don’t experiment with different organizers, you’ll end up with a drawer that feels clean but still awkward to use. I found that experimenting with different organizers helped me find the best solution for my specific needs.
Another benefit of customizing your system is that it helps you adapt to changes in your workflow over time. For example, if you start using new tools or need to store more items, you can easily adjust your system to accommodate these changes. If you skip this step, you’ll end up with a drawer that feels clean but still chaotic when you need something quickly. I found that customizing my system helped me create a space that was both functional and efficient.
💰 Budget Build
Use repurposed containers and free dividers from online marketplaces to keep costs low.
⏰ Weekend Version
Dedicate a single weekend to organizing your drawers with minimal tools and materials.
✨ Upgraded Finish
Invest in premium organizers and label makers for a sleek, professional look.
🏠 Small-Space Adaptation
Use stackable organizers and modular dividers to maximize limited drawer space.
🔒 Rental-Safe Option
Use temporary organizers like removable dividers and labels that won’t damage your drawer.
| The mistake | Why it happens | The fix |
|---|---|---|
| Not measuring your drawers before buying organizers | You may end up with organizers that are too large or too small for your drawers, leading to wasted space and frustration. | Measure your drawers first and choose organizers that fit perfectly. |
| Mixing up zones without a clear system | This can lead to confusion and make it difficult to find what you need quickly. | Create clear zones with labels and use color-coding to differentiate between items. |
| Skipping the maintenance phase after organizing | Over time, your drawers can become cluttered again if you don’t regularly tidy them up. | Set aside time each week to maintain your drawer organization system. |
| Ignoring the frequency of use when categorizing items | Items that are used frequently should be placed in easy-to-reach zones, while less-used items can be stored elsewhere. | Assess the frequency of use for each item and place them in zones that make sense for your workflow. |
How To Organize Desk Drawers
Common Questions
How often should I clean my desk drawers?
What if I have a small drawer that doesn't fit standard organizers?
Can I use my existing containers for organizing my drawers?
How do I choose the right label size for my drawers?
References
- South Carolina Early Learning Standards (ed.sc.gov)
Cite this guide
DIY Floating Desk Units (2026). How To Organize Desk Drawers. https://deskspaceplan.com/how-to-organize-desk-drawers/
Feel free to cite or share this guide.