
Desk Units
📖 Table of Contents
I still remember the first time I saw a floating desk unit in a friend’s home. It wasn’t just the sleek design that caught my attention—it was the way the space felt more open, more functional, and more alive. That moment sparked my obsession with building my own. Floating desk units have become a staple in modern homes, blending utility with minimalism. Whether you're looking to maximize a small apartment, create a dedicated workspace, or simply refresh your living area, these units are the answer.
When I decided to build my first floating desk unit, I had no idea how satisfying the process would be. It wasn’t just about assembling pieces; it was about crafting something that would serve me for years. The challenge of working with wood, screws, and measurements transformed into something far more rewarding. Over time, I discovered that these units are not only stylish but also incredibly versatile. They can be tailored to fit almost any room, from a home office to a reading nook.
The beauty of a floating desk unit lies in its simplicity. Unlike traditional desks that take up floor space, these units hover, creating the illusion of more room. I've built several variations over the years, each one tailored to a different need—some for my office, others for guest rooms, and even one that doubles as a TV stand. What I’ve learned is that building your own isn’t just about saving money; it’s about personalization, control, and the satisfaction of seeing something you created come to life.
Why You'll Love This Floating Desk Unit
- Creates the illusion of more space by hovering above the floor
- Easy to customize with different wood types, finishes, and dimensions
- Adds a sleek, modern aesthetic to any room
- Durable and built to last with proper materials and techniques
Choosing the Right Materials
As of August 2026, I've built several units using both solid wood and MDF, and I found that MDF is more affordable and easier to cut. Solid wood, on the other hand, adds a premium look and feels more durable over time. I use 3/4-inch thick wood for the desk surface and 1x2 lumber for the frame. It’s important to measure the space carefully and account for any overhangs or under-cabinet storage you might need.
I always check the quality of the wood before purchasing. Warped or uneven boards can cause issues later. If you're working with MDF, make sure it's not too thin, as it can sag under weight. I've found that 3/4-inch MDF holds up well even with heavier items like monitors or books.
When I first built my first unit, I used leftover wood from a previous project. It worked, but I realized that using new, uniform pieces creates a much cleaner look. Don't be afraid to shop around for the best deal—local hardware stores often have better prices than big-box retailers.
When shopping for wood, look for straight, uniform boards with no visible defects. For a floating desk unit, 3/4-inch thick wood is ideal for the surface, and 1x2 or 1x3 lumber is perfect for the frame.
Measuring and Planning

I always start by measuring the space where the desk will go, making sure to account for any obstructions like outlets or baseboards. I sketch out a rough plan on paper before going to the hardware store, which helps me avoid buying the wrong sizes or quantities.
When I first built my desk, I didn’t measure the height properly and ended up with a unit that was too low. It looked awkward and didn’t match the rest of the furniture. Now, I always measure twice and mark the height on the wall with a level to ensure everything is even.
I also consider the user’s needs. If the desk is for a child, I might build it lower. For an office, a standard height of around 29 inches is ideal. I've found that planning out the dimensions early on makes the build much smoother and more efficient.
Measure twice, build once.
Related: Desk units for office
Related: Desk entertainment unit
Related: Desk medium size
Related: Child desk dimensions
Related: Fitted Desk Units
Related: Desk ac units
Related: Folding Desk Units
Related: Cisco Desk Units
Related: Desk base units
Related: What'S It Service Desk
Related: How To Make Custom Units In Tabs
Related: Wall desk units for home
Building the Frame
I start by cutting the vertical and horizontal support pieces to the right lengths. I usually use 1x2 or 1x3 lumber for the frame, which is strong enough and easy to work with. I always use a miter saw for precise cuts, but a hand saw and a square work just as well if you're careful.
I attach the frame pieces using wood screws and wood glue. I always pre-drill holes to prevent the wood from splitting. I've found that using a Kreg Jig for pocket holes makes the process much faster and cleaner. The frame should be assembled on a flat surface to ensure it's level and square.
Once the frame is built, I use a level to check the corners and adjust as needed. I've learned that a slight misalignment in the frame can cause the entire desk to sag over time. Taking your time here ensures the unit is sturdy and long-lasting.
Pocket hole joinery is a great way to assemble the frame without visible screws on the outside. It’s faster and cleaner than traditional wood joinery, making it ideal for DIY projects.
“I still remember the first time I saw a floating desk unit in a friend’s home.”— DIY Floating Desk Units editors
Related: Desk unit drawers
Related: Desk display unit
Related: Desk furniture home
Related: Desk end units
Related: Decked drawer system
Attaching the Desk Surface
After the frame is built and mounted on the wall, I attach the desk surface using brackets or L-shaped supports. I usually use 3/4-inch thick wood for the surface and attach it with screws that go through the frame and into the surface. This ensures a secure connection without visible hardware.
I always check the surface for any warping or unevenness before attaching it. If it's not level, it can cause the desk to sag over time. I've used both wooden brackets and metal supports, and I find that metal brackets are more durable and less likely to break under pressure.
Once the surface is attached, I test it by placing weight on it to make sure it's stable. I've found that using multiple brackets spaced evenly across the frame helps distribute the weight more evenly and prevents the surface from warping.
Related: Standing desk change units
Finishing Touches
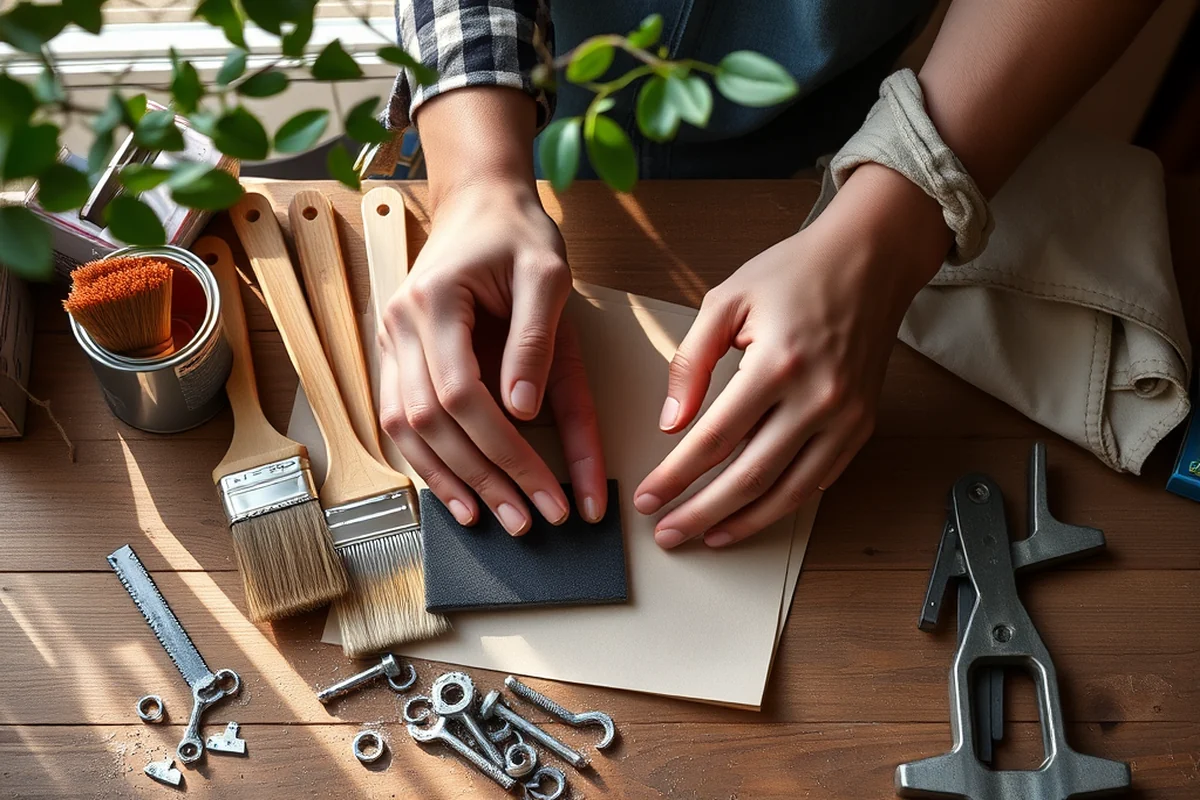
I always sand the surface and frame with 120-grit sandpaper before applying paint or stain. This helps create a smooth, even finish. I usually use a brush or sprayer to apply the paint or stain, making sure to cover all sides evenly.[1]
I’ve used both paint and wood stain on my units, and I’ve found that wood stain brings out the natural beauty of the wood. For a modern look, I often use a white or light gray paint. I always apply two coats and let each one dry completely before applying the next.
Once the finish is dry, I add a clear top coat to protect it from wear and tear. I’ve used both polyurethane and wood wax, and I find that polyurethane is more durable and easier to maintain. It gives the desk a professional, finished look that lasts.
Mounting the Unit on the Wall
I use toggle bolts or wall anchors to secure the frame to the wall. These are especially important if the wall is drywall or plaster, as they provide a strong hold. I always test the weight capacity before hanging the unit to make sure it’s safe.
I’ve found that using a level during the mounting process is crucial. Even a slight tilt can cause the desk to look off-center or wobble. I always mark the wall with a pencil before drilling to avoid mistakes.
Once the unit is mounted, I give it a final check by placing weight on it and ensuring it doesn’t shift or sag. If everything feels stable, I know the unit is ready for use. I’ve built several units over the years, and I’ve found that taking the time to mount it correctly makes all the difference.
A well-mounted desk unit is the difference between a sturdy workspace and a wobbly disaster.
Customizing Your Desk Unit
I’ve built several desk units with different features—some with shelves, others with drawers, and even one with a built-in cable management system. Each one was tailored to the user’s needs, making the space more functional and organized.
I’ve used both wood and metal brackets to add shelves or cabinets. I’ve found that using adjustable brackets allows for more flexibility in arranging items. I’ve also used drawer slides and hinges to create storage solutions that fit the user’s lifestyle.
Customization doesn’t have to be complicated. Adding a few drawers or a few shelves can transform a simple desk into a multifunctional unit. I’ve found that thinking about how the user will interact with the desk helps create a more thoughtful and functional design.
💰 Budget Build
Use MDF for the desk surface and 1x2 lumber for the frame. Paint or stain for a quick and affordable finish.
⏰ Weekend Version
Build the desk in one weekend using pre-cut materials and simple tools. Great for beginners looking for a quick project.
✨ Upgraded Finish
Use solid wood for the desk surface and add decorative trim or hardware for a more polished look.
🏠 Small-Space Adaptation
Build a smaller desk unit with built-in shelves and storage to maximize space in a compact area.
🔒 Rental-Safe Option
Use removable brackets and avoid drilling into walls to make the desk unit easy to take down without damaging the rental property.
| The mistake | Why it happens | The fix |
|---|---|---|
| Not measuring the space properly before starting | This can lead to a unit that doesn’t fit or looks off-center in the room. | Measure the space carefully and mark the height on the wall with a level before cutting any materials. |
| Using the wrong type of wood or materials | Weak or warped materials can cause the unit to sag or break over time. | Choose solid wood or MDF for the surface and use strong, uniform lumber for the frame. |
| Skipping the pre-drilling step | This can cause the wood to split when you screw in the pieces. | Always pre-drill holes before attaching any pieces to the frame. |
| Mounting the unit without proper wall anchors | This can lead to the unit falling or becoming unstable. | Use toggle bolts or wall anchors when mounting the frame to ensure a secure hold. |
Desk Units
Common Questions
How much does it cost to build a floating desk unit?
Can I build a floating desk unit in one weekend?
What tools do I need to build a floating desk unit?
Can I add storage to my floating desk unit?
References
- Build a SAS - Coral Reef Ecosystems - NOAA/AOML (coral.aoml.noaa.gov)
Cite this guide
DIY Floating Desk Units (2026). Desk Units. https://deskspaceplan.com/desk-units/
Feel free to cite or share this guide.