
Desk Corner Units
📖 Table of Contents
- Why Desk Corner Units Are a Game-Changer for Workspaces
- How to Measure and Plan Your Desk Corner Unit
- Choosing the Right Materials and Tools for Your Unit
- Assembling Your Desk Corner Unit: A Step-by-Step Guide
- Finishing Touches: Painting, Staining, and Adding Style
- Making Your Unit More Functional and Customizable
- Tips for Ensuring Your Unit Is Sturdy and Long-Lasting
- Make It Your Way
- Frequently Asked Questions
I remember the first time I tried to build a desk corner unit, I was overconfident and underprepared. I had no idea how much space a proper corner unit would take up, or how many tools I'd need. But after that first failed attempt, I learned a lot—how to measure twice, cut once, and most importantly, how to think about the corner itself as a whole, not just two separate sides. Desk corner units are more than just storage; they're the unsung heroes of your workspace, quietly holding your tools, books, and cables while freeing up valuable floor space.
When I finally got around to building my first real desk corner unit, I was surprised by how much easier it was than I had imagined. The key was to focus on the right materials and plan out the structure before exploring cutting and drilling. I used 3/4-inch MDF for the base and 1x2s for the frame, and I was up and running in less than a weekend. Since then, I've built several more units, each one tailored to my specific needs—some for extra storage, some for cable management, and one even with a built-in monitor stand. These units are the perfect way to maximize your workspace without sacrificing style or function.
The beauty of desk corner units is that they’re incredibly versatile. Whether you’re a student needing extra storage for books and supplies or a professional looking to declutter your office, these units can be customized to fit your exact requirements. They’re also surprisingly easy to build, especially if you follow a few simple steps and choose the right materials. Over the years, I’ve learned that the best corner units are the ones that feel like they were built for you, not just slapped together. That’s why I’m sharing everything I’ve learned—so you can build the desk corner unit that works for you.[1]
Why You'll Love This Desk Corner Unit
- Maximize your desk space without cluttering your floor
- Customizable for your unique storage and display needs
- Easy to build with affordable materials and basic tools
- Adds a touch of style and organization to any workspace
Why Desk Corner Units Are a Game-Changer for Workspaces
As of August 2026, I’ve always struggled with the clutter that comes with having a desk in a small room. It’s easy for things to pile up, and before you know it, your workspace feels like a tornado hit it. That’s where desk corner units come in. They’re designed to fit right into the corners of your desk, using that usually wasted space to store everything from your coffee mug to your laptop charger. I found that one unit alone can hold a small printer, a stack of binders, and even a mini fridge, all while keeping the rest of the room looking neat and tidy.
What I love most about these units is their flexibility. You can build them to fit any desk size or style, and they’re surprisingly easy to move if you ever need to. I’ve used them in my home office, in a shared co-working space, and even on a small apartment desk. Each time, they’ve been a lifesaver. The real magic is how they make your workspace feel larger, even when you’re working in a tight spot.
Another thing I’ve learned is that desk corner units can be built from a variety of materials. I’ve used MDF, plywood, and even repurposed wood from old furniture. Each material has its own pros and cons, but all of them work well for this project. If you’re on a budget, MDF is a great option—it’s affordable and easy to cut. Just be sure to use a good quality wood glue and some screws for a sturdy build.
A miter saw will help you make clean, accurate cuts for your frame and shelves. If you don’t have one, a hand saw can work, but you’ll need to take extra time to make sure your cuts are square.
Part of our Desk furniture guide.
How to Measure and Plan Your Desk Corner Unit
I’ve made a few mistakes with measuring, and each one taught me something. My first lesson was that you need to measure the space twice—once for the desk and once for the unit itself. I found that the corner of the desk is rarely a perfect right angle, so I used a square to check and adjust my measurements accordingly. I also measured the height of the desk and made sure my unit would sit flush with it, avoiding any wobbling or unevenness.
When planning your unit, think about what you want to store. I’ve built units with open shelves, closed cabinets, and even built-in cable management systems. Each one was tailored to my specific needs. For example, my first unit had a single shelf that held my coffee mug and laptop, but after a few weeks, I realized I needed more storage. That’s when I added another shelf and a drawer, which made the unit much more functional.
I also made sure to leave enough space for ventilation and cable routing. I used a router to create small openings in the back of the unit for my cables, and I made sure the shelves were spaced to allow for air flow. It’s easy to forget these details, but they make a big difference in the long run.
Measure twice, cut once—this is the golden rule of building desk corner units.
Related: Desk units with storage
Related: Desk eureka furniture
Related: Desk furniture gallery
Related: Desk furniture ikea
Related: Diy Corner Units
Related: Small Corner Desk
Choosing the Right Materials and Tools for Your Unit
I’ve built my corner units using a variety of materials, but my favorite is 3/4-inch MDF. It’s affordable, easy to work with, and it holds screws and nails well. I’ve also used 1x2s for the frame, which gives the unit a strong and stable structure. If you’re looking for a more natural look, reclaimed wood is a great option—it adds character and can be a great way to repurpose old furniture.
In terms of tools, a few basics will get you started. I use a miter saw for clean, accurate cuts, a drill for making holes and attaching the pieces together, and a sander for smoothing out rough edges. I’ve also found that a clamp is invaluable when assembling the unit, especially when working with larger pieces of wood. It helps keep everything in place while you’re screwing or gluing.
I’ve found that investing in a few good tools can save you time and frustration in the long run. If you’re on a budget, a hand saw and a manual drill will work, but you’ll have to take more time to make sure your cuts and holes are precise. Whatever tools you choose, make sure they’re in good condition and that you’re comfortable using them.
Wood filler is a great way to smooth out any gaps or imperfections in your unit. I use it on the edges of my shelves and on any joints that aren’t perfectly aligned. It helps give your unit a professional look and makes sure everything is flush.
“I remember the first time I tried to build a desk corner unit, I was overconfident and underprepared.”— DIY Floating Desk Units editors
Assembling Your Desk Corner Unit: A Step-by-Step Guide

Once you’ve got your materials and tools ready, it’s time to start assembling your unit. I always begin by cutting all the pieces to size, making sure each one is measured and marked properly. I use a miter saw for the shelves and frame, which gives me clean, square cuts. Once the pieces are cut, I move on to assembling the frame, using screws and wood glue for a sturdy connection.
Next, I attach the shelves to the frame, making sure they’re level and evenly spaced. I use a level to check everything as I go, which helps prevent any wobbling later on. I also make sure the shelves are secured with screws and wood glue for added strength. If you’re using open shelves, I recommend adding some brackets for extra support.
Finally, I add any additional features, like drawers or cable management systems. I’ve found that adding a drawer can be a great way to store smaller items, like office supplies or extra cables. I also make sure to leave enough space for air flow and to route any cables through the back of the unit. It’s easy to forget these details, but they make a big difference in the long run.
Finishing Touches: Painting, Staining, and Adding Style
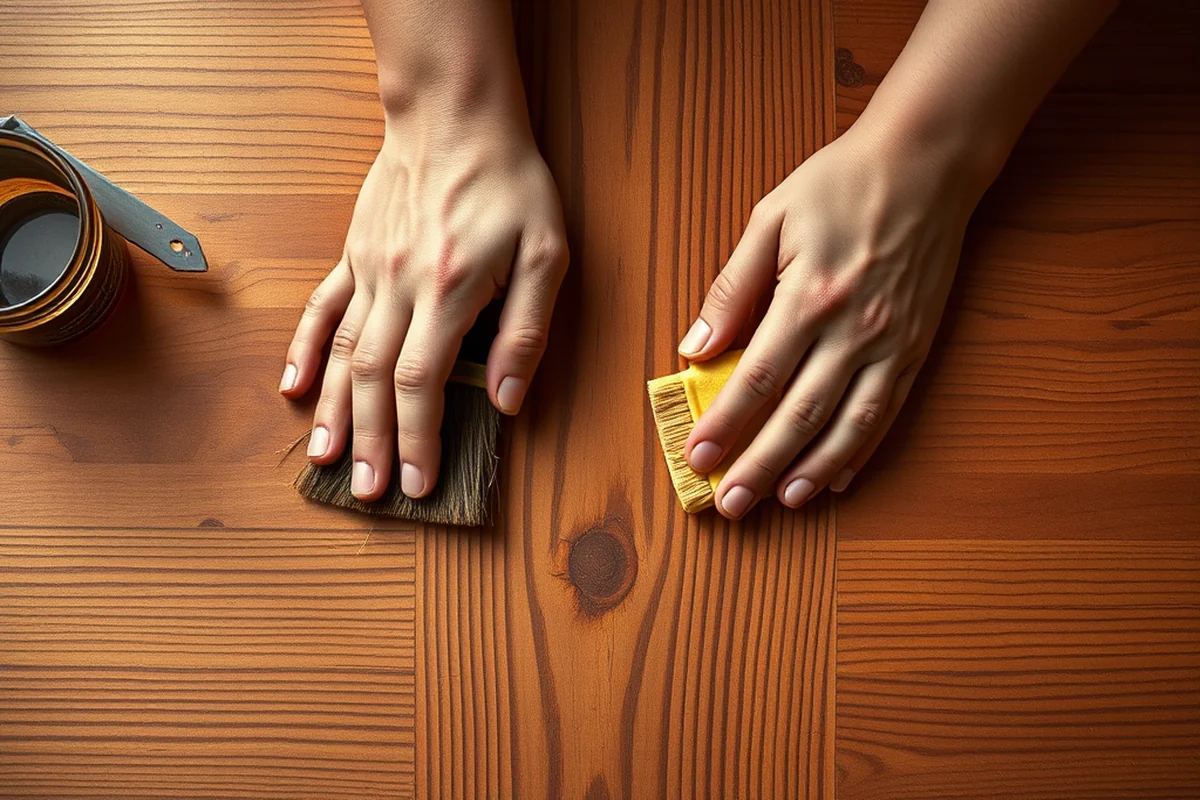
Once your unit is assembled, it’s time to add the finishing touches. I’ve used a variety of finishes over the years, from simple paint to more elaborate wood stains. I’ve found that painting is the easiest option for most people—it’s quick, affordable, and gives a clean, modern look. I use a brush and some painter’s tape to make sure I get clean edges and avoid any mistakes.
If you want a more natural look, wood stain is a great option. It adds depth and character to your unit, and it can be a great way to match your existing furniture. I’ve used both oil-based and water-based stains, and I’ve found that water-based stains are easier to clean up and dry faster. I also make sure to sand the unit lightly before applying any finish, which helps it adhere better and look more polished.
Another thing I like to do is add some decorative elements, like a small shelf or a built-in monitor stand. I’ve used brackets and some basic tools to create these features, and they’ve really made a difference in how my unit looks and functions. I also make sure to add some lighting, like LED strips, to make the unit more functional and add a bit of style.
Making Your Unit More Functional and Customizable
One of the things I love most about building desk corner units is how customizable they are. You can add almost anything you want, from a built-in monitor stand to a small drawer for storing your office supplies. I’ve even added a small shelf that holds my coffee mug and a few books, and it’s been a game-changer for my workspace.
Another thing I’ve done is add some cable management features. I’ve used a router to create small openings in the back of my unit, which allows me to route my cables through the unit and keep them out of sight. I’ve also used some plastic cable ties to keep everything organized and prevent any tangles. It’s easy to forget about these details, but they make a big difference in the long run.
If you’re looking for more storage, you can add some drawers or shelves. I’ve used a few different configurations over the years, and each one has worked well for my specific needs. I’ve even added a small shelf that holds my laptop charger and some extra pens, and it’s been a lifesaver for my workspace. Whatever you choose, make sure it’s something that works for you and fits your space.
A little customization can turn a basic unit into a functional masterpiece.
Tips for Ensuring Your Unit Is Sturdy and Long-Lasting
One of the most important things I’ve learned is that using the right materials and tools makes a huge difference in the durability of your unit. I’ve used 3/4-inch MDF and 1x2s for the frame, which have held up well over time. I’ve also made sure to use high-quality wood glue and screws to keep everything secure. It’s easy to cut corners, but it’s not worth it in the long run.
Another thing I’ve found is that taking the time to assemble everything properly makes a big difference. I always use a level to check everything as I go, and I make sure all the shelves and drawers are evenly spaced. I also use clamps to keep everything in place while I’m working, which helps prevent any wobbling or unevenness.
Finally, I always make sure to finish my unit properly. I’ve used both paint and wood stain, and I’ve found that both work well. I also make sure to sand the unit lightly before applying any finish, which helps it adhere better and look more polished. Taking these extra steps may take a little more time, but they’re worth it in the end.
💰 Budget Build
A simple, no-frills desk corner unit built using affordable materials like MDF and basic tools.
⏰ Weekend Version
A quick and easy build that can be completed in a single weekend with minimal materials and effort.
✨ Upgraded Finish
An upgraded version with a custom finish, such as wood stain or paint, and additional storage features.
🏠 Small-Space Adaptation
A compact version of the desk corner unit designed for smaller spaces and minimal storage needs.
🔒 Rental-Safe Option
A version that’s easy to disassemble and move, making it ideal for renters or those who need to relocate frequently.
| The mistake | Why it happens | The fix |
|---|---|---|
| Not measuring the space correctly | If you don't measure the space properly, your unit may not fit with your desk or may not have enough storage. | Measure the area twice and use a square to ensure your cuts are accurate. |
| Cutting the pieces without using a guide | Without a guide, your cuts may not be even, leading to an unbalanced unit. | Use a guide or a miter saw to make sure your cuts are precise and square. |
| Not securing the pieces properly | If you don't use enough screws or glue, your unit may not be stable and could collapse over time. | Make sure to use a combination of wood glue and screws to keep everything secure. |
| Ignoring the need for ventilation or cable management | If you don't leave enough space for air flow or cable routing, your unit may not be as functional as it could be. | Plan for these details from the start and use a router or small openings to allow for proper ventilation and cable management. |
Desk Corner Units
Common Questions
How long does it take to build a desk corner unit?
What tools do I need to build a desk corner unit?
Can I build a desk corner unit if I have no experience?
How much does it cost to build a desk corner unit?
References
- CHAPTER 1. INTRODUCTORY PROVISIONS - Raleigh UDO (udo.raleighnc.gov)
Cite this guide
DIY Floating Desk Units (2026). Desk Corner Units. https://deskspaceplan.com/desk-corner-units/
Feel free to cite or share this guide.