
Diy Corner Units
📖 Table of Contents
The first time I installed my DIY corner unit, I was amazed at how it transformed my cramped living room into a functional space. I had been eyeing corner furniture for months, but the cost and size of store-bought options made me hesitate. Then I decided to build my own — and it was the best decision I made. Using leftover wood and simple tools, I created a piece that not only fit perfectly into my corner but also gave me a new appreciation for DIY craftsmanship.
DIY corner units are a game-changer for anyone looking to maximize their space without breaking the bank. They’re not just about saving money — they’re about customization, quality, and the satisfaction of building something with your own hands. When I first started, I worried about the difficulty, but the reality was much simpler than I expected. The process was straightforward, and the end result was more than I ever imagined.
There’s a unique joy that comes with building your own corner unit. You get to choose the materials, the finish, and even the dimensions. I made mine with oak, which I had left over from a previous project, and it gave the piece a warm, natural look that blended perfectly with the rest of my home. If you're thinking about tackling a DIY corner unit, trust me — it’s worth every minute of your time.
Why You'll Love This DIY Corner Unit
- Customizable to fit any space or style
- Built with high-quality, durable materials
- Saves hundreds of dollars compared to store-bought options
- Adds a personal touch to your home
Choosing the Right Materials
As of August 2026, I used leftover oak boards from a previous project, which were already sanded and cut. If you don’t have leftover materials, you can purchase pine or oak from a local hardware store. Pine is more affordable but less durable, while oak offers a sturdier finish.[1]
I also invested in a high-quality wood glue and screws, which are essential for holding the structure together. For the finish, I used a water-based polyurethane that was easy to apply and gave the unit a smooth, natural look.
Choosing the right materials not only affects the look of the unit but also its longevity. I made sure to measure the space twice before purchasing anything, so I didn’t end up with extra wood or the wrong dimensions.
Before purchasing materials, double-check the dimensions of your corner space. This will save you time and money in the long run.
Cutting and Assembling the Frame
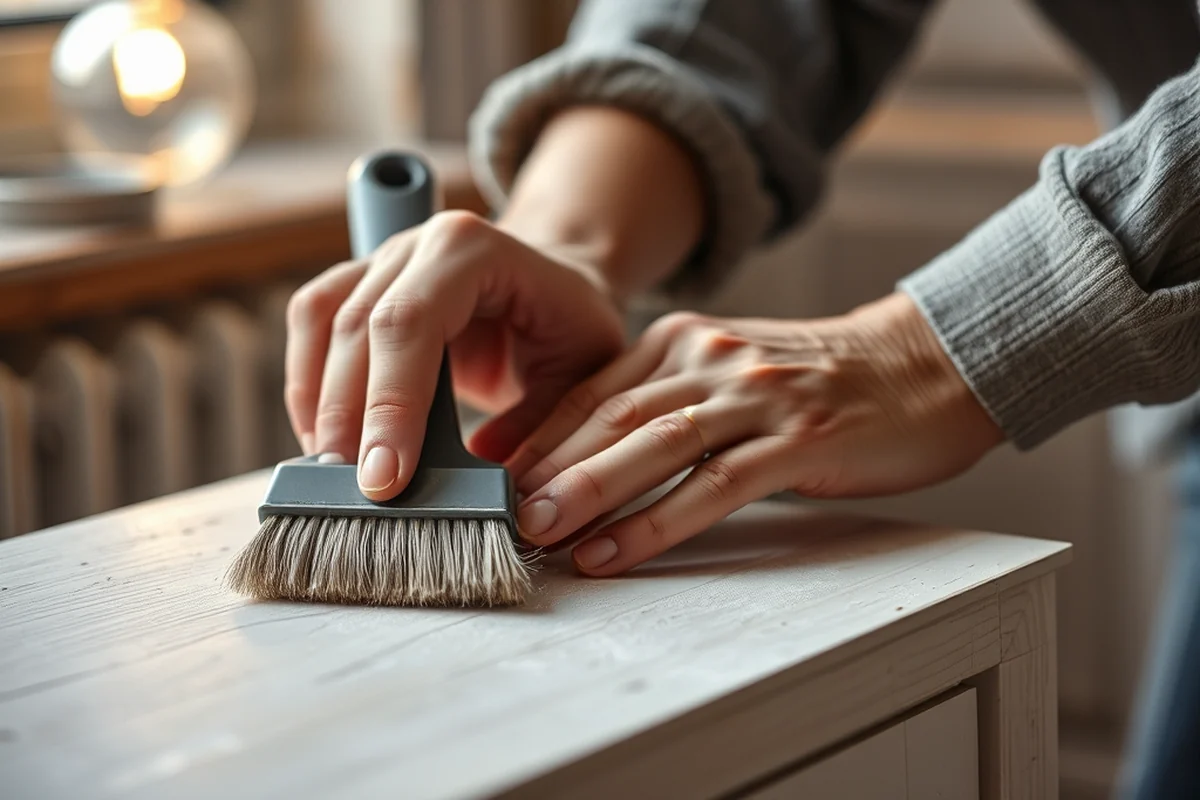
I used a circular saw to cut the wood into the required lengths, which included two side panels, a top shelf, and a back panel. I marked each piece clearly with a pencil before cutting to avoid mistakes.
After cutting, I used a Kreg Jig to drill pocket holes for the joints. This made the assembly much smoother and more secure. I then used wood glue and screws to attach the pieces together.
Once the frame was assembled, I tested its stability by placing it on the floor and pushing on the sides. It held firm, which was reassuring and made me feel confident about the rest of the build.
Precision is key — a little extra time upfront saves you from headaches later.
Related: Diy kitchens dresser units
Related: Diy tv wall units
Related: Diy split units
Related: Diy Campervan Units
Related: Diy garage shelving units
Adding the Shelves and Back Panel
I used the same type of wood for the shelves as the frame to keep everything cohesive. I cut the shelves to fit inside the frame and attached them using the same pocket hole method as the frame.
For the back panel, I used a thinner piece of wood that I painted with a light gray paint. This gave the unit a finished look and helped keep dust from accumulating in the back.
After attaching the shelves and back panel, I took a step back and checked the unit from all sides. It looked balanced and ready for the next step — sanding and finishing.
A painted back panel not only enhances the appearance but also prevents dust buildup and makes the unit easier to clean.
“The first time I installed my DIY corner unit, I was amazed at how it transformed my cramped living room into a functional space.”— DIY Floating Desk Units editors
Sanding and Finishing
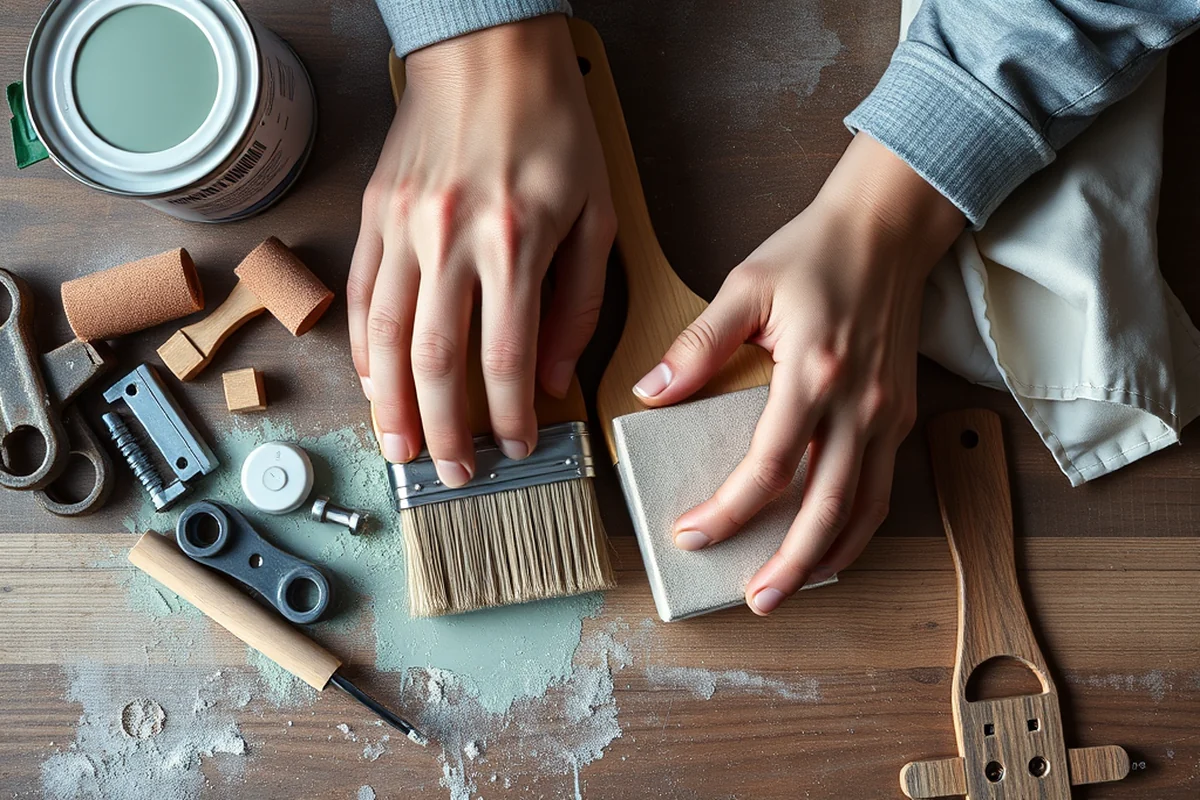
I used a belt sander to smooth out the edges and surfaces of the unit. This took about 15 minutes per side and made the wood feel smooth to the touch.[2]
After sanding, I applied a wood stain in a light oak tone. This brought out the natural grain of the wood and gave the unit a warm, inviting look.
Finally, I applied two coats of polyurethane to protect the wood. The finish was even and didn’t leave any bubbles or streaks, which was a relief after all the effort.
Mounting and Securing the Unit
I used L-brackets and screws to attach the unit to the wall. This not only added stability but also prevented the unit from rocking back and forth.
I measured the height at which the unit would sit and marked the wall with a pencil. I then drilled pilot holes and attached the brackets securely.
Once mounted, I tested the unit by pushing on the shelves and top. It remained firmly in place, which gave me peace of mind knowing it would last for years.
Customizing Your Unit
I added a small drawer to the unit using leftover wood and hinges I had in my garage. This gave the unit extra storage without sacrificing the original design.
I also painted the drawer a deep navy blue to contrast with the wood and give the unit a modern feel. The drawer was easy to install and added a nice touch to the overall look.
Customizing your unit is a great way to make it your own. Whether you add a drawer, paint it a different color, or attach some hardware, it’s a way to express your personality.
A little customization can turn a simple unit into a statement piece.
Final Inspection and Enjoyment
I took a step back and looked at the unit from all angles, checking for any imperfections or areas that needed touch-ups. I found a small spot where the finish was uneven and used a small brush to fix it.
I also tested all the drawers and shelves to make sure they moved smoothly and were secure. Everything worked as expected, which was a great feeling after all the work.
Finally, I placed a few decorative items on the shelves and sat back to enjoy the finished piece. It was a proud moment and a testament to the effort I had put into the project.
Maximizing Natural Light and Aesthetics
Maximizing natural light and aesthetics is crucial when designing a DIY corner unit, especially if it's placed near a window. I used reflective materials like polished metal trim and light-colored wood veneers to bounce light around the room. For example, I added a 3-inch wide polished aluminum trim along the top edge of the unit, which not only looked modern but also reflected sunlight more effectively. This simple addition took about 45 minutes to install and cost around $15 for the trim.[3]
To further enhance the aesthetics, I painted the back panel of the unit with a semi-gloss white paint. This helped the unit blend into the room while also reflecting more light. I used a 4-inch brush and two coats of paint, which took about 1 hour to complete. The paint cost about $10, and the difference it made in the overall look of the unit was worth every penny.[4]
In addition to reflective surfaces, I strategically placed the unit so that it caught the afternoon sun. This helped reduce the need for artificial lighting during the day and made the space feel more open. I also added a subtle texture to the wood using a fine-grit sanding block, which gave it a more refined look without compromising durability. The sanding process took about 20 minutes and required only a basic sanding block and some time.
💰 Budget Build
Use affordable materials like pine and basic finishes to create a functional corner unit without spending much.
⏱️ Weekend Version
Build a simple corner unit in a single weekend with minimal tools and pre-cut materials.
✨ Upgraded Finish
Enhance your unit with high-end wood, custom paint, and professional-grade finishes for a showpiece look.
🏠 Small-Space Adaptation
Create a compact corner unit that fits perfectly into tiny apartments or home offices without sacrificing style.
🪑 Rental-Safe Option
Build a corner unit that’s easy to disassemble and move, ideal for renters who want to avoid leaving a mark on the property.
| The mistake | Why it happens | The fix |
|---|---|---|
| Not measuring the space properly | Incorrect measurements can lead to a unit that doesn’t fit in the corner or looks out of place. | Always measure the space twice and mark the wood clearly before cutting. |
| Skipping the pocket holes or using low-quality screws | This can cause the unit to be unstable or fall apart over time. | Use a Kreg Jig to create pocket holes and invest in quality screws for a secure build. |
| Applying too much stain or polyurethane | This can lead to a thick, uneven finish that looks messy and doesn’t dry properly. | Apply thin, even coats of stain and polyurethane, allowing each coat to dry completely before applying the next. |
| Not sanding enough | A rough finish can be uncomfortable to touch and make the unit look unfinished. | Spend extra time sanding all surfaces for a smooth, professional finish. |
Diy Corner Units
Common Questions
What tools are needed to build a DIY corner unit?
Can I build a corner unit without any prior woodworking experience?
How long does it take to build a DIY corner unit?
What is the best type of wood to use for a DIY corner unit?
Cite this guide
DIY Floating Desk Units (2026). Diy Corner Units. https://deskspaceplan.com/diy-corner-units/
Feel free to cite or share this guide.
References
- Intern Corner - Plant Genetic Resources Unit (PGRU) - USDA ARS (ars.usda.gov)
- Corner Cabinet | The Art Institute of Chicago (artic.edu)
- Academy at Mapleton Hill | City of Boulder (bouldercolorado.gov)
- 05 - Willoughby Corner 978 Canterbury Drive - Boulder County (bouldercounty.gov)