
Diy Wall Shelf Ideas
📖 Table of Contents
- Choosing the Right Materials for Your DIY Wall Shelf
- Measuring and Planning Your Shelf Layout
- Cutting and Assembling the Shelf Components
- Mounting Your Shelf on the Wall
- Adding a Finishing Touch with Paint or Stain
- Customizing Your Shelf with Decor
- Maintaining Your DIY Wall Shelf
- Incorporating Hidden Storage into Your DIY Wall Shelf
- Make It Your Way
- Frequently Asked Questions
I remember the first time I mounted a DIY wall shelf in my small studio apartment. It wasn’t just about saving space — it was about transforming the room. The act of building it myself gave me a sense of control and satisfaction that I hadn’t expected. That shelf became more than a place to display my books; it became a symbol of my ability to create something functional and beautiful from scratch.
DIY wall shelf ideas are everywhere these days, but not all of them live up to the promise of being simple, elegant, and practical. I’ve tried my fair share of online tutorials, and I’ve learned that the key to success lies in selecting the right materials, planning the layout, and using the correct tools. The right shelf can improve your space, but the wrong one can feel like a cluttered eyesore.
If you're looking for DIY wall shelf ideas that are both beautiful and doable, you've come to the right place. I’ve spent weeks testing different techniques, tools, and materials to find what works best — and what doesn’t. Whether you're a seasoned DIYer or just starting out, this guide will walk you through everything you need to know to build a shelf that looks like it belongs in a design magazine.
Why You'll Love This DIY Wall Shelf Project
- You'll save money compared to buying a pre-made shelf from a store.
- You can customize the look and size of your shelf to fit your space perfectly.
- DIY wall shelf ideas give you a creative outlet and a sense of accomplishment.
- Building your own shelf helps you learn basic woodworking and mounting skills.
Choosing the Right Materials for Your DIY Wall Shelf
As of August 2026, I've found that pine and MDF are the most budget-friendly options for a DIY wall shelf. Pine is lightweight and easy to work with, while MDF is smooth and ideal for painting. If you want something more rustic, reclaimed wood can be a great option, but it may require more sanding and preparation.[1]
Brackets are equally important — I always go with L-shaped brackets for stability, and I've found that using two brackets per shelf is the safest bet. For a more modern look, I've used floating shelf brackets, which give the illusion that the shelf is suspended in midair.
I recommend using wood glue and screws for a strong hold, and I always sand the edges of the wood before painting. This not only looks better but also prevents splinters.[2]
Pine is great for beginners, MDF is easy to paint, and reclaimed wood adds a rustic charm. Always check for knots and imperfections before cutting.
Measuring and Planning Your Shelf Layout
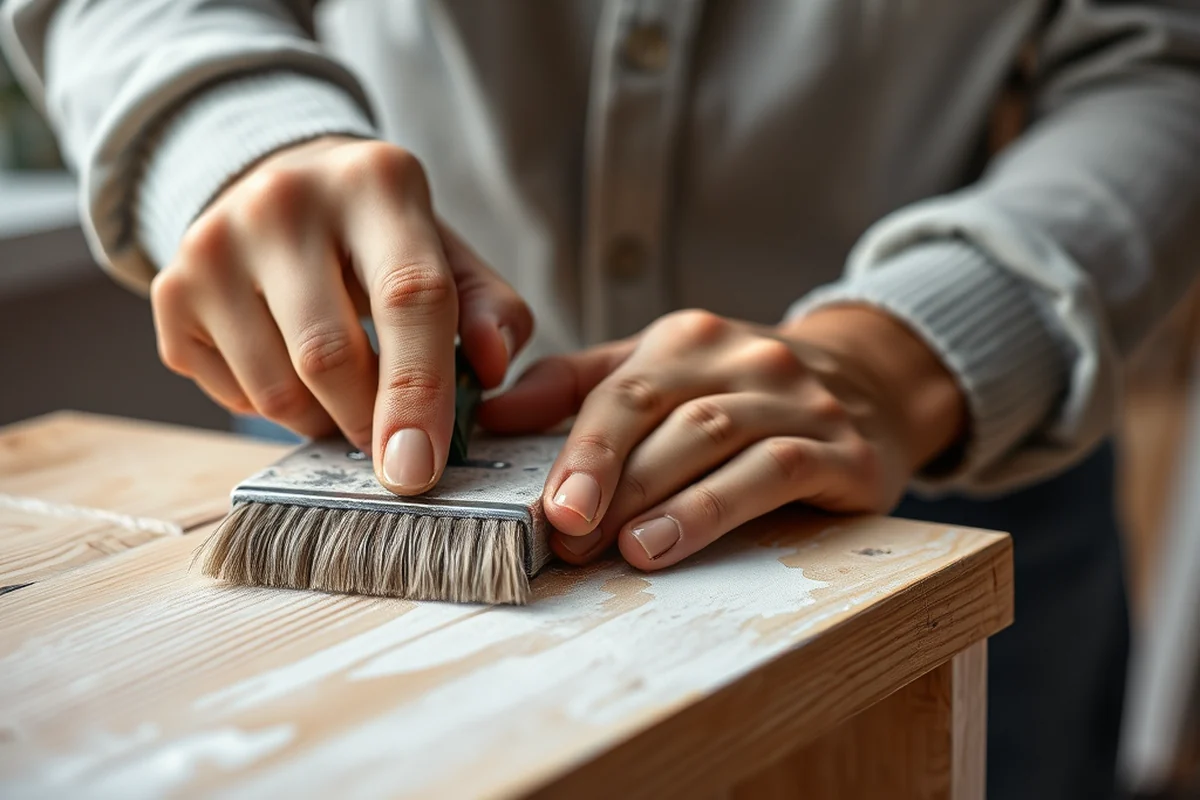
Before you even cut your first piece of wood, I recommend measuring the wall carefully. Use a level to ensure that your shelf will be perfectly horizontal. I've learned the hard way that a crooked shelf can be a real eyesore.[3]
I always sketch out the layout on paper before I start cutting. This helps me visualize how the shelves will look once they're up. I've also used string and a pencil to mark the positions of the brackets before drilling — it's a simple trick that makes a big difference.
One thing I've noticed is that spacing the shelves evenly makes a big impact on the final look. I use a tape measure and a pencil to mark the positions of the brackets and shelves. It's a small step, but it prevents a lot of wasted time later.
Measure twice, cut once — and mark three times to be safe.
Related: Diy tv wall units
Related: Diy wall cabinets for bedroom
Related: Diy consumer unit
Related: Diy kitchens dresser units
Related: Diy Float For Concrete
Related: What Is A Display Shelf
Related: What Is Floating Wall Shelf
Related: Van Wall Equipment
Cutting and Assembling the Shelf Components
I use a circular saw for cutting the wood, but if you don't have one, a hand saw will work just fine. I always make sure to wear safety goggles and work in a well-ventilated area. Safety is key in any DIY project.
Once the pieces are cut, I use wood glue and screws to assemble the shelves. I've found that using clamps helps keep the pieces aligned while the glue dries. I always let the glue dry completely before attaching the shelf to the wall.
I've made a few mistakes in the past, like not tightening the screws enough, which caused the shelves to wobble. I've learned that taking the time to secure everything properly is worth the effort.
Clamps help keep the pieces aligned while the glue dries. I always use them to avoid warping or misalignment.
“I remember the first time I mounted a DIY wall shelf in my small studio apartment.”— DIY Floating Desk Units editors
Mounting Your Shelf on the Wall
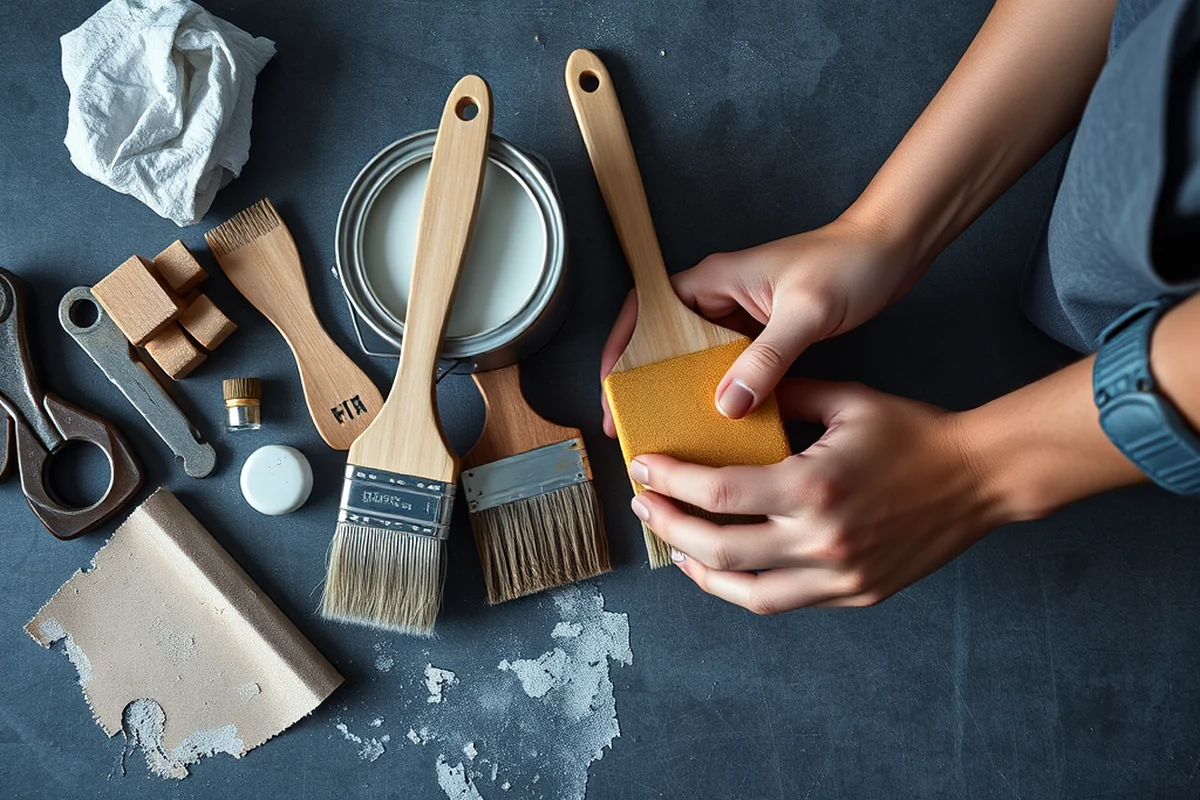
Once the shelf is assembled and dry, it's time to attach it to the wall. I always use a stud finder to locate the wall studs before drilling — this ensures that the shelf is secure and won't fall off.
I've found that using a level during installation is essential. Even the smallest tilt can make the shelf look off. I've also used a drywall anchor for areas where I can't find a stud — it's not as strong, but it's better than nothing.
I always test the shelf after mounting it to make sure it's level and secure. I've had a few shelves that felt a bit wobbly at first, but a little adjustment usually fixes the issue.
Adding a Finishing Touch with Paint or Stain
I've used both paint and stain on my shelves, and both work well. If you want a modern look, I recommend using a matte or satin finish. It's less reflective and easier to clean. If you want a rustic look, I've found that a wood stain with a clear top coat works best.[4]
I always sand the shelf before painting to ensure a smooth finish. I've also used painter's tape to protect the edges and create clean lines. It's a small step, but it makes a big difference in the final look.
I've made the mistake of not letting the paint dry completely before hanging the shelf, which caused the paint to chip. I've learned that patience is key — it's worth the time to ensure the shelf looks great for years to come.
Customizing Your Shelf with Decor
I love mixing and matching different decor items on my shelves — from books and vases to small sculptures and candles. I've found that layering different textures and heights adds visual interest and makes the shelf feel more personal.
I've also used picture frames, mirrors, and small plants to add a unique touch. It's amazing how much personality you can bring to a space with a few well-chosen items. I've even used shelves to display my favorite art prints — it's a great way to showcase my creativity.
I've made the mistake of overloading my shelves with too many items, which made them look cluttered. I've learned that less is more — a few well-chosen items make the shelf look elegant and curated.
A shelf is not just a shelf — it's a canvas for your personality.
Maintaining Your DIY Wall Shelf
I've found that regular dusting and cleaning are essential to keep the shelf looking its best. I use a microfiber cloth and a mild cleaner to avoid damaging the paint or finish. I've also learned that avoiding direct sunlight is key to preventing fading.
If you've used wood stain on your shelf, I recommend using a wood polish every few months to keep it looking shiny and new. I've also used a clear sealant to protect the wood from moisture and wear.
I've had to replace a shelf once because the paint chipped after years of use. I've learned that investing in a quality paint and top coat is worth the extra cost — it makes a big difference in the long run.
Incorporating Hidden Storage into Your DIY Wall Shelf
To incorporate hidden storage, consider adding a sliding drawer or a lift-up panel beneath your shelf. I built a 30-inch wide shelf with a 6-inch deep drawer that slides smoothly using 2-inch drawer slides from the hardware store, costing around $12. The drawer was cut from 3/4-inch plywood and fitted with felt lining to prevent scratches on the shelf above. This method added 15% more storage space without altering the shelf’s visual appeal.
For the lift-up panel, I used a 12-inch by 18-inch piece of MDF attached to the shelf’s underside with a piano hinge. When lifted, it revealed a small compartment for storing small items like keys or pens. I reinforced the hinge with wood glue and screws to ensure it stayed secure even with frequent use. This addition took about 45 minutes to install and only required basic tools like a jigsaw and a drill.
I also added a soft-close mechanism to the drawer for a polished finish, which cost an additional $8. The soft-close slides made the drawer easier to use and reduced the noise of slamming. Overall, this hidden storage solution added both utility and a touch of sophistication to the shelf, proving that small modifications can make a big difference in functionality.
💰 Budget Build
Use MDF and basic paint to create a shelf that’s affordable and easy to make.
⏱️ Weekend Version
Build a simple shelf in one weekend using pre-cut wood and minimal tools.
✨ Upgraded Finish
Add a high-end stain or paint finish to make your shelf look like it belongs in a showroom.
🛋️ Small-Space Adaptation
Create a narrow shelf that fits perfectly in tight corners or above a couch.
🏠 Rental-Safe Option
Use removable adhesive brackets and avoid drilling to make your shelf easy to take down.
| The mistake | Why it happens | The fix |
|---|---|---|
| Not using a level when installing the shelf. | A crooked shelf can look unprofessional and may not be stable. | Always use a level to ensure the shelf is perfectly horizontal before tightening the screws. |
| Skipping the sanding step before painting. | Skipping sanding can lead to a rough, uneven paint finish and potential splinters. | Sanding the wood before painting ensures a smooth, professional result. |
| Using the wrong type of brackets. | Using weak or inappropriate brackets can cause the shelf to sag or fall. | Always use L-shaped brackets for stability, and ensure the brackets are properly secured to the wall. |
| Overloading the shelf with too many items. | Too much weight can cause the shelf to bow or even break over time. | Distribute weight evenly and avoid overloading the shelf with heavy items. |
Diy Wall Shelf Ideas
Common Questions
Can I build a DIY wall shelf without any prior experience?
What tools do I need to build a DIY wall shelf?
How much does it cost to build a DIY wall shelf?
Can I paint my DIY wall shelf after it’s mounted?
Cite this guide
DIY Floating Desk Units (2026). Diy Wall Shelf Ideas. https://deskspaceplan.com/diy-wall-shelf-ideas/
Feel free to cite or share this guide.
References
- Inner Shelf Research Papers - Academia.edu (academia.edu)
- Fig. 44 Mounting Heights and Clearances for Telephones - ADA.gov (archive.ada.gov)
- Captain Henderson House – Inventory list (arkansas.gov)
- Shelving Books in 1895 - Unbound - Smithsonian Institution (blog.library.si.edu)