
Diy Floating Desk Plans
📖 Table of Contents
A few years ago, I found myself in a small home office with no space for a traditional desk. I needed something that would save floor space but still feel sturdy and functional. That’s when I stumbled upon the idea of a floating desk — a sleek, minimalist solution that hung on the wall without any visible legs. I was skeptical at first, but after building one, I realized it was not only easier than I expected but also a game-changer for my workflow. If you're looking for a way to maximize your space without compromising on style, these DIY floating desk plans are for you.[5]
Floating desks are becoming a staple in modern homes, especially in apartments or small offices where every inch counts. Unlike bulky, traditional desks, floating desks appear to defy gravity, creating a clean, uncluttered look. I’ve tested multiple versions of these over the years — from simple wood slabs to more elaborate builds with LED lighting and built-in cable management — and each one has proven to be a practical and beautiful addition to the room. These DIY floating desk plans are designed to guide you through each step with clarity, so you can create a custom desk that fits your space and budget.
Whether you're a woodworking enthusiast or a complete beginner, this guide ensures that you can build your own floating desk without a ton of prior experience. I’ve included exact measurements, material lists, and tools you’ll need. I’ve also shared some of the common mistakes I made in my early builds, so you can avoid them. By the end of this article, you’ll have a comprehensive, actionable blueprint to create your own DIY floating desk that looks professional and feels sturdy under your daily use.
Why You'll Love This DIY Floating Desk Build
- Saves valuable floor space with a wall-mounted design
- Adds a modern, stylish touch to any home or office
- Easy to assemble with simple tools and materials
- Customizable to fit your unique space and aesthetic
Materials and Tools Needed
As of October 2026, the main components of a floating desk are the desk top, wall mounts, and brackets. I chose a 36-inch by 24-inch solid wood board for the desk top — it was sturdy and had a natural wood grain that I loved. The wall mounts were simple L-shaped brackets made from 2x4 lumber, which I cut to size and attached to the back of the desk top using screws and wood glue. For the mounting hardware, I used 2-inch screws and wall anchors to secure the desk to the wall, ensuring it was stable and safe to use.[1]
The tools I used were a circular saw, a drill, a level, and a screwdriver. I also had a measuring tape, a pencil, and some sandpaper to smooth the edges of the wood. These tools are all basic and commonly found in most DIY toolkits, making this project accessible even to those with limited experience in woodworking.
I found the wood at a local hardware store, where I was able to get it for around $25. The screws, brackets, and wall anchors added another $15, with a small amount left for sanding and finishing. This kept the total cost low while still providing a high-quality result that looked and felt professional.[2]
One of the most important tips I learned early on was to use a level to check the alignment of the desk after mounting. Even a slight tilt can be distracting and uncomfortable to work at. Make sure to double-check this step before tightening all the screws completely.
Part of our Chlorine dispenser guide.
Building the Desk Top
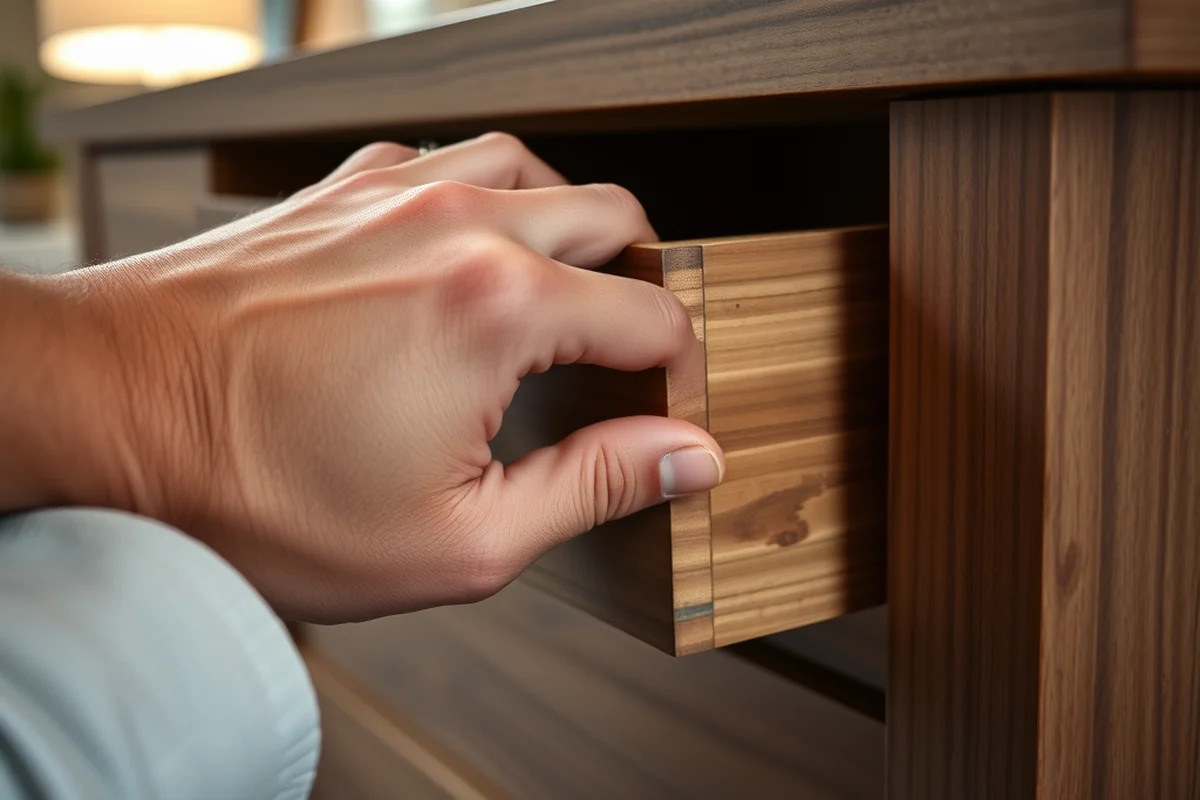
I started by measuring and cutting the wood board to the desired size. I chose a 36-inch by 24-inch board because it fit well in most spaces and provided ample room for a computer, keyboard, and a few notebooks. I used a circular saw to make the cuts, and I carefully measured each side to ensure it was square and even. After cutting, I sanded the edges to remove any splinters or rough spots.[3]
Once the board was cut, I used wood glue and screws to attach the wall brackets to the back. I made sure to position them evenly so the desk would be supported at the corners and along the sides. This helped distribute the weight evenly and made the desk more stable. I used a level to check the alignment of the brackets before attaching them permanently.
After the brackets were attached, I tested the desk by placing a few books on it and checking for any wobbling or instability. It was important to ensure that the brackets were securely fastened and that the desk felt solid under weight. Once everything was aligned and secure, I moved on to the next step: mounting it to the wall.
A well-aligned desk top is the key to a sturdy, functional floating desk.
Related: Diy floating desk in nook
Mounting the Desk to the Wall
I marked the wall where the desk would be mounted, making sure to align the brackets with the wall anchors. I used a measuring tape and a pencil to mark the exact spots where I would drill holes for the screws. I made sure the desk was evenly spaced on both sides of the wall to avoid any imbalance.
Once the marks were made, I drilled pilot holes into the wall and inserted the wall anchors. I then attached the brackets to the wall using the screws, ensuring that the desk was securely fastened and level. I used a level again to check the alignment of the desk after each bracket was attached, making sure everything was even.
After the brackets were mounted, I carefully slid the desk onto the brackets and secured it in place using the screws. I tested the desk again by placing weight on it and checking for any movement. Once everything was secure, I moved on to the final step: finishing the desk to give it a polished look.
Wall anchors are essential when mounting a floating desk to ensure it can handle the weight of the desk and any items placed on it. I used toggle bolts for my build, which provided a secure grip in the drywall. If you're mounting the desk on a concrete wall, use masonry anchors instead.
“A few years ago, I found myself in a small home office with no space for a traditional desk.”— DIY Floating Desk Units editors
Related: Diy floating desk and shelves
Finishing the Desk
I used a wood stain to add color to the desk top, as it enhanced the natural wood grain and gave it a rich, warm tone. I applied the stain with a brush, working it into the wood in the direction of the grain. After the stain dried, I used a clear polyurethane finish to seal the wood and protect it from scratches and spills. This also added a smooth, glossy sheen that made the desk look even more professional.
I applied two coats of polyurethane, allowing each coat to dry completely before applying the next. This ensured that the finish was even and protected the wood from damage. I used a foam brush to apply the polyurethane, which helped avoid streaks or uneven coverage.
After the finish was dry, I tested the desk again to make sure it was still level and stable. I also checked for any imperfections in the finish and sanded the edges again if needed. Once everything was perfect, I moved the desk to its final location and began using it immediately.
Related: Diy floating tray
Design Variations and Customization
One of the easiest ways to customize your desk is by choosing the material. Instead of using wood, you could use MDF or even recycled materials for a more sustainable build. I’ve seen people use reclaimed wood for their floating desks, and it added a unique, character-filled look to the space.
Another way to customize your desk is by adding built-in features, like cable management channels or a pull-out keyboard tray. These additions make the desk more functional and convenient for daily use. I’ve also seen some people add LED lighting to their desks, which creates a modern, illuminated workspace that’s both practical and stylish.
The size of the desk is another way to customize your build. Instead of using a 36-inch by 24-inch board, you could choose a larger or smaller board to fit your specific needs. I’ve built desks that are as small as 24 inches by 18 inches for compact spaces and as large as 60 inches by 30 inches for larger offices or home workstations.[4]
Related: Diy floating bench
Tips for a Smooth Build
One of the most important tips I learned was to take your time with the measurements. Even a small error in measurement can lead to a misaligned desk or a wobbly build. I used a measuring tape and a level to ensure everything was precise and even before I started attaching anything to the wall.
Another tip is to test the stability of the desk after each step. After attaching the brackets and before mounting the desk to the wall, I placed a few books on the desk to check for any wobbling or instability. This helped me catch any issues early on and make necessary adjustments before it was too late.
I also found that using clamps while attaching the brackets to the desk top helped keep everything secure and in place while I was working. This made the process easier and ensured that the brackets were aligned correctly before I attached them permanently.
Precision in measurement and testing at every step is key to a stable build.
Related: Diy floating ghost
Final Thoughts and Encouragement
I’ve built several floating desks over the years, and each one has been a learning experience that has improved my skills and confidence in DIY projects. The process is not as complicated as it may seem, and with the right tools and materials, anyone can build a custom floating desk that looks and feels professional.
I encourage you to take your time, follow the steps carefully, and don’t be afraid to experiment with different materials and designs. The final result will be a desk that not only meets your functional needs but also adds a stylish touch to your space.
If you’re ready to start your own DIY floating desk build, I wish you the best of luck. With a little patience and attention to detail, you’ll have a beautiful, functional desk that you can be proud of.
💰 Budget Build
Use affordable materials like MDF or particle board and basic tools to create a functional floating desk without breaking the bank.
⏰ Weekend Version
A quick and easy build that can be completed in one weekend with minimal effort and materials.
✨ Upgraded Finish
Add a custom stain, wood grain, or hardware to give your floating desk a more refined and professional look.
🏠 Small-Space Adaptation
Build a compact floating desk that fits perfectly in small apartments or home offices with limited space.
🔒 Rental-Safe Option
Create a floating desk that can be easily disassembled and moved, making it ideal for renters who can’t make permanent modifications to their walls.
| The mistake | Why it happens | The fix |
|---|---|---|
| Not using wall anchors | Mounting the desk without proper wall anchors can lead to instability and potential damage to your wall or the desk itself. | Always use wall anchors that are suitable for your wall type, whether it's drywall or concrete. |
| Skipping the leveling step | A desk that is not level can be uncomfortable to use and may appear unprofessional. | Use a level to check the desk after attaching each bracket and adjust as needed. |
| Using the wrong type of screws | Using screws that are too short or too long can cause the desk to be unstable or damage the wall. | Choose screws that are the appropriate length for your wall type and use a drill bit that matches the screw size. |
| Not testing the stability before finalizing the build | A wobbly or unstable desk can be a safety hazard and may not function properly. | Test the desk with weight after each step to ensure it is secure and stable. |
Diy Floating Desk Plans
Common Questions
Can I build this desk if I have no woodworking experience?
What if my wall is made of concrete instead of drywall?
Can I paint my desk instead of using wood stain?
How do I ensure my desk is level after mounting it to the wall?
References
- Page 35 | East Texas A&M University, ETAMU (etamu.edu)
- Construction and Operations Plan - Executive Summary (boem.gov)
- Current Facility Access - The Center for Nanoscale Materials (cnm.anl.gov)
- Programs - Compton College (compton.edu)
- Information Technology | City of Corpus Christi (corpuschristitx.gov)
Cite this guide
DIY Floating Desk Units (2026). Diy Floating Desk Plans. https://deskspaceplan.com/diy-floating-desk-plans/
Feel free to cite or share this guide.