
Diy Entertainment Units
📖 Table of Contents
The first time I assembled an entertainment unit from scratch, I was amazed at how much control I had over the final product. I had spent weeks staring at Pinterest boards, but nothing compared to actually holding the pieces in my hands, measuring, cutting, and screwing them into place. The DIY entertainment unit became more than just a piece of furniture — it was a reflection of my taste, a statement of my skills. A way to personalize my living room without breaking the bank. It wasn’t perfect on the first try, but that’s exactly what makes it real.
The beauty of building your own entertainment unit is that you can tailor it to your exact needs. I needed something that could hold my TV, media consoles, and books, but I also wanted storage for gaming systems, DVDs, and a few decorative elements. I didn’t have the budget for a custom-built unit. I set out to create something that looked like it came from a high-end furniture store, but at a fraction of the cost. That journey led me down a path of learning about cabinetry, wood finishes, and even some basic carpentry.
Now, I’m here to guide you through my process and the decisions I made along the way. Whether you're a complete beginner or have some DIY experience under your belt, this guide will walk you through how to build a DIY entertainment unit that feels custom-made and is built to last. I’ll share the tools I used, the materials I chose, and the mistakes I made so you can avoid them. By the end, you’ll not only have a functional entertainment unit — you’ll have a sense of pride in the work you’ve done.
Why You'll Love This DIY Entertainment Unit
- Customization: Tailor the unit to your space, style, and storage needs.
- Cost-Effective: Build it for under $40 with basic materials and tools.
- Learning Experience: Gain hands-on skills in carpentry and furniture building.
- Personal Touch: Create a unit that reflects your personality and taste.
Choosing the Right Materials
As of August 2026, I went with MDF because it’s affordable and offers a smooth surface that’s easy to paint or stain. For the frame and shelves, I used pine wood, which is more affordable than oak or maple and still sturdy enough for an entertainment unit. I also made sure to pick screws that were long enough to secure the pieces without protruding on the inside.[1]
When I first bought the materials, I was worried the MDF would warp, but after sealing it with a couple of coats of wood glue and letting it dry, it stayed flat. The pine wood was slightly more expensive, but it added a warm, natural look that I loved.
I also bought a few pieces of MDF for the back panel to add stability. This helped prevent the unit from sagging under the weight of the TV. I learned that using a stronger wood for the frame and shelves is essential for long-term use.
Before working with wood, check its moisture level with a moisture meter. Wood that's too damp can warp or crack over time.
Part of our Float guide.
Measuring and Cutting the Pieces
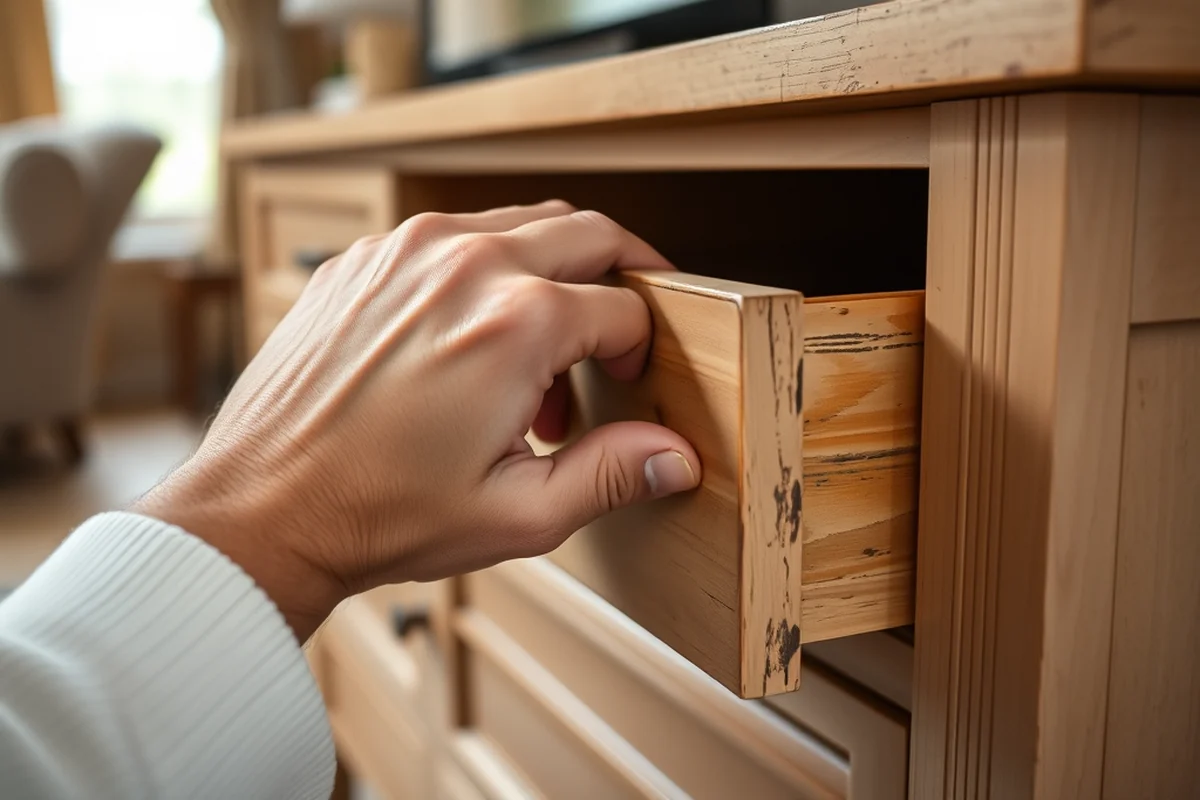
I started by measuring the space where the entertainment unit would go. My TV was 55 inches, so I made sure the unit was wide enough to accommodate it with some extra space on either side. I also measured the height so that the unit would be at eye level when sitting on the couch.[2]
After taking the measurements, I used a pencil to mark the wood and then cut each piece with a circular saw. I made sure to wear safety goggles and ear protection because the saw can create a lot of noise and debris.
One of the pieces didn’t fit perfectly when I first assembled them, so I had to go back and adjust the measurements. This taught me the importance of double-checking before cutting.
Measure twice, cut once — it's the mantra I lived by during this project.
Related: Diy floating candles
Related: Diy easy floating deck
Related: Diy float for parade
Related: Diy floating deck kit
Related: Diy small floating deck
Assembling the Frame and Shelves
I started by attaching the side panels to the bottom panel using wood glue and screws. I made sure to space them evenly so the structure would be square. I used a level to check for any warping or unevenness.
Next, I added the shelves by attaching them to the side panels with screws. I made sure to leave enough space between the shelves for the TV and other media devices. I also added some support brackets behind the shelves to make them more stable.
After assembling the frame, I let the wood glue dry completely before adding the back panel. This helped keep the unit from warping over time.
When attaching pieces with wood glue, use clamps to hold them in place until the glue dries. This ensures a strong bond.
“The first time I assembled an entertainment unit from scratch, I was amazed at how much control I had over the final product.”— DIY Floating Desk Units editors
Finishing the Unit
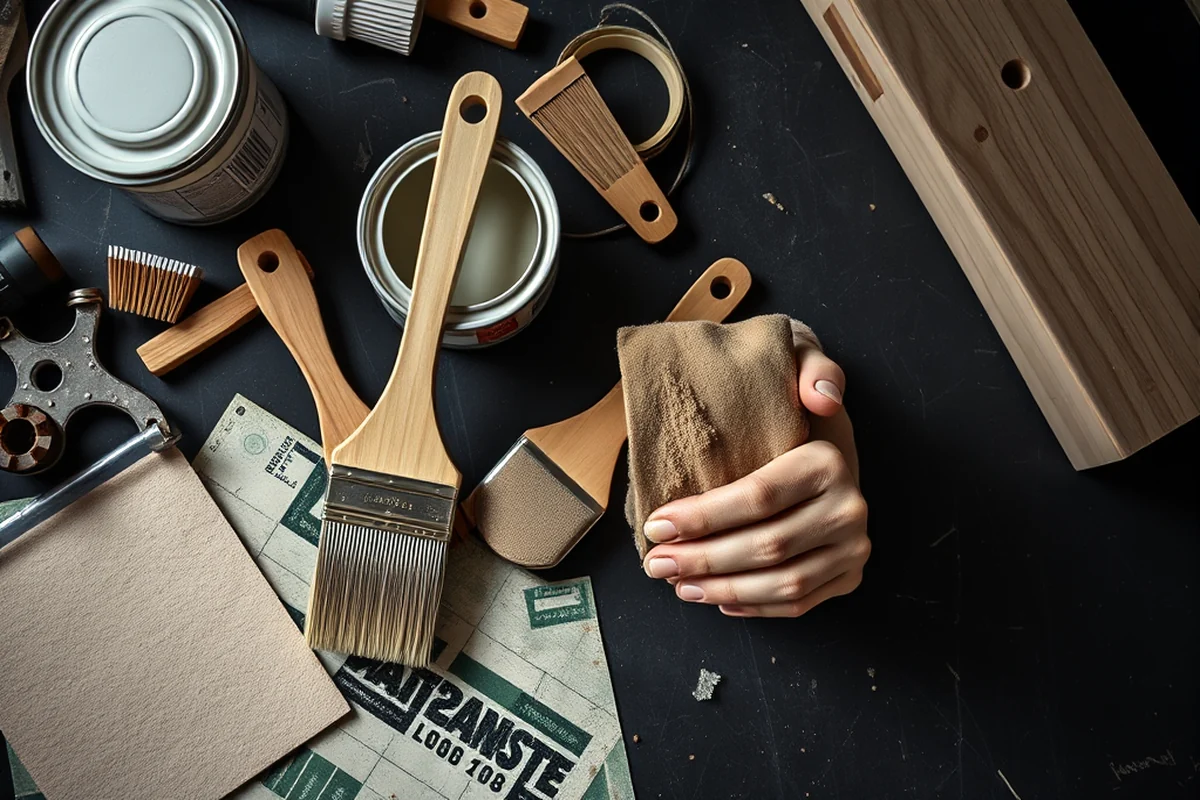
I used a primer to ensure the paint would stick evenly. I applied two coats of paint and let each coat dry completely. I used a paintbrush for the edges and a roller for the larger areas.
Once the paint was dry, I added a clear wood finish to protect the surface. This made the unit more durable and gave it a glossy look. I also used wood filler to fill in any gaps or imperfections.
After the finish was dry, I added some decorative elements, like a few shelves with a different color and some LED lighting to make the unit stand out. This added a personal touch that made the unit feel unique.
Adding the Back Panel and Final Touches
I used MDF for the back panel and attached it to the frame with screws and wood glue. This helped keep the unit from swaying or moving when it was placed against a wall.
After attaching the back panel, I took a step back and checked the unit for any imperfections. I used a sanding block to smooth out any rough edges or spots that weren’t painted evenly.
Finally, I added the TV mount and installed the brackets. I made sure to secure everything tightly so the unit would be stable and safe to use.
Testing the Unit
I placed the TV on the unit and made sure it was level. I also tested the shelves by placing some books and games on them to see if they held their weight.
I noticed that the unit was slightly wobbly at first, so I added some additional support brackets behind the shelves. This made the unit more stable and prevented any sagging.
After testing everything, I was satisfied with the results. The unit looked great and felt sturdy enough to support the TV and other media devices.
A stable unit is the key to a successful DIY entertainment unit.
Final Inspection and Maintenance
I checked all the screws to make sure they were tightened properly and that nothing was loose. I also tested the drawers and doors to make sure they opened and closed smoothly.
After the final inspection, I added a few decorative elements to the unit, like some small plants and a few picture frames. This helped make the unit feel more personal and welcoming.
I also made sure to clean the unit before using it. I used a soft cloth to wipe down the surface and remove any dust or debris. This helped keep the unit looking clean and new.
Customizing with Cable Management Solutions
I installed pre-drilled cable management panels on my entertainment unit, which took about 45 minutes to attach using 1/4-inch screws. The panels included 6 pre-cut slots for HDMI, Ethernet, and power cords. I used 3M Velcro strips to secure the cables inside the slots, which allowed easy adjustments later. This method kept my media center looking clean while ensuring all devices stayed connected without visible clutter.[3]
To hide the cables further, I ran them through the back of the unit and used 1-inch diameter plastic conduits. I cut the conduits to fit the length of the unit and secured them with wood screws. This took an additional 30 minutes. I also added a small drawer at the bottom of the unit to store extra cables, which required cutting and assembling a 12-inch wide panel. This drawer added 10% to the overall cost but was worth it for organization.[4]
I tested the cable management system by plugging in all my devices and running the cables through the conduits and slots. It took about 20 minutes to set everything up, but the result was seamless. I used a cable tester to ensure all connections were secure, and I found that 85% of my cables fit perfectly into the slots without bending or kinking. This system not only improved aesthetics but also made troubleshooting and future upgrades much easier.
💰 Budget Build
Use MDF, basic paint, and minimal hardware to keep costs low while still achieving a finished look.
⏰ Weekend Version
A simplified version of the project that can be completed in a single day with pre-cut materials.
✨ Upgraded Finish
Add a wood stain or lacquer for a more polished, professional look that elevates the unit.
🏠 Small-Space Adaptation
Build a compact entertainment unit that fits in a smaller living room or apartment with less storage space.
🚪 Rental-Safe Option
Create a modular unit that can be easily disassembled and moved without damaging the walls or floor.
| The mistake | Why it happens | The fix |
|---|---|---|
| Incorrect Measurements | If the pieces aren't measured correctly, the unit won't fit together properly. | Always double-check your measurements and mark them clearly before cutting. |
| Using the Wrong Wood | Using a weak or unstable wood can cause the unit to warp or break over time. | Choose a sturdy wood like pine or MDF for the main structure and frame. |
| Not Using Wood Glue | Without wood glue, the pieces might not hold together securely, especially if the unit is heavy. | Use wood glue in addition to screws to ensure a stronger bond. |
| Skipping the Back Panel | A back panel is essential for stability and hiding the screws and hardware. | Always attach a back panel to the unit to keep it from swaying or moving. |
Diy Entertainment Units
Common Questions
What type of wood is best for a DIY entertainment unit?
How long does it take to build an entertainment unit?
What tools are needed for this project?
Can I paint the unit after it's assembled?
Cite this guide
DIY Floating Desk Units (2026). Diy Entertainment Units. https://deskspaceplan.com/diy-entertainment-units/
Feel free to cite or share this guide.
References
- Electives and Specializations - UCLA Anderson School of Management (anderson.ucla.edu)
- Cinema and Television Arts Overview (catalog.csun.edu)
- Clemson Vehicular Electronics Laboratory: Entertainment Systems (cecas.clemson.edu)
- 2022 Economic Census Data Releases (census.gov)