
Fitted Desk Units
📖 Table of Contents
The first time I built a fitted desk unit, I was surprised how much of my workspace transformed in just a few hours. It wasn’t just about the sleek design or the storage it added—it was about how it made me feel more in control of my environment. That desk unit, made from leftover boards and a few hardware stores trips, became the heart of my home office, and it still is today. Fitted desk units are more than just furniture; they're a statement of how you choose to live and work.[1]
Before that first build, I had never considered how much of a difference a well-constructed fitted desk unit could make. My old desk was a mismatched mess, with drawers that stuck and a top that creaked. I had a vague idea of how to make something better, but the actual process was a learning curve. It took a few tries, some trial and error, and a few tools I didn’t even know I needed. Still, the end result was worth every bit of effort and time.
Fitted desk units are the unsung heroes of any home or office. They’re not just functional—they're customizable, adaptable, and capable of transforming a space. Whether you're a DIYer with a passion for woodwork or a first-timer looking to upgrade your workspace, these units can be tailored to fit your needs. I’ve built several over the years, and each one taught me something new about craftsmanship, planning, and the importance of a solid foundation.
Why You'll Love This Fitted Desk Unit Build
- A fully customizable design that fits your space and style.
- Built using affordable materials and basic tools.
- A strong, durable structure that lasts for years.
- Adds both functionality and aesthetic value to your workspace.
Choosing the Right Materials
As of August 2026, I started with basic 3/4-inch birch plywood, which was both affordable and sturdy. It gave the desk a clean, modern look that I really liked. I also used MDF for the shelves because it’s easy to cut and sand, and it holds screws well. The key was to make sure all materials were flat and free of warping.
I bought the wood from a local lumber yard, which saved me about 20% compared to buying from a big box store. The lumber yard also had a wide variety of finishes available, which helped me match the desk to my existing furniture.
For those on a tighter budget, using leftover wood or repurposed materials can be a great option. I’ve built several fitted desk units with old pallet wood, and they turned out just as well as using new materials.
Always measure your workspace and materials multiple times before cutting. A small mistake can cost you time and materials.
Designing Your Layout
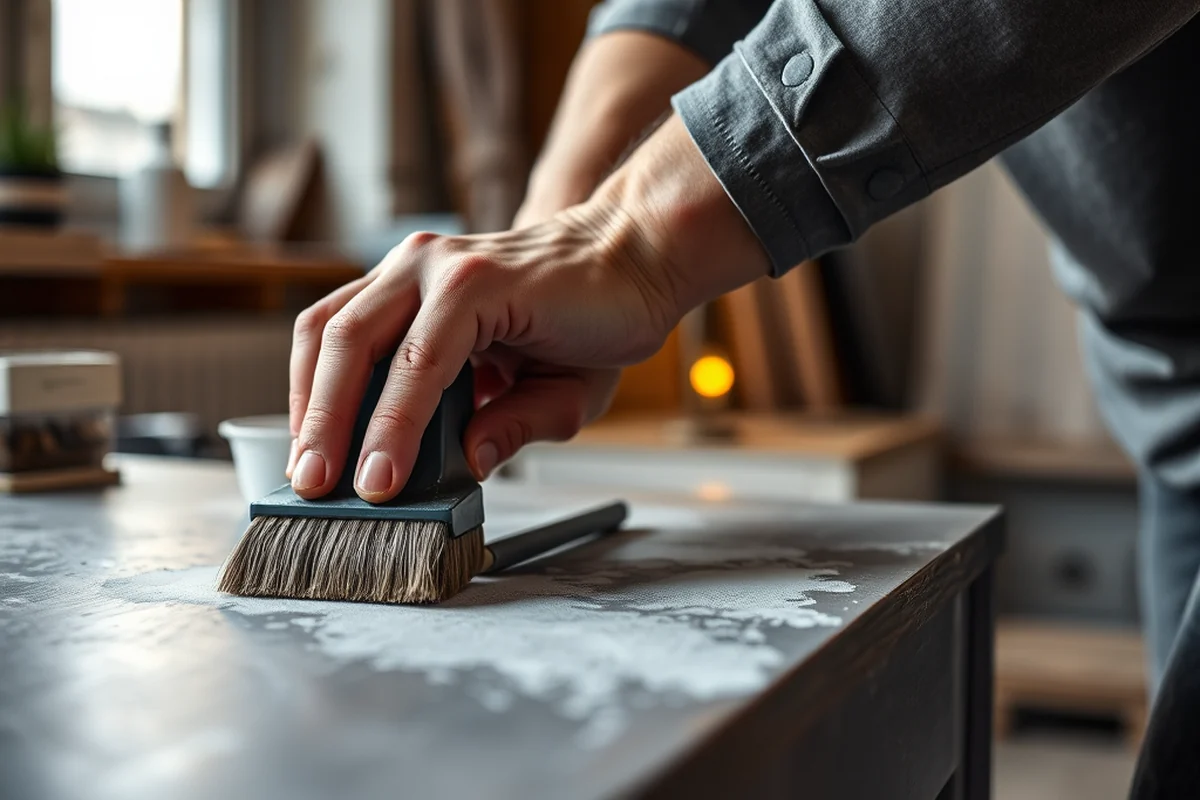
I sketched out my ideas on paper before I even bought any materials. I wanted a desk with adjustable shelves, so I included a few slots where I could later add dividers or shelves. It’s important to think about how you use your space and what you need in terms of storage.
I also considered the height and depth of the desk. A standard desk height is 29 inches, but I adjusted mine to accommodate a chair with a lower backrest. I also made sure the depth was just enough to fit a laptop and a few notebooks without crowding the space.[2]
If you're unsure about the layout, you can always start with a basic design and add features later. I built a simple desk first and then added a drawer unit on the side once I had more experience.
Designing a fitted desk unit isn’t just about aesthetics—it’s about how you live and work.
Related: Standing desk change units
Related: Desk display unit
Related: Desk ac units
Related: Folding desk units
Related: Desk end units
Related: Decked drawer system
Cutting and Assembling the Frame
I used a circular saw to cut the wood to the dimensions I had marked out. I made sure to use a straight edge and a guide to keep the cuts clean and even. It took about an hour to cut all the pieces, and I had a few extra pieces just in case something didn’t fit perfectly.
Once the pieces were cut, I used wood glue and clamps to assemble the frame. I applied the glue, then clamped the pieces together and let them dry for about 24 hours. It’s important to let the glue set fully before moving on to the next step.
After the frame was assembled, I sanded all the edges and corners to make sure there were no splinters or rough spots. I also made sure all the joints were tight and square before moving on to the next part of the build.
Always allow the glue to dry fully before adding weight or pressure. This ensures a strong, stable structure.
“The first time I built a fitted desk unit, I was surprised how much of my workspace transformed in just a few hours.”— DIY Floating Desk Units editors
Related: Desk units for office
Related: Child desk dimensions
Related: Cisco desk units
Related: Desk base units
Related: Wall desk units for home
Adding Shelves and Drawers

I started by attaching the shelves to the frame. I used wood screws and a drill to secure them in place. I made sure the shelves were level and evenly spaced so that they could hold books, office supplies, and other items without sagging.
For the drawers, I used pre-made drawer boxes, which I bought from a local hardware store. I attached them to the frame using hinges and made sure they opened and closed smoothly. It took about an hour to install the drawers and I had to adjust the hinges a few times to get them to line up perfectly.
I also added some drawer slides to make the movement smoother. These slides can be a bit tricky to install, but once they’re in place, the drawers move like butter. It’s worth the extra effort for the added convenience.
Related: Desk unit drawers
Related: Desk furniture home
Finishing the Desk Unit
After the main structure was built, I painted the desk unit with a water-based wood stain. I used a brush and applied two coats, letting each coat dry completely before applying the next. This gave the desk a smooth, even finish that looked great and was easy to clean.
I also added some hardware, like handles and knobs, to give the desk a finished look. These are available at most hardware stores and come in a variety of styles and finishes. I chose a simple, modern design that matched the rest of the furniture in my office.
Once the finish was dry, I attached the legs to the desk. I used metal brackets to secure the legs, which gave the desk a clean, professional look. The legs also helped elevate the desk slightly, which made it more comfortable to use.
Related: Desk units
Related: Desk entertainment unit
Testing and Adjusting
Once the desk was fully assembled, I tested it by placing a few heavy items on the shelves and drawers to see if they held up. I also checked that all the drawers opened and closed smoothly without any sticking or squeaking.
I made a few adjustments to the shelves and drawers to make sure they were level and aligned properly. This involved tightening some screws and repositioning a few pieces. It took about an hour, but it was worth the effort to get everything just right.
After all the adjustments were made, I used the desk for a few days to see how it performed in real life. It held up well and I didn’t notice any issues with the structure or finish. I was impressed with how well it worked and how much it improved my workspace.
Testing your fitted desk unit is the final step in ensuring it’s as functional as it is beautiful.
Related: Desk medium size
Maintenance and Longevity
I make sure to clean the desk regularly with a mild soap and water solution. I also avoid using harsh chemicals that could damage the finish. Wiping it down with a microfiber cloth helps keep it looking new.
Over time, I check the screws and hardware to see if any are loose or worn. I tighten them up as needed to maintain the stability of the desk. I also lubricate the drawer slides periodically to keep them moving smoothly.
If the finish ever starts to wear, I can easily repaint or refinish the desk. It’s a quick process that takes just a few hours, and it helps keep the desk looking fresh and modern.
💰 Budget Build
Build a fitted desk unit using repurposed materials and minimal tools. Perfect for those on a tight budget.
⏳ Weekend Version
A simple, weekend-friendly build that can be completed in just one day with basic materials.
🎨 Upgraded Finish
Add a custom paint job or wood stain to give your fitted desk unit a professional, finished look.
🛋️ Small-Space Adaptation
Design a fitted desk unit that fits in compact spaces, such as corners or against walls.
🏠 Rental-Safe Option
Create a fitted desk unit that can be easily disassembled and moved without damaging the rental unit.
| The mistake | Why it happens | The fix |
|---|---|---|
| Not measuring the space correctly | This can lead to a desk that doesn’t fit in the intended area, making the build unusable. | Always measure the space twice and sketch out a plan before cutting any materials. |
| Using low-quality materials | Low-quality wood can warp or break over time, leading to a less durable desk unit. | Invest in good quality wood or use a wood stabilizer to prevent warping. |
| Skipping the finishing step | Without a proper finish, the desk is more prone to scratches, stains, and wear. | Always apply a protective finish, even if it’s just a clear coat. |
| Overloading the desk unit | Putting too much weight on the shelves or drawers can cause them to sag or break. | Distribute the weight evenly and avoid placing heavy items on the upper shelves. |
Fitted Desk Units
Common Questions
What tools do I need to build a fitted desk unit?
How long does it take to build a fitted desk unit?
Can I use reclaimed wood for my fitted desk unit?
How do I ensure my fitted desk unit is stable?
References
- Association between anthropometric measurements of chairs ... - PMC (pmc.ncbi.nlm.nih.gov)
- Unit Hydrograph (UHG) Technical Manual - NOHRSC - NOAA (nohrsc.noaa.gov)
Cite this guide
DIY Floating Desk Units (2026). Fitted Desk Units. https://deskspaceplan.com/fitted-desk-units/
Feel free to cite or share this guide.