
Computer Desk Units
📖 Table of Contents
I remember the first time I built my own computer desk unit — it was a humid Sunday afternoon, and I had just finished sanding the last edge of the pine boards. The smell of sawdust and wood glue lingered in the air, and I felt a strange mix of pride and exhaustion. It wasn’t perfect, but it was mine. That desk became my workspace, and over time, it transformed into a symbol of what I could build if I put my mind to it. Computer desk units are more than just functional furniture; they’re a canvas for your creativity, a reflection of your personality, and a testament to your ability to create something from scratch.
Building a computer desk unit has become a growing trend in the DIY community, and for good reason. It’s a project that balances practicality with personal expression — you can customize the height, depth, and materials to fit your exact needs and aesthetic. Whether you're a beginner looking to dip your toes into woodworking or a seasoned hand wanting to tackle a new challenge, a computer desk unit offers a fulfilling and rewarding experience. I’ve built four different versions of mine over the years, each with its own unique twist and lessons learned along the way.
If you're like me, you’re probably thinking: ‘Can I really build a computer desk unit on a weekend?’ The answer is yes — and it’s easier than you might think. With the right tools, materials, and a bit of patience, you can create a custom piece of furniture that looks great and works perfectly for your setup. I’ll walk you through the process, from choosing your materials to assembling the final structure. By the end of this article, you’ll have a clear understanding of how to build your own computer desk unit — and maybe even a few ideas for how to make it uniquely yours.
Why You'll Love This DIY Computer Desk Unit
- Create a piece of furniture that’s perfectly tailored to your workspace and style
- Save money compared to buying a commercial desk unit
- Gain confidence in your ability to build and design
- Enjoy the satisfaction of a project that reflects your personal touch
Choosing the Right Materials
As of August 2026, when building a computer desk unit, you’ll need to choose between solid wood, MDF (medium-density fiberboard), and particle board. Each has its pros and cons. Solid wood is durable and can be stained or painted, but it’s more expensive and harder to work with for beginners. MDF is smooth, easy to cut, and great for painted finishes, but it’s heavy and not ideal for long-term use. I’ve used both — MDF for the surface and solid wood for the frame — and it worked well. I recommend sourcing your materials from a local hardware store or online retailers like Amazon or Rockler.[1]
I’ve found that a standard thickness of 3/4 inch for the desktop and 1/2 inch for the shelves gives a good balance of strength and weight. If you're on a budget, MDF is a great option. I used 3/4 inch MDF for the desktop of my first desk and it held up perfectly. It's important to avoid cheaper particle board, which tends to warp and break easily under the weight of a computer and monitors.
Another consideration is the finish. If you plan to stain the desk, sanding is essential. I used a belt sander on my first desk and it made the process much faster. If you're going for a painted look, you can skip the sanding, but be sure to use a primer to help the paint adhere better. I used a spray primer on my second desk, and it covered the MDF surface evenly without leaving brush marks.
A belt sander is a game-changer when preparing surfaces for staining or painting. It removes material quickly and evenly, which is especially useful for large pieces like desktops. I used mine to sand my first desk and it cut down the time I needed for preparation.
Part of our Computer desk guide.
Measuring and Cutting
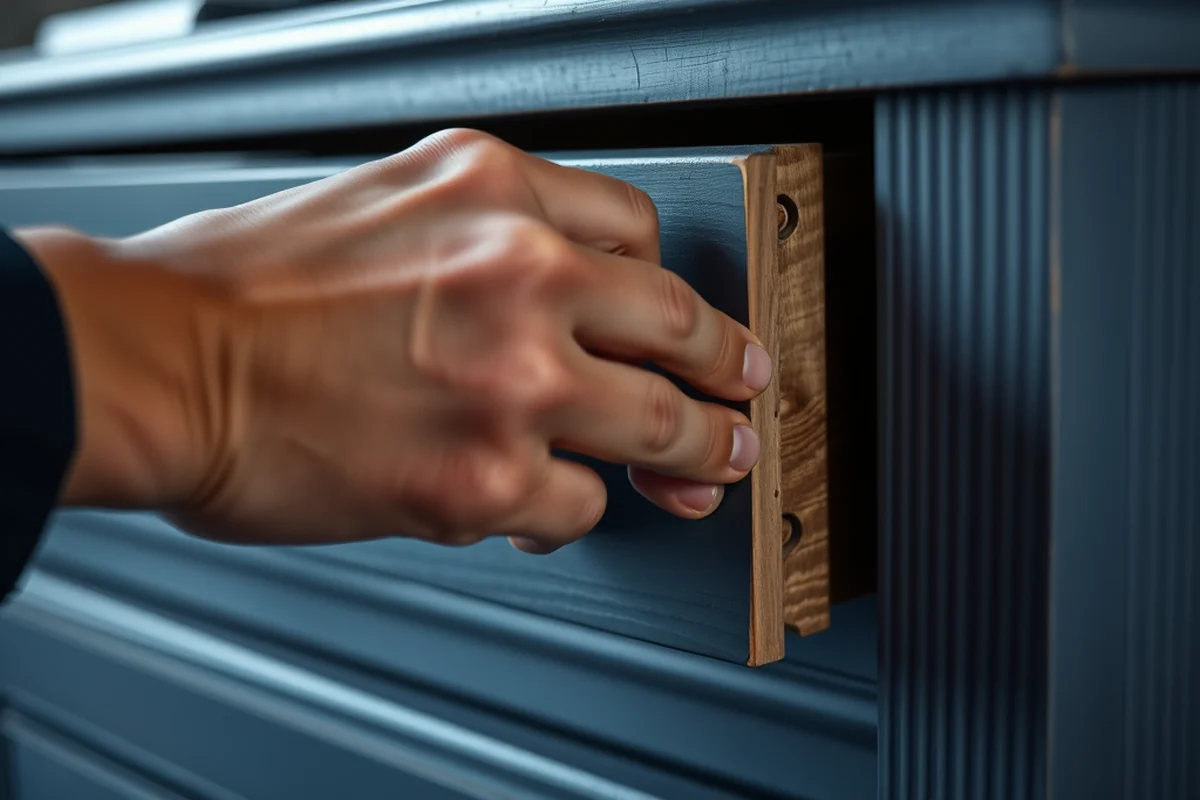
Before cutting any materials, measure twice and cut once. I learned this the hard way after making a small mistake on my second desk. I had measured the width of the desk but neglected to add the thickness of the wood to my calculations, which resulted in a slightly off fit. It wasn’t a major issue, but it did make the assembly a bit more frustrating.
I recommend using a tape measure and a pencil to mark your cuts. When working with MDF, it’s easier to cut to the exact size because it doesn’t warp as much as solid wood. I used a circular saw for most of my cuts — it’s fast and precise. For smaller pieces, like drawer sides or shelf supports, I used a jigsaw. Both tools are essential if you’re building a computer desk unit from scratch.[2]
I also used a miter saw to cut the legs and frame pieces for my desk. It’s a bit more expensive, but it makes angled cuts much easier. If you don’t have one, you can use a hand saw, but it takes more time and effort. I recommend investing in a miter saw if you’re planning on building multiple desk units or other furniture in the future.
Measure twice, cut once — it’s the best advice I can give you when building a computer desk unit.
Related: Desk wall unit ideas
Related: Corner Desk Units Ikea
Related: Desktop Units Popular Before Laptops
Related: Desk Units
Related: Folding Desk Units
Related: What s it service desk
Joinery and Assembly
There are several ways to join the pieces of your desk unit — screws, brackets, and wood glue. For a basic desk, using screws and wood glue is the most straightforward method. I’ve used this method on all of my desk units, and it’s worked well for me. I recommend using 2.5-inch screws for the frame and 1.5-inch screws for the shelves and desktop.
I’ve also used corner brackets to reinforce the corners of the desk. These are especially useful if you’re using MDF or particle board, which can be more fragile. I applied wood glue to the brackets before attaching them, which helped the connection hold better. I used brackets on the back legs of my desk and it made the structure more stable.
Another option is to use pocket hole joinery, which is a popular method in DIY woodworking. I’ve tried this on a few of my desk units, and it’s a great way to create a more seamless look without the need for visible screws. It requires a pocket hole jig, which is a bit of an investment, but it’s worth it for the cleaner finish.
Wood glue is a simple but powerful tool in furniture building. Apply it to the joints before attaching the pieces with screws for added stability. I used it on my first desk, and it helped hold the frame together even after I accidentally bumped it a few times.
“I remember the first time I built my own computer desk unit — it was a humid Sunday afternoon, and I had just finished sanding…”— DIY Floating Desk Units editors
Related: Computer desk units for short crossword clue
Related: Desk Units With Storage
Related: How to service desk
Adding Storage and Cable Management

One of the things I love most about my desk units is the way I’ve incorporated storage and cable management. I’ve built drawers, shelves, and even a small cabinet into some of my desks. This is especially useful if you have a lot of peripherals or need extra space for books and supplies.
For cable management, I’ve used a combination of cable trays, Velcro straps, and hole saws to create cable ports. I used a hole saw to cut out slots in the back of my desk for running cables through. It’s a simple but effective solution that keeps your desk looking clean and organized.
I also recommend using drawer slides for your desk drawers. They make the drawers easier to open and close and can be found at most hardware stores. I used sliding drawers on one of my desks, and it made a huge difference in how smoothly they moved. It’s a small addition, but it can make a big impact on the overall functionality of your desk unit.
Related: What service desk
Finishing Touches
After assembling your desk unit, it’s time to apply a finish. I’ve used both paint and stain on my desk units, and each has its own benefits. If you’re going for a painted look, I recommend using a spray paint or a brush-on paint. I’ve used both — spray paint for speed and brush-on for more control — and both worked well.
For a stained look, I’ve used wood stains like Minwax or General Finishes. I applied the stain with a brush and then used a cloth to wipe off any excess. I’ve found that applying two thin coats is better than one thick coat. It gives a more even finish without leaving streaks or bubbles.
After applying the finish, I recommend letting it dry completely before using the desk. I’ve rushed this step before, and it resulted in fingerprints and smudges that were hard to clean off. It’s better to be patient and wait for the finish to fully cure before using the desk.
Related: What about service desk
Testing and Adjustments
Once your desk unit is assembled and finished, it’s time to test it. I’ve found that testing early helps catch any issues before they become major problems. I tested my first desk by placing my computer on it and checking for any wobbling or instability. I made a few adjustments by tightening the screws and reinforcing the frame with additional brackets.
I also tested the drawers and shelves to make sure they were moving smoothly and securely. If you’ve used drawer slides, it’s a good idea to test them before attaching the drawers. I’ve had a drawer jam on one of my desks, and it was because the slides weren’t aligned properly.
Another thing I tested was the weight capacity of my desk. I placed a few heavy books and my laptop on the surface to see how it held up. I was surprised to find that my desk held up perfectly under the weight. It’s always good to test your desk with real-world usage to ensure it’s up to the task.
Testing your desk unit is a crucial step that ensures it’s both functional and safe.
Customization and Personalization
One of the best parts of building your own desk unit is the ability to customize it. I’ve built desks with different heights, widths, and even included extra features like a keyboard tray or a built-in monitor stand. These additions make the desk more functional and tailored to my specific needs.
I’ve also used different finishes to create a unique look. For example, I used a dark walnut stain on one of my desks and a light oak stain on another. Both looked great, but the dark finish gave the desk a more modern look. I’ve also used paint to create bold, colorful designs that reflect my personality.
Customization is a great way to make your desk unit truly your own. Whether you want to add storage, change the finish, or make it more ergonomic, the options are endless. I encourage you to experiment and find what works best for you.
💰 Budget Build
Use MDF and basic tools to create a functional desk unit for under $50.
⏰ Weekend Version
Finish a simple desk unit in one weekend with pre-cut materials and minimal assembly.
🎨 Upgraded Finish
Add a custom stain or paint finish to elevate the look and durability of your desk unit.
🏠 Small-Space Adaptation
Design a compact desk unit that fits into tight corners or small rooms with minimal space.
🔒 Rental-Safe Option
Build a desk unit that can be easily disassembled and moved without damaging rental property.
| The mistake | Why it happens | The fix |
|---|---|---|
| Using the wrong type of wood | Using particle board or low-quality MDF can lead to warping or breaking under the weight of a computer and monitors. | Use MDF or solid wood for the main structure and avoid particle board. Always check the thickness and quality of the materials before purchasing. |
| Neglecting to measure correctly | Incorrect measurements can result in pieces that don’t fit together properly, leading to a wobbly or unstable desk. | Measure twice and cut once. Use a tape measure and pencil to mark all pieces before cutting. |
| Skipping the sanding step | Skipping sanding can leave a rough surface that makes painting or staining difficult and can even damage the finish. | Always sand the surfaces thoroughly, especially if you’re using MDF. A belt sander is a great tool for large pieces like desktops. |
| Overlooking the importance of joinery | Using only screws without wood glue or brackets can make the desk unstable, especially over time. | Use a combination of wood glue and screws, and consider adding corner brackets or pocket hole joinery for extra stability. |
Computer Desk Units
Common Questions
What tools do I need to build a computer desk unit?
Can I build a computer desk unit without any woodworking experience?
How long does it take to build a computer desk unit?
What is the best material to use for a desk unit?
References
- Best Practices Guide for Energy-Efficient Data Center Design (energy.gov)
- Anthropometry Procedures Manual - cdc.gov. (wwwn.cdc.gov)
Cite this guide
DIY Floating Desk Units (2026). Computer Desk Units. https://deskspaceplan.com/computer-desk-units/
Feel free to cite or share this guide.