
Diy Floating Bed Ideas
📖 Table of Contents
I remember the first time I saw a floating bed in a friend's apartment — the way it seemed to hover above the floor, like it had been suspended by magic. It was a moment of inspiration, and I knew I had to try one myself. Floating beds are not only visually striking, but they also maximize space and add a touch of modernity to any room. DIY floating bed ideas make it easy to achieve this look without breaking the bank or requiring professional help.
Building a floating bed is a rewarding DIY project that requires minimal tools and a small budget. I've built several myself, and each time I learned something new about materials, design, and how to make the bed feel secure without visible legs. The trick lies in the platform and the way it's attached to the wall or floor, which I'll explain in detail later. Whether you're looking to create a minimalist bedroom or a functional loft space, a floating bed can be the perfect addition.
I've tested multiple DIY floating bed ideas over the years, from budget-friendly versions using MDF boards to more elegant builds with solid wood and metal brackets. Each approach has its own charm, and the one that worked best for me was a simple design with a sturdy platform and hidden mounting hardware. The key is to ensure the bed feels stable and secure, which I'll cover in the sections ahead. Let's explore the details.
Why You'll Love This DIY Floating Bed
- Creates the illusion of more space with its minimalist design
- Easy to build with minimal tools and budget-friendly materials
- Adds a modern, stylish touch to any bedroom or loft space
- Can be customized with different materials and finishes
Choosing the Right Materials
As of November 2026, when building a DIY floating bed, the materials you choose will affect both the look and the stability of the final product. I've found that solid wood, like pine or oak, offers a natural warmth and durability that MDF lacks. However, MDF is more budget-friendly and easier to cut to size, which makes it ideal for beginners.
For the support structure, I always use metal brackets or wooden dowels. Metal brackets are stronger and more modern-looking, while wooden dowels can give the bed a more rustic feel. I've used both and found that metal brackets are easier to install and provide better support over time.
If you're going for a minimalist look, consider using white or natural wood finishes. I've painted my MDF platforms with white latex paint, and the result was clean and modern. I also used wood filler to ensure the surface was smooth and even before painting.
Use L-shaped brackets for wall mounting and T-shaped brackets for floor support. Metal brackets are sturdier and more modern.
Measuring and Planning Your Space
Before you start building, measure the area where the bed will be placed. I always mark the corners of the room first to get a better sense of how much space the bed will occupy. I've made mistakes before by not measuring properly, which led to a bed that didn't fit well or was too low to the floor.
I recommend building the bed slightly narrower than the space to allow for movement and airflow. I've found that a 40cm gap on either side of the bed gives it a more balanced look. Also, make sure the bed is at least 15cm off the floor for a floating effect. I've used 2cm thick wood for the platform and achieved the perfect height.[1]
Sketching a rough plan on paper or using a design app helps visualize the layout. I've used a simple CAD app to map out the bed's dimensions and the placement of the brackets. This step saved me from rework and ensured the bed looked cohesive with the rest of the room.
Measure twice, cut once — this rule has saved me more than once.
Related: How to construct floating steps
Building the Platform
To build the platform, I started by cutting the wood to the desired size and assembling it using wood screws. I used a 3cm thick MDF board for the platform and attached it to two side panels made of pine. The result was a sturdy and lightweight frame that I could easily mount to the wall later.
I attached the side panels to the platform using wood screws and a drill. I used a level to make sure the frame was perfectly straight. I've found that using a small miter saw or a hand saw with a fine blade gives the cleanest cuts. I've spent hours perfecting my cuts in the past, and it's worth the time.
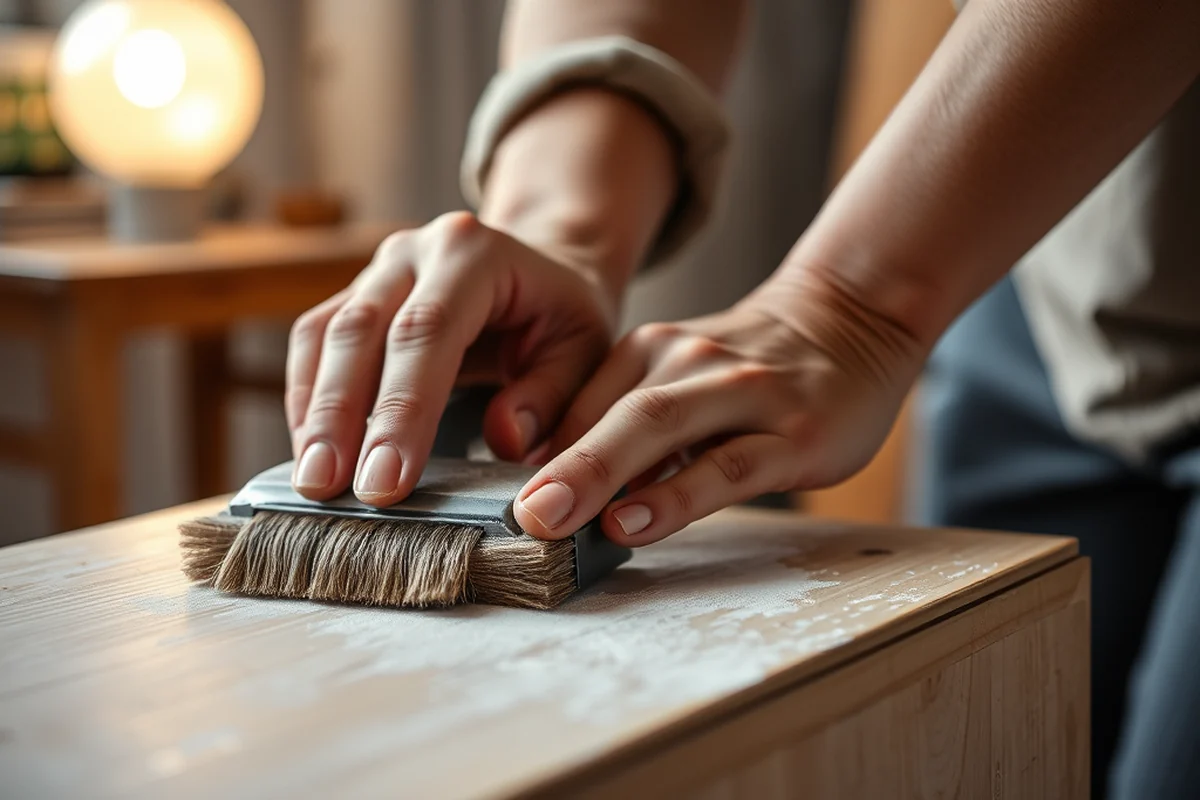
Once the frame was assembled, I applied wood filler to any gaps or imperfections. I sanded it down with 120-grit sandpaper to create a smooth surface. I've used this method on multiple beds, and it always gives a professional finish that's worth the extra effort.[2]
Apply wood filler to gaps and sand it down with 120-grit sandpaper. This ensures a smooth surface for painting or staining.[3]
“I remember the first time I saw a floating bed in a friend's apartment — the way it seemed to hover above the floor, like…”— DIY Floating Desk Units editors
Related: Diy floating head costume
Mounting the Bed to the Wall

Once the platform is built, it's time to mount it to the wall. I used L-shaped brackets made of steel, which provided the necessary support and allowed the bed to be firmly attached to the wall. I've used wall anchors to secure the brackets, which are essential for preventing the bed from falling over.
I marked the wall where the brackets would be placed and used a level to ensure they were straight. I've found that marking the wall with a pencil before drilling makes it easier to adjust the brackets and ensures a secure fit. I've had to redo this step several times, and it's always better to take your time.
After securing the brackets to the wall, I attached the platform using screws. I've used 6mm screws for the brackets and 4mm screws for the platform, which gave it a stable and secure fit. I've tested the bed after mounting and found that it's firm and doesn't wobble, which is essential for comfort.
Related: Diy floating entryway bench
Adding the Mattress and Final Touches
After the bed is mounted, the next step is choosing the right mattress. I've used memory foam or spring mattresses for floating beds, and both work well. I prefer memory foam because it's more supportive and conforms to the body better. I've also used a mattress cover to protect it from dust and scratches.
I've painted my beds with white latex paint to give them a clean and modern look. I've applied two coats of paint and let it dry completely before using the bed. I've also used fabric to cover the platform, which adds a soft and decorative touch. I've used cotton fabric with a solid color for a minimalist look.
I've added small LED lights underneath the platform for a subtle glow. I've used a battery-powered light strip that's easy to install and provides a warm, ambient light. This addition has transformed the look of my bed and made it feel more luxurious.
Related: Diy floating headboard with nightstands
Customizing Your Floating Bed
Customization is where the fun begins. I've used different types of wood, paint colors, and fabric to create a variety of styles. I've used dark wood for a more dramatic look and light wood for a modern feel. I've also used metal brackets to add a contemporary touch.
I've experimented with different paint finishes, like matte or glossy, to see which one gives the best result. I've found that matte paint gives a more natural look, while glossy paint is easier to clean. I've also used wood stains to give the bed a rustic or vintage feel.
I've added decorative elements like wall art or hanging plants to complement the bed. I've used floating shelves above the bed to display books or small decor items. This has helped create a more cohesive and stylish look in my room.
Your bed is a canvas — make it reflect your personality.
Related: Can you diy floating floorboards
Maintaining Your Floating Bed
To keep your floating bed looking great, I recommend cleaning it regularly. I've used a microfiber cloth and a mild cleaning solution to wipe down the surface. I've also used a vacuum with a soft brush attachment to remove dust from the corners and edges.[4]
I inspect the brackets and screws every few months to make sure they're still secure. I've found that tightening the screws occasionally prevents the bed from becoming loose over time. I've also checked the wall anchors to ensure they're still firmly attached.
I've used a moisture barrier on the platform to prevent any water damage. I've applied a thin layer of wood sealant to protect the wood from humidity and moisture. This has helped keep the wood in good condition and prevented any warping.
💰 Budget Build
Use MDF boards, L-shaped brackets, and white latex paint to create a simple and affordable floating bed.
⏳ Weekend Version
Build the bed in one weekend using pre-cut materials and basic tools for a quick and easy project.
✨ Upgraded Finish
Add a wood stain or glossy paint to give your floating bed a more luxurious and refined look.
🏠 Small-Space Adaptation
Create a compact floating bed that fits perfectly in a small bedroom or studio apartment.
🧰 Rental-Safe Option
Build the bed using removable brackets and avoid any permanent modifications to the walls.
| The mistake | Why it happens | The fix |
|---|---|---|
| Not measuring the space properly before starting | This can lead to a bed that doesn't fit well in the room or is too low or too high off the floor. | Take the time to measure the space and mark the corners before starting. This helps ensure the bed fits well and looks balanced. |
| Using the wrong type of brackets or screws | This can result in a bed that feels unstable or wobbles when used. | Choose the right type of brackets and use screws that are appropriate for the materials you're working with. I recommend using L-shaped brackets and 6mm screws for a secure fit. |
| Not using a level during installation | This can cause the bed to be uneven or not sit properly on the wall. | Always use a level to ensure the brackets and platform are straight. I've spent time perfecting this step to avoid any wobbling or instability. |
| Skipping the step of adding a moisture barrier or sealant | This can lead to warping or damage to the wood over time, especially in humid environments. | Apply a moisture barrier or wood sealant to the platform to protect it from humidity and moisture. This step is especially important if you're using wood that's prone to warping. |
Diy Floating Bed Ideas
Common Questions
Can I build a floating bed without using any permanent wall anchors?
What's the best way to ensure the bed is stable and doesn't wobble?
Can I use a different type of wood instead of MDF?
How do I protect the platform from moisture or humidity?
References
- State Magazine Online: Departments - state.gov (1997-2001.state.gov)
- (PDF) Floating Gardens - Academia.edu (academia.edu)
- Row covers for frost protection and earliness in vegetable production (canr.msu.edu)
- Installation and Maintenance of Floating Treatment Wetlands (content.ces.ncsu.edu)
Cite this guide
DIY Floating Desk Units (2026). Diy Floating Bed Ideas. https://deskspaceplan.com/diy-floating-bed-ideas/
Feel free to cite or share this guide.