
Desk Extension Unit
📖 Table of Contents
I remember the first time I needed more space on my desk — I was working on a project that required both a laptop and a tablet. I had no idea how much I’d miss that extra bit of real estate. That’s when I stumbled on the idea of a desk extension unit. It wasn’t just about the extra space; it was about finding a solution that didn’t cost a fortune or require a carpenter. The desk extension unit became a revelation for me — a simple, elegant way to expand my workspace without breaking the bank.
Building a desk extension unit isn’t just about adding square footage; it’s about making a space work for you. I’ve tried a few different versions over the years, and each one taught me something new. Whether it’s how to choose the right materials or how to ensure it’s level with your main desk, the process is rewarding and surprisingly doable. It’s one of those projects that makes you feel like a real DIYer, even if you’re just starting out.[1]
The key to a great desk extension unit is simplicity. You don’t need expensive tools or a week of your life to build one. In fact, I’ve built mine in a single weekend with just a few basic materials. It’s a project that’s perfect for anyone who wants to make the most of their workspace without spending a lot of money. That’s what makes it so appealing — it’s a real, practical solution to a common problem.[2]
Why You'll Love This Desk Extension Unit
- Affordable and easy to build with basic materials and tools
- Adds instant extra workspace without sacrificing design or function
- Customizable to fit any desk, room, or personal style
- Durable and built to last for years with proper care
Understanding the Components
As of October 2026, the frame forms the skeleton of the extension unit. I used 1x2 pine boards for mine, which are both strong and affordable. They were cut to the length of my desk’s overhang and reinforced with corner brackets for extra stability. I made sure the frame was level with my main desk to avoid any wobbling.
The surface is where you’ll place your items, so it needs to be smooth and flat. For my project, I used a 3/4-inch thick MDF board, which is durable and easy to paint or stain. I sanded it thoroughly before attaching it to the frame, making sure there were no rough edges or splinters.
The support structure is what connects the frame to your main desk. I used L-shaped brackets to attach the frame to the back of my desk, ensuring it was secure and wouldn’t shift under pressure. I also added a small support beam under the extension unit to prevent sagging.
When attaching your frame to the desk, always use L-shaped brackets with screws. This ensures a secure connection and prevents the extension unit from wobbling or shifting over time.
Choosing the Right Materials
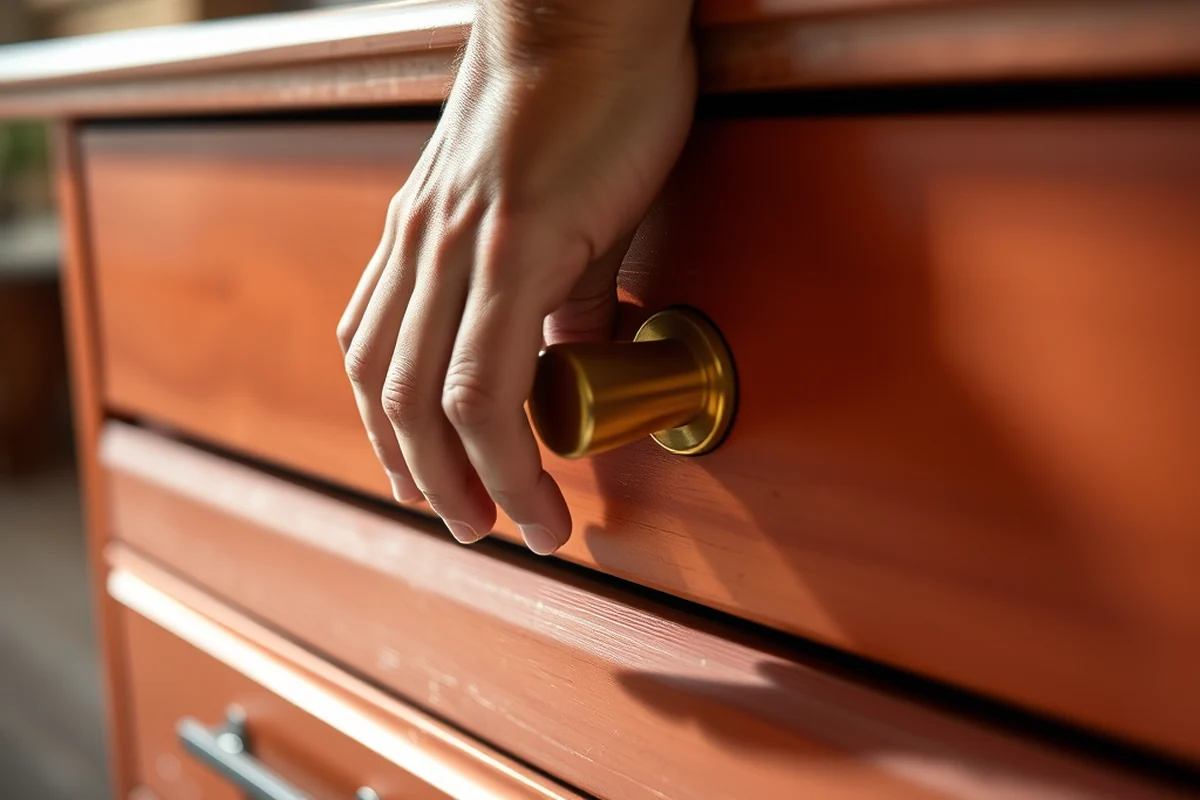
I went with pine for the frame because it’s easy to work with and not too expensive. It’s not the most durable wood, but with a bit of reinforcement and sealing, it can last for years. I used MDF for the surface because it’s flat and smooth, making it ideal for painting or staining.
When I was shopping for materials, I made sure to get the right thickness for each part. For the frame, 1x2 pine was perfect. For the surface, I went with 3/4-inch MDF, which is thick enough to support weight without bending.
I also picked up some wood screws and corner brackets at the hardware store. These made the assembly much easier and more secure. I made sure to buy a few extra just in case I ran out.
The right materials make all the difference in the durability and look of your desk extension unit.
Related: Desk drawer organizer
Measuring and Planning
I started by measuring the length of my main desk and deciding how much extra space I needed. I wanted the extension to be about the same size as the desk, so I measured carefully and took notes. I also made sure to account for any overhang that might be needed for comfort.
Next, I sketched a rough layout of the extension unit. I drew it out on paper and labeled each part — the frame, the surface, and the support structure. This helped me visualize how everything would fit together and where the brackets would go.
I also measured the height of my main desk to ensure the extension unit would be level. I used a level to check the height and made sure the frame was perfectly aligned. This step was crucial for ensuring that the unit wouldn’t wobble or shift once it was attached.
Before cutting any materials, double-check your measurements and make sure everything aligns with your plan. A small mistake in measurement can lead to a lot of extra work later.
“I remember the first time I needed more space on my desk — I was working on a project that required both a laptop and…”— DIY Floating Desk Units editors
Related: Living room sets
Assembling the Frame

I started by cutting the 1x2 pine boards to the length I needed for the frame. I used a saw and marked each board carefully before cutting. I made sure to cut them straight and even, which helped with the assembly.
Next, I connected the boards using wood screws and corner brackets. I used a drill to make pilot holes before inserting the screws, which prevented the wood from splitting. I tightened the screws until the brackets were secure and the frame was sturdy.
I checked the frame for stability after each step. I made sure the corners were square and the frame was level. This helped me catch any mistakes early on and ensured a solid foundation for the rest of the unit.
Related: What is in a living room set
Attaching the Surface
I placed the MDF board on top of the frame and aligned it carefully. I made sure the edges were even and the board was centered. This helped prevent any overhang or wobbling later on.
I used wood screws to attach the board to the frame. I spaced the screws evenly across the board to ensure even weight distribution and prevent any sagging. I also used wood glue to reinforce the connection, making it even more secure.
I checked the surface again for levelness and made sure it was even with the main desk. This was important for making sure the extension unit was comfortable to use and didn’t cause any strain on the arms or shoulders.
Related: Chest of drawers
Adding the Support Structure
I attached the L-shaped brackets to the back of my main desk and to the frame of the extension unit. I made sure the brackets were aligned and the screws were tightened properly. This helped secure the unit to the desk and prevented any shifting.
I added a small support beam underneath the extension unit to provide extra stability. I used a 1x2 board for this and attached it to the frame with wood screws. This helped prevent sagging and added extra strength to the unit.
I checked the entire structure again for stability and made sure everything was secure. I also tested the weight by placing a few heavy items on the surface to see if it held up. This helped me ensure that the unit was ready for everyday use.
A well-built support structure is the key to a stable and long-lasting desk extension unit.
Related: Desk or drawer organizer
Finishing Touches
I painted the frame and surface with a coat of white paint to give it a clean, modern look. I used a brush and a roller to make sure the paint was even and didn’t have any streaks or drips.
I applied a clear coat of polyurethane to protect the surface and make it more durable. This helped prevent scratches and stains and made it easier to clean later on.
I added some decorative elements, like a small shelf and a couple of small LED lights, to make the unit more functional and stylish. This helped personalize the space and make it feel more like my own.
💸 Budget Build
A simple desk extension unit made with affordable materials like pine and MDF. It’s perfect for those on a tight budget who still want a functional and stylish workspace.
⏰ Weekend Version
A quick and easy project that can be completed in a single weekend. It’s ideal for anyone who wants to expand their workspace without spending a lot of time or money.
🎨 Upgraded Finish
A version with a higher-end finish, including custom paint, wood stain, or a lacquer finish. It’s perfect for those who want a more polished and professional look.
🛋️ Small-Space Adaptation
A compact desk extension unit designed for small spaces. It’s great for those who need extra space but have limited room to work with.
🏠 Rental-Safe Option
A version that’s easy to disassemble and move, making it ideal for those who live in a rental space and don’t want to make permanent changes to their workspace.
| The mistake | Why it happens | The fix |
|---|---|---|
| Not measuring carefully before cutting the materials | This can lead to mismatched pieces and a lot of extra work later on. | Always measure twice and cut once. Take your time to ensure everything is precise. |
| Using the wrong type of wood for the frame | Some woods are too weak or too soft, which can cause the frame to sag or break over time. | Choose a strong and durable wood like pine or oak. Avoid using thin or flexible materials. |
| Not using corner brackets or wood screws | This can cause the frame to be unstable and wobbly, which can be a safety hazard. | Always use corner brackets and wood screws to secure the frame and ensure stability. |
| Forgetting to apply a clear coat of polyurethane | This can lead to the surface becoming scratched or stained over time, especially if it’s used frequently. | Always apply a clear coat of polyurethane to protect the surface and make it more durable. |
Desk Extension Unit
Common Questions
What tools do I need to build a desk extension unit?
How long does it take to build a desk extension unit?
Can I build a desk extension unit without any prior experience?
What if my main desk is not level with the floor?
References
- Accessory Dwelling Unit - Construction and Inspections - Seattle.gov (seattle.gov)
- Characterization of Great Toe Extension Strength Using ToeScale ... (pmc.ncbi.nlm.nih.gov)
Cite this guide
DIY Floating Desk Units (2026). Desk Extension Unit. https://deskspaceplan.com/desk-extension-unit/
Feel free to cite or share this guide.