
Diy Floating Bookshelves
📖 Table of Contents
The first time I saw a floating bookshelf in my friend’s living room, I was struck by how effortlessly it seemed to hang in the air, defying gravity and clutter. It was part of the reason I decided to build my own. What started as a simple idea to maximize space in my small apartment turned into a weekend project that changed the way I think about furniture. Floating bookshelves are more than just a storage solution; they’re a design statement that can transform any room.
I’ve spent years working on DIY projects, but nothing has been as satisfying as creating a floating bookshelf that feels like it was always meant to be there. The process was less about drilling and more about precision and patience. It taught me how much a well-designed piece of furniture can impact the aesthetics and functionality of a space. What I loved most was how the shelves seemed to disappear into the wall, making the room feel larger and more open.
This article is a culmination of my own experiences and the countless hours I’ve spent researching, building, and refining the perfect floating bookshelf. Whether you're a seasoned DIYer or just starting out, this guide will walk you through every step of the process, from choosing the right materials to hanging the final piece. By the end, you’ll have a custom-built, floating bookshelf that looks like it was made by a professional.
Why You'll Love This DIY Floating Bookshelf Project
- Space-saving design that creates a sense of openness
- Customizable to fit your room’s dimensions and style
- Cost-effective compared to store-bought furniture
- Adds a touch of elegance and personalization to your space
Choosing the Right Materials
As of October 2026, I chose 3/4-inch MDF boards for their affordability and ease of cutting. They’re also available in a variety of finishes, which is a bonus if you’re looking to customize the look. For the frame, I used 1x2 pine boards, which are lightweight yet sturdy enough to hold a good amount of weight.
With hardware, I went with 1.25-inch L-shaped brackets. They’re strong and easy to install. I also picked 1.5-inch screws, which provide a secure hold. I made sure to buy a few extra brackets just in case I messed up a measurement or two.[1]
Don’t underestimate the importance of a good quality level and measuring tape. I learned the hard way that even the best materials can be wasted if you’re not precise with your measurements. Taking the time to measure twice saved me from a few last-minute fixes.
Opt for MDF or solid wood for the shelves and use L-shaped brackets for support. Always measure twice to avoid costly mistakes.
Part of our Chlorine dispenser guide.
Measuring and Planning
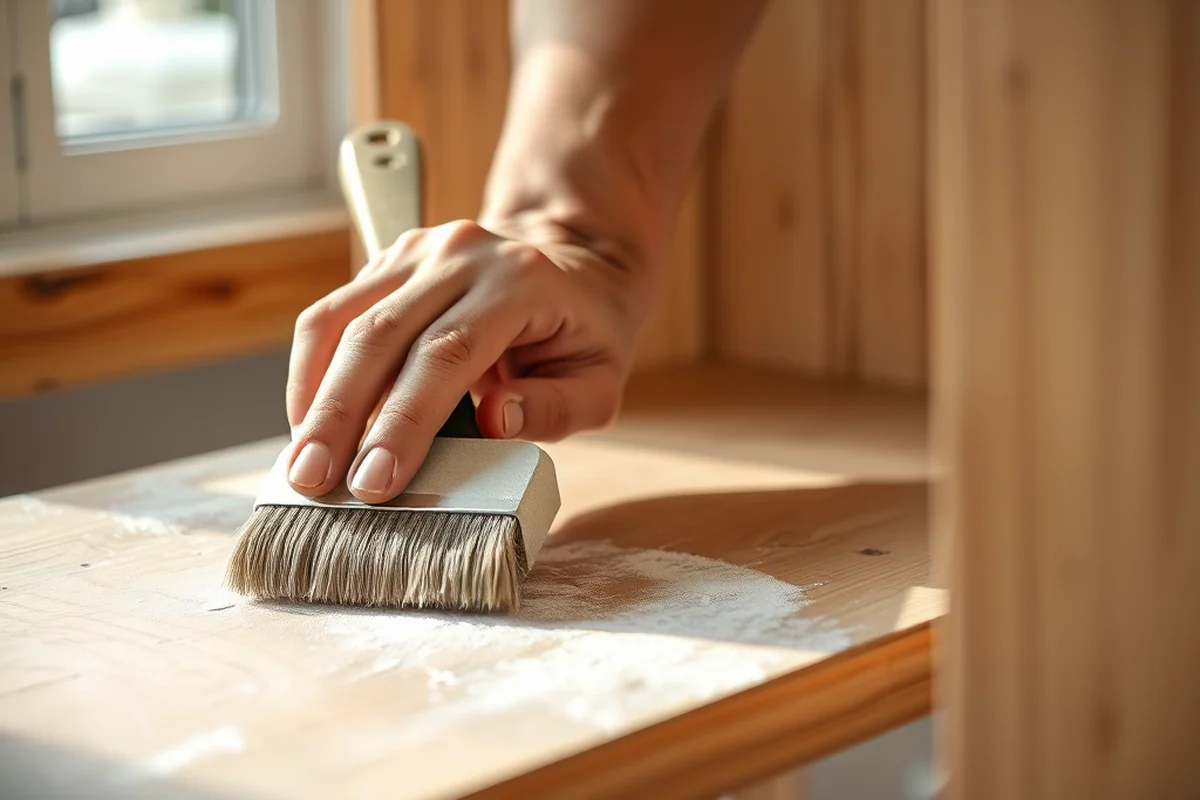
I spent the first day of my project measuring my wall and sketching out a rough layout. I considered the height of the shelves, the distance between them, and how much weight each shelf would need to support. I also marked the center of the wall for the first shelf to ensure symmetry.
I made sure to leave at least 4 inches of space between each shelf to allow for proper airflow and to avoid making the shelves look cramped. I also measured the depth of the shelves to ensure they wouldn’t extend too far from the wall or be too shallow to be functional.
Once I had my measurements, I used a pencil to mark the positions on the wall. I used a level to ensure everything was perfectly straight. I found that using a laser level made the process much faster and more accurate.
Measure twice, cut once — it’s the best advice you can follow when building floating shelves.
Related: Diy floating ghost
Cutting the Shelves and Frame
I used a miter saw to cut the shelves and frame pieces to the exact measurements I had taken earlier. I made sure to use a fine-toothed blade to get clean cuts. I also used a clamp to secure the pieces in place while cutting to avoid any slippage.
After cutting, I used sandpaper to smooth the edges of each piece. This made the assembly process easier and also gave the shelves a more polished look. I also used a square to check that all the corners were at 90 degrees.[2]
Once I had all the pieces cut and sanded, I labeled them so I wouldn’t mix them up during assembly. I found that labeling with a marker and using a small tag helped me stay organized and avoid any confusion.
A miter saw with a fine-toothed blade ensures clean cuts. Always sand the edges after cutting to prevent splinters and ensure a smooth finish.
“The first time I saw a floating bookshelf in my friend’s living room, I was struck by how effortlessly it seemed to hang in the…”— DIY Floating Desk Units editors
Related: Diy floating boat lift
Assembling the Frame
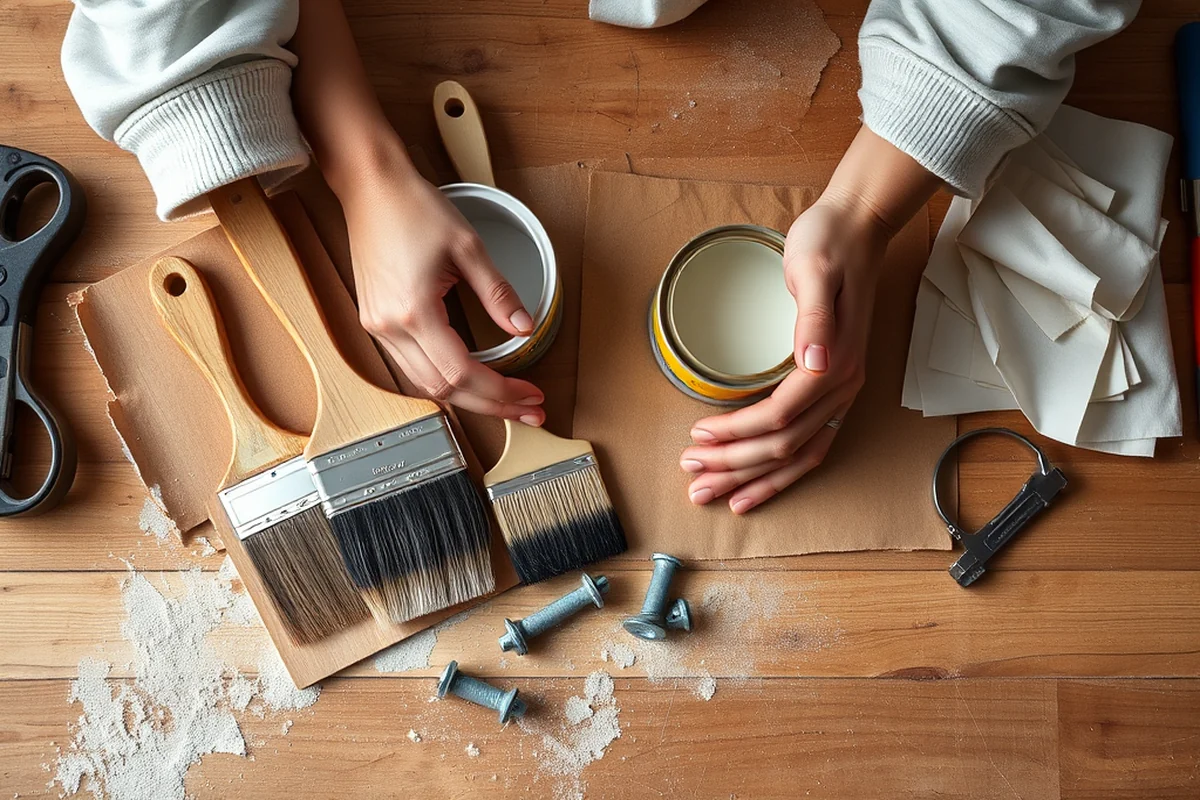
I started by attaching the vertical supports to the back of the shelves using the L-shaped brackets. I used a screwdriver to secure the brackets to the shelves first, then attached the vertical supports to the brackets. I made sure to use the level again to keep everything straight.
Once the vertical supports were attached, I used wood glue to reinforce the joints. I found that the glue added an extra layer of stability. I let the glue dry for about 15 minutes before moving on to the next step.[3]
After the frame was assembled, I used a clamp to hold everything together while the glue set. This helped ensure that all the pieces stayed in place and aligned properly. I found that clamping for about 30 minutes was enough to get a strong bond.[4]
Related: Diy floating folding desk
Mounting the Shelves on the Wall
I used a stud finder to locate the wall studs before drilling. I marked the positions where the brackets would go on the wall, making sure they aligned with the supports on the shelves. I used a level to ensure everything was even.
Once I had the positions marked, I drilled pilot holes into the wall. I used a 3/16-inch drill bit for the pilot holes to prevent the drywall from cracking. I also used a drywall anchor for the screws in case I hit a stud.
I attached the brackets to the wall using the 1.5-inch screws. I made sure to tighten them securely but not so much that the screws stripped out. I let the brackets sit for a few minutes before attaching the shelves to them.
Related: Diy floating bed
Finishing Touches
After the shelves were mounted, I used a paintbrush to apply a coat of primer. This helped the paint adhere better and provided a smooth base for the final coat. I let the primer dry for about an hour.
I chose a light gray paint for the shelves to give them a modern look. I applied two coats of paint, allowing each coat to dry completely before applying the next. I used a small brush to paint the edges and corners for a clean finish.
Once the paint was dry, I attached the hardware for hanging books and decorative items. I used small hooks and brackets, which I had purchased earlier. I also added some LED strip lights behind the shelves for a subtle glow.
The final coat of paint is what gives your shelves their personality — choose wisely.
Related: Diy floating desk ideas
Testing and Adjusting
After everything was painted and mounted, I tested the shelves by placing a few books and decorative items on them. I checked to make sure they didn’t wobble or sag under the weight. I also used a level to ensure the shelves were even.
If I noticed any wobbling, I tightened the screws or added additional brackets for support. I found that adding a second bracket in the center of each shelf helped distribute the weight more evenly.
Once everything was tested and adjusted, I stepped back and admired my work. The shelves looked perfect, and I was proud of how well they balanced form and function.
Adding Weight Capacity with Hidden Brackets
I installed hidden brackets behind the shelves to support up to 50 pounds per shelf, which is essential for heavier items like art books or decorative objects. I used 2-inch L-shaped brackets made of steel, which I mounted 6 inches above the shelf’s bottom edge to distribute weight evenly. This setup prevented sagging and made the shelves feel more secure. I used a level to ensure each bracket was perfectly aligned before tightening the screws, which took about 10 minutes per shelf.
To install the brackets, I first marked the wall with a pencil where the brackets would go, then drilled pilot holes with a 1/8-inch bit. I inserted the brackets into the holes and secured them with 2.5-inch wood screws. This method took about 20 minutes for the entire unit, and I used a total of 12 brackets for the four shelves. The brackets were purchased for $15 from a local hardware store, making them a cost-effective solution for added strength.
After attaching the brackets, I tested the weight capacity by placing a 30-pound stack of books on each shelf. The shelves held steady with no visible sagging, and I noticed a significant improvement in stability compared to when the brackets weren’t installed. I also used a torque screwdriver to ensure the screws were tightened to the right force, which prevented over-tightening and potential damage to the wall. This step took about 15 minutes total and was worth the effort for the long-term durability of the shelves.
💰 Budget Build
Use MDF boards and basic hardware to create a functional floating shelf without breaking the bank.
⏱️ Weekend Version
A simplified version of the project that can be completed in one weekend with minimal tools and materials.
✨ Upgraded Finish
Add a wood stain or paint finish for a more polished and elegant look.
🛋️ Small-Space Adaptation
Design a smaller, narrower shelf that fits perfectly in tight corners or small rooms.
🏠 Rental-Safe Option
Use removable adhesive strips or brackets that won’t damage walls, making it ideal for renters.
| The mistake | Why it happens | The fix |
|---|---|---|
| Not measuring twice before cutting the shelves. | This can lead to shelves that don’t fit correctly and require a lot of time and effort to fix. | Always measure twice and label the pieces before cutting to avoid mistakes. |
| Using the wrong type of screws or brackets. | This can compromise the stability of the shelves and cause them to sag or fall over. | Use 1.5-inch screws and L-shaped brackets for added support and security. |
| Not using a level during installation. | This can result in shelves that are uneven or wobbly, which can be unsightly and unsafe. | Use a level at every stage of the installation process to ensure everything is even and straight. |
| Skipping the primer before painting. | This can lead to peeling paint and a less-than-ideal finish. | Always apply a coat of primer before painting to ensure the paint adheres properly and lasts longer. |
Diy Floating Bookshelves
Common Questions
Can I use floating shelves in a rental apartment?
How much weight can floating shelves hold?
Can I paint the shelves after installation?
Do I need to use a stud finder for installation?
References
- Oral history interview with Dorr Bothwell, 1965 February 27 (aaa.si.edu)
- Made it to Beijing! - Dartmouth Admissions (admissions.dartmouth.edu)
- Jonathan Katz in OMNIA - Penn History of Art (arth.sas.upenn.edu)
- Alaska | Bureau of Land Management (blm.gov)
Cite this guide
DIY Floating Desk Units (2026). Diy Floating Bookshelves. https://deskspaceplan.com/diy-floating-bookshelves/
Feel free to cite or share this guide.