
Diy Floating Shelf Design
📖 Table of Contents
- Planning and Measuring for Precision
- Choosing the Right Materials
- Cutting and Sanding with Care
- Assembling the Shelf Structure
- Mounting the Shelf on the Wall
- Finishing Touches for a Polished Look
- Testing and Adjusting for Perfection
- Incorporating Cable Management for a Clean Look
- Make It Your Way
- Frequently Asked Questions
I remember the first time I built a floating shelf in my apartment — it was a Sunday afternoon. I had nothing but a few leftover pieces of wood, some screws, and a vague idea of what I wanted. What started as a simple project turned into a moment of pride as I hung my first DIY floating shelf. It wasn’t perfect, but it was mine, and it made the space feel more organized and intentional. DIY floating shelf design is a perfect blend of functionality and creativity, and it’s a project that even those with limited experience can tackle.
Over the years, I've built several DIY floating shelves, from minimalist designs for small apartments to elaborate, custom-built systems for larger homes. Each build taught me something new — about tools, about materials, and most importantly, about the process itself. DIY floating shelf design is more than just a way to store items; it’s an opportunity to personalize your space, express your style, and take control of your environment.
If you're looking to add a touch of elegance and practicality to your home, DIY floating shelf design is the way to go. It’s a project that doesn’t require advanced skills, can be completed in just a weekend, and costs surprisingly little. Whether you're a first-time DIYer or someone looking to refine your skills, this guide will walk you through every step, from planning and measuring to cutting and installation.
Why You'll Love This DIY Floating Shelf Design
- Customizable to match your space and style
- Adds immediate visual appeal and storage
- Cost-effective compared to store-bought options
- Boosts your confidence and sense of accomplishment
Planning and Measuring for Precision
As of October 2026, I always start with a sketch or even a rough layout on paper. It helps me visualize the final product and figure out where the shelves will go. I use a tape measure and mark the wall with a pencil, ensuring that the shelf will be level and centered. The key is to measure twice and cut once — this rule has saved me from more than one misstep.
I typically use a laser level to mark the exact height, especially if I'm installing multiple shelves at the same height. A laser level makes the process much faster and more accurate. I also consider the weight the shelf will hold — if it’s going to hold books or decorative items, I need to make sure the structure is sturdy enough.
One thing I learned the hard way is not to skip the measurement phase. A misplaced shelf can throw off the entire look of a room. Taking the time to plan ensures that the final product is both functional and visually appealing.
Invest in a laser level for precision. It's a small tool that makes a huge difference in the final look of your project.
Part of our Floating shelves guide.
Choosing the Right Materials
I've used everything from MDF to solid wood. MDF is affordable and easy to work with, but it's not as strong as solid wood. For a lightweight project, like a floating shelf that will hold only decorative items, MDF is a great choice. For heavier use, I prefer solid wood or even engineered wood like plywood.
I always check the thickness of the boards — 1.5 inches is a good balance between strength and manageability. Thicker boards are more expensive but also more stable. I've found that 1x3 or 1x4 boards are perfect for most DIY floating shelf designs.
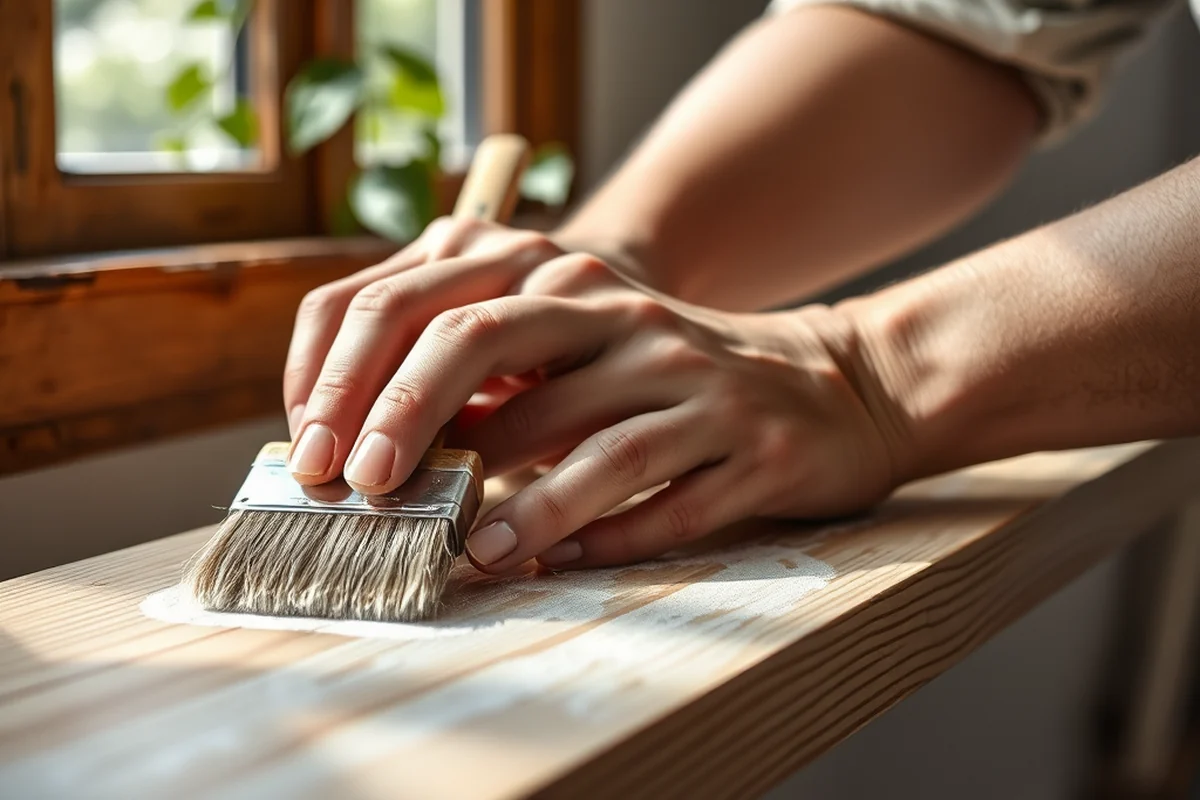
Don't forget to consider the finish. If you're going for a natural look, I recommend sanding the wood and applying a clear coat. If you want a painted finish, be sure to prime the wood first to ensure the paint adheres well.[1]
Choose the right material — it's the foundation of a great project.
Related: What is floating shelves
Cutting and Sanding with Care
I always use a miter saw or a circular saw for straight cuts. A miter saw is great for making precise angles, which can be useful if you're building a corner shelf. I mark the cut lines with a pencil and align the blade carefully to avoid mistakes.
After cutting, I sand each board with 120-grit sandpaper. This removes splinters and creates a smooth surface. I go over the edges and corners carefully to ensure that everything is even and ready for finishing.[2]
Sanding is more than just aesthetics — it also ensures that the wood is ready for paint or stain. I've found that skipping this step can lead to an uneven finish, which can be a real eyesore.
Sanding after cutting ensures a smooth surface and helps the paint or stain adhere better.
“I remember the first time I built a floating shelf in my apartment — it was a Sunday afternoon, and I had nothing but a…”— DIY Floating Desk Units editors
Related: Diy floating bed frame
Assembling the Shelf Structure
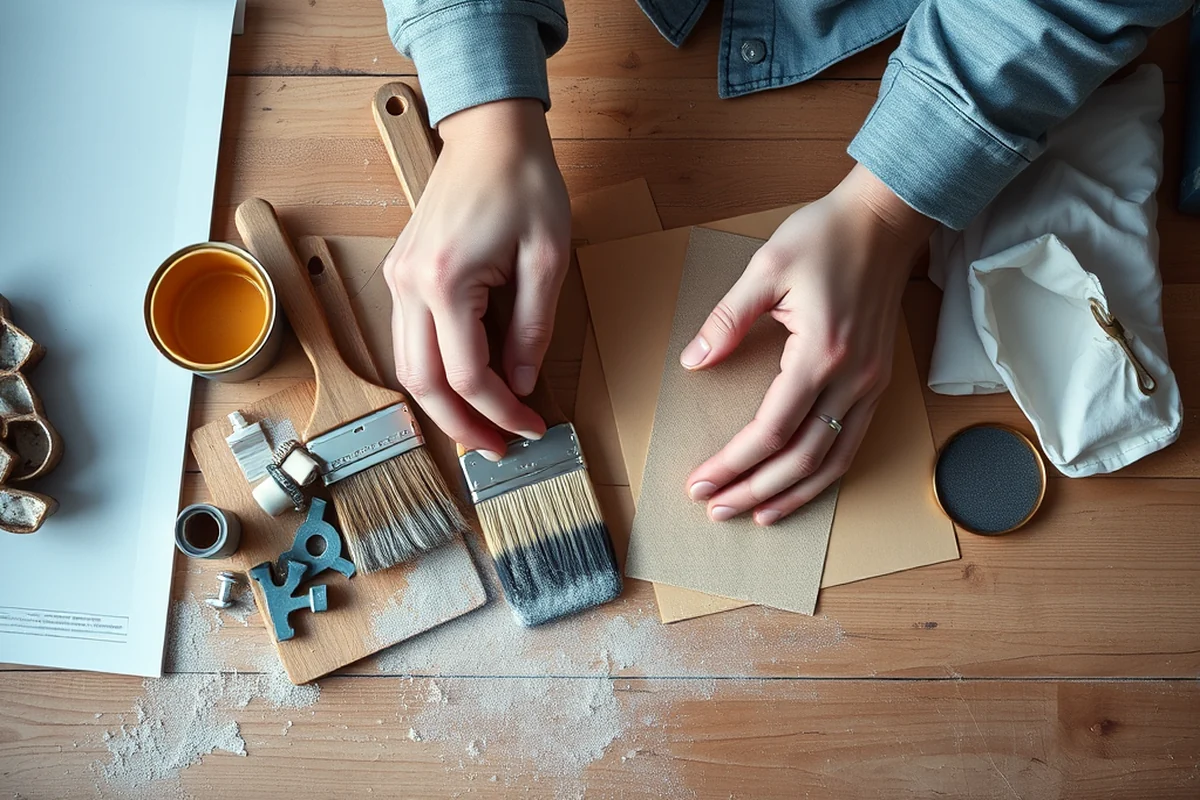
Once the boards are cut and sanded, I use wood glue to join them if I'm building a larger shelf. For a single board, I skip this step. I always use clamps to hold the pieces in place while the glue dries — this ensures that the joints are tight and secure.
If I'm using a back panel, I attach it to the back of the shelf with screws. This gives the shelf extra support and helps distribute the weight more evenly. I make sure the back panel is level and securely fastened.
I've found that using the right type of screws is important. I always use screws that are slightly longer than the thickness of the board — this ensures that the screws go through the board and into the wall, providing a secure hold.
Related: Diy floating shelves how to
Mounting the Shelf on the Wall
I use a drill to create pilot holes in the wall where the screws will go. I use a level to make sure the shelf is perfectly aligned before I attach it. I also use a stud finder to locate the studs in the wall — this helps distribute the weight more evenly and prevents the shelf from falling.
I always use drywall anchors if I'm mounting the shelf on drywall, but I prefer using screws that go directly into the studs whenever possible. It's safer and more secure. I've made the mistake of skipping this step before, and it led to a loose shelf that I had to re-install.
I've found that using a level throughout the installation process is the best way to ensure the shelf is straight. It might take a bit of time, but it's worth it in the end.
Related: Diy for floating shelves
Finishing Touches for a Polished Look
I always apply a coat of primer before painting, especially if I'm using a light color on a dark wood. This helps the paint adhere better and ensures a smooth finish. I use a brush to apply the paint and then let it dry completely before applying a second coat.
If I'm using a wood stain, I apply it with a brush or a rag, making sure to cover all surfaces evenly. I let the stain sit for a few minutes before wiping off the excess — this helps prevent drips and ensures an even finish.
After the finish is dry, I apply a clear topcoat to protect the wood and give it a polished look. I've found that a water-based polyurethane is a great option — it dries quickly and doesn't yellow over time.
A little finish goes a long way in making your shelf look like it was made by a pro.
Related: Diy floating shelf plans
Testing and Adjusting for Perfection
Once the shelf is installed and the finish is dry, I place a few heavy items on it to test its strength. I watch for any signs of sagging or wobbling — these are red flags that the shelf might not be secure.
If I notice any issues, I go back and recheck the mounting points. Sometimes, a small adjustment can make a big difference in the stability of the shelf. I've found that tightening the screws a bit more can resolve most issues.
After everything is secure, I add the final decorative items to the shelf. This is the moment when all my hard work comes together — and I get to enjoy the result.
Incorporating Cable Management for a Clean Look
After installing your floating shelf, consider adding a discreet cable management system. I used a 2-inch wide, 3-foot long piece of flexible corrugated tubing to route cables behind the shelf, which cost around $12 at my local hardware store. I cut the tubing to size, slid it behind the shelf, and secured it with 1/4-inch diameter screws into the wall studs. This method kept my TV and soundbar cables hidden while allowing easy access for adjustments.[3]
To make the cable management even more seamless, I applied a small amount of wood filler to the back of the shelf where the tubing was installed. Once the filler dried, I sanded it smooth and painted it to match the shelf. This took about 30 minutes and ensured the cable entry point was nearly invisible. I also added a small rubber grommet at the entry point to protect the cables from friction and wear.[4]
I tested this setup by running multiple cables through the tubing and found it could handle up to four cables without any resistance. The system was easy to install and took less than an hour to complete. It not only improved the aesthetics of the shelf but also made it easier to manage and adjust cables in the future. This simple addition can elevate the look of your floating shelf from functional to elegant.
💰 Budget Build
Use MDF boards and basic hardware for a cost-effective floating shelf design.
⏱️ Weekend Version
A quick, simple build perfect for a single shelf that can be completed in one day.
🎨 Upgraded Finish
Add paint, stain, or decorative trim to elevate the look of your shelf.
🏠 Small-Space Adaptation
Design a narrow, vertical shelf perfect for tight corners or small rooms.
🔒 Rental-Safe Option
Use removable adhesive strips or lightweight materials to avoid damaging walls.
| The mistake | Why it happens | The fix |
|---|---|---|
| Skipping the measurement phase | This can lead to misalignment and a less appealing final result. | Always measure twice and mark the wall before cutting any materials. |
| Using the wrong screws | Screws that are too short may not hold the shelf securely. | Use screws that are slightly longer than the thickness of the board for a secure fit. |
| Neglecting to sand the wood | This can result in an uneven finish and a less professional look. | Always sand the wood thoroughly before applying paint or stain. |
| Not checking for studs | This can lead to a weak shelf that may not support the intended weight. | Use a stud finder to locate and align screws with studs for added strength. |
Diy Floating Shelf Design
Common Questions
What is the best wood to use for a DIY floating shelf?
Can I install a floating shelf on drywall?
How do I ensure my floating shelf is level?
How long does it take to build a DIY floating shelf?
References
- Net-Zero Hero: David Brearley | AustinTexas.gov (austintexas.gov)
- Brinson Exploration Hub Projects Make the Invisible Visible (brinsonhub.caltech.edu)
- Visualizing an Antarctic Monitoring System by WHOI Creative Studio (creative.whoi.edu)
- Design Lessons from DIY - The BYU Design Review (designreview.byu.edu)
Cite this guide
DIY Floating Desk Units (2026). Diy Floating Shelf Design. https://deskspaceplan.com/diy-floating-shelf-design/
Feel free to cite or share this guide.