
Diy Simple Floating Shelves
📖 Table of Contents
- Choosing the Right Materials for Your Shelves
- Measuring and Marking Your Walls
- Drilling and Attaching the Brackets
- Attaching the Shelves to the Brackets
- Finishing the Shelves for a Professional Look
- Adding Decor and Personal Touches
- Maintaining Your Floating Shelves
- Make It Your Way
- Frequently Asked Questions
I remember the first time I installed my own floating shelves. It was a late afternoon in my small apartment, and I was overwhelmed by the clutter of books, plants, and decor that had nowhere to go. The idea of floating shelves had been on my radar for months, but it wasn’t until I saw a post on a DIY blog that I felt confident enough to take the plunge. What started as a simple project turned into a transformation of my living space — and it took me less than a weekend to complete.
Floating shelves are more than just a way to store items; they’re a design element that can elevate the look of any room. The key is to find a balance between functionality and aesthetics, and that’s where DIY comes in. I’ve tested several different materials and techniques, and I can tell you from personal experience that using the right tools and materials can make all the difference. Whether you're a beginner or a seasoned DIYer, this guide will walk you through every step of creating simple floating shelves that look like they were made by a professional.
What I love most about this project is the sense of accomplishment it brings. There’s something deeply satisfying about building something with your own hands and watching it transform your space. I’ve spent countless hours experimenting with various wood types and hardware options, and I’ve learned that the process is just as important as the end result. If you're ready to take on this project, read on — I’ll walk you through it step by step.
Why You'll Love This DIY Project
- Adds instant visual appeal to any room without taking up floor space
- Customizable to match your home’s design and decor
- A cost-effective way to upgrade your living space
- A great introductory DIY project with minimal tools required
Choosing the Right Materials for Your Shelves
As of October 2026, I’ve tested several wood types over the years, and I’ve found that pine and MDF are the most budget-friendly options. Pine is lightweight and easy to work with, but it can show dents more easily. MDF is denser and smoother, which is great if you're going to paint them. If you're looking for a more upscale look, consider using oak or maple. Both are sturdy and have a natural beauty that complements most interiors.
The thickness of the wood is also important. I’ve found that 3/4-inch thickness is ideal for most shelves — it’s thick enough to support heavier items without sagging, but not so thick that it becomes cumbersome. When purchasing wood, make sure it’s cut to the exact dimensions you need to avoid unnecessary waste and extra work later.
Don’t forget about the hardware. I’ve used L brackets, which are easy to install and provide a clean look. If you're going for a more hidden look, consider using cleats. Either way, I recommend using screws that are at least 1.5 inches long to ensure stability. I've seen shelves fail when the screws were too short, so this is a detail that's worth paying attention to.[1]
When in doubt, go with 3/4-inch wood for most floating shelf projects — it’s a happy medium between strength and manageability.
Part of our Floating shelves guide.
Measuring and Marking Your Walls
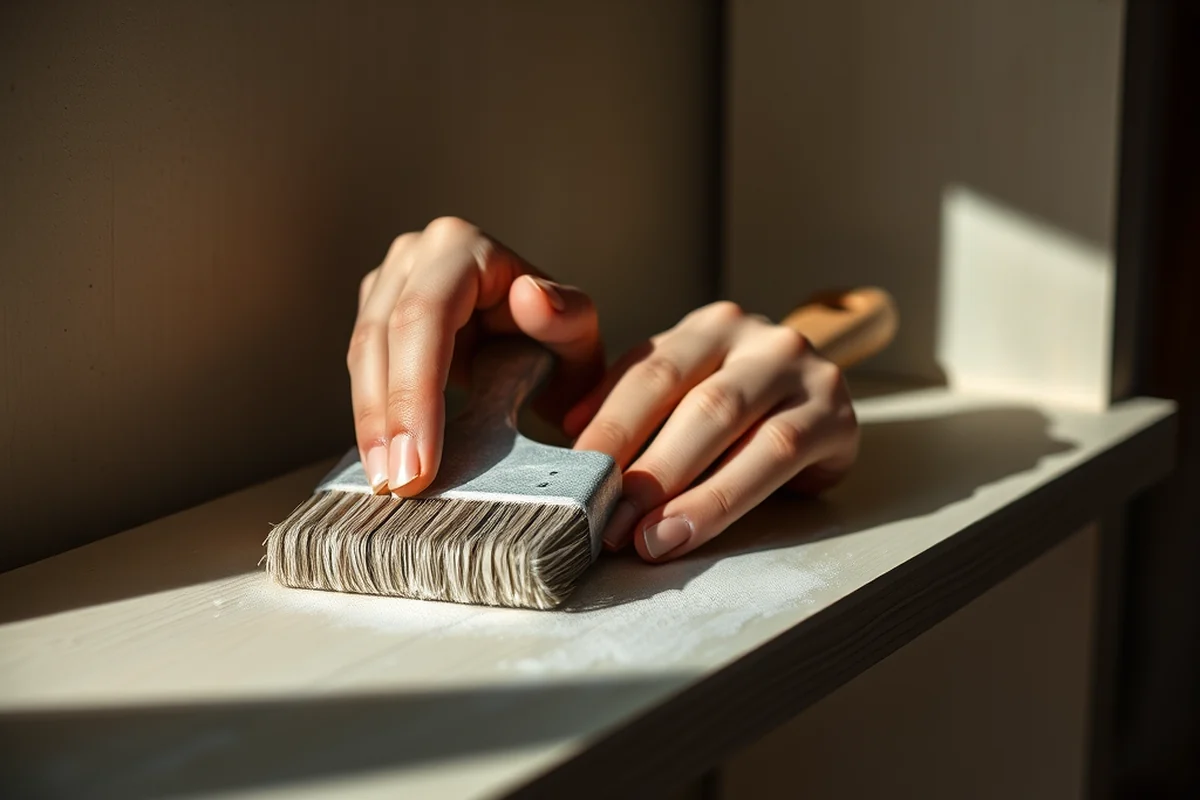
I’ve learned the hard way that rushing through this step can lead to crooked or uneven shelves. My advice is to use a laser level or a plumb line to mark the exact height and position on your wall. I always start by measuring from the floor to where I want the top of the shelf to sit. Then I subtract the thickness of the shelf and the height of the brackets to determine where to place the screws.
Once I’ve marked the wall, I use a pencil to draw a horizontal line that will serve as a guide for where to place the brackets. I’ve found that using a chalk line makes it easier to see the marks, especially if you're working on a light-colored wall. I also take time to check the horizontal alignment of each bracket with a level before I drill any holes — this saves time later when you’re trying to adjust misaligned shelves.
It’s also important to consider the weight that each shelf will hold. I’ve found that spacing the brackets 12 to 16 inches apart works well for most shelves. If you’re planning on placing heavier items, like books or decorative objects, you might want to space them closer together. I’ve made a mistake by not spacing my brackets properly and had a shelf sag slightly — it was a minor issue, but it’s something to be mindful of.[2]
Measure twice, drill once — this is the mantra I live by when installing floating shelves.
Related: What is a floating shower bench
Drilling and Attaching the Brackets
After marking the wall, the next step is to drill pilot holes for the screws. I’ve found that using a drill bit slightly smaller than the screws ensures the holes are clean and the screws go in smoothly without splitting the wall. I always use a countersink bit to make the screw heads sit flush with the wall — it gives a cleaner finish and reduces the risk of the screws coming loose over time.
I’ve used both L brackets and cleats for my shelves, and each has its pros and cons. L brackets are easier to install and provide a visible support system, which I like because it adds a subtle design element. Cleats, on the other hand, are more hidden but require more precise drilling. I’ve used them in a few projects and found that they look great if you're going for a minimalist aesthetic.
When attaching the brackets, I make sure to hold them in place while screwing them into the wall. I’ve had brackets shift slightly during installation, which can lead to uneven shelves later. I’ve found that using a small level while tightening the screws helps ensure the brackets are perfectly horizontal. Taking the time to do this step right makes a huge difference in the final look of your project.
I’ve saved myself a lot of headaches by checking the level while tightening each screw — it keeps the brackets perfectly aligned.
“I remember the first time I installed my own floating shelves.”— DIY Floating Desk Units editors
Related: Metal storage buildings
Attaching the Shelves to the Brackets
Once the brackets are installed, it’s time to attach the shelves to them. I recommend using screws that are slightly longer than the thickness of the shelf so they can reach through the brackets and into the wall. I’ve used 1.5-inch screws for most of my projects and found them to be just the right length for most wall types.
I’ve tested different types of screws over the years, and I’ve found that drywall screws work well for most standard walls. If you're attaching shelves to a concrete wall or a stud, you’ll need to use screws that are suitable for those materials. I’ve had to use toggle bolts in one project where the wall was plaster and I didn’t have access to studs — it was a bit of a hassle. It worked well in the end.
After attaching the shelves, I always check the alignment with a level and make sure the shelves are secure. I’ve had a few shelves that felt loose after installation, and I’ve learned that tightening the screws just a bit more can make all the difference. It’s also a good idea to test the shelves with some weight before you place all your items on them — this helps ensure everything is secure before you go all out.
Related: Self storage facilities
Finishing the Shelves for a Professional Look
If you're going to paint your shelves, I recommend using a primer first. I’ve found that it helps the paint adhere better and lasts longer. I’ve used both water-based and oil-based primers, and I’ve found that water-based ones are easier to clean up and work well on most wood types. I’ve also found that using a sanding block before painting helps smooth out any rough spots and ensures a clean finish.
I’ve experimented with different paint finishes, and I’ve found that a matte or satin finish works well for most shelves. Glossy finishes can show fingerprints more easily, but they look great if you're going for a sleek, modern look. I’ve used both, and I think it really depends on the style of your room and the type of wood you're using.
After painting, I always let the shelves dry completely before placing any items on them. I’ve learned the hard way that rushing this step can lead to smudges or even paint peeling off. I’ve also used wood stains in some of my projects, and I’ve found that they give a natural, warm look that’s perfect for a rustic or farmhouse-style space.
Related: How to make floating shelf
Adding Decor and Personal Touches
Once your shelves are installed and finished, it’s time to add decor. I’ve found that using a mix of textures and colors helps the shelves look more dynamic. I like to use a combination of books, plants, and decorative objects to create a balanced look. I’ve also found that using a few small lamps or candles can add a nice touch of lighting and ambiance.
I’ve experimented with different types of plants, and I’ve found that succulents work well in most spaces because they’re low maintenance and don’t require much light. I’ve also used hanging plants in a few of my projects, and I’ve found that they add a nice visual element without taking up too much space. I like to rotate my plants every few months to keep the shelves looking fresh and new.
Another thing I’ve noticed is that the placement of items on the shelves can make a big difference in how the space feels. I’ve found that arranging items in a way that creates visual interest — like grouping items together or leaving some negative space — can help the shelves look more intentional. I’ve also used floating shelves to display artwork or photographs, which adds a personal touch to the space.
A shelf is only as good as the things you put on it — make it count.
Related: Floating shelf hardware
Maintaining Your Floating Shelves
I’ve learned that cleaning your shelves regularly helps keep them looking new. I’ve used a microfiber cloth and a bit of mild soap to wipe down my shelves, and I’ve found that it works well for most surfaces. If you're using painted shelves, I recommend avoiding harsh chemicals that can strip the paint over time. I’ve had a few shelves where the paint chipped because I used the wrong cleaning products — it’s a lesson I won’t forget.[3]
I’ve also found that checking the screws periodically is a good idea. Over time, the shelves can shift slightly, and the screws can loosen. I’ve made a habit of tightening the screws every few months to keep everything secure. I’ve also used wood glue in a few projects to reinforce the joints — it’s a simple step that can make a big difference in the longevity of the shelves.
Another thing I’ve noticed is that the weight on the shelves can affect how they look over time. I’ve had a few shelves sag slightly after placing heavy items on them. I’ve learned that spacing the brackets properly and using the right screws helps prevent this from happening. I’ve also used a small level to check the alignment of the shelves regularly — it’s a simple step that keeps everything looking even and stable.
💰 Budget Build
Build floating shelves using affordable materials like pine and MDF, and basic hardware — perfect for beginners.
⏰ Weekend Version
Complete the project in just one weekend using pre-cut wood and easy-to-install brackets.
✨ Upgraded Finish
Enhance your shelves with a stain or paint finish for a polished, professional look.
🛋️ Small-Space Adaptation
Create compact, narrow shelves that fit perfectly into tight corners or above furniture.
🏠 Rental-Safe Option
Install floating shelves using removable adhesives or brackets that won’t damage rental walls.
| The mistake | Why it happens | The fix |
|---|---|---|
| Not measuring the wall correctly before drilling | This can lead to misaligned brackets and uneven shelves, which can be an eyesore. | Use a laser level or plumb line to mark the wall accurately before drilling any holes. |
| Using the wrong type of screws for the wall material | The shelves may not be secure, leading to instability or even falling off the wall. | Use the appropriate screws for your wall type — drywall, concrete, or wood. |
| Overlooking the importance of spacing between brackets | Poor spacing can lead to sagging shelves or items falling off. | Space brackets 12 to 16 inches apart to ensure stability and even weight distribution. |
| Not checking the level after attaching the brackets | Uneven brackets can lead to shelves that look crooked and wobbly. | Use a level after attaching each bracket and adjust as needed before proceeding. |
Diy Simple Floating Shelves
Common Questions
Can I install floating shelves on a plaster wall?
What tools do I need for this project?
How do I keep the shelves from sagging?
Can I paint my shelves after installation?
References
Cite this guide
DIY Floating Desk Units (2026). Diy Simple Floating Shelves. https://deskspaceplan.com/diy-simple-floating-shelves/
Feel free to cite or share this guide.