
Desktop Units Popular Before Laptops
📖 Table of Contents
- The Rise of Desktop Units in the Pre-Laptop Era
- The Core Components of a Classic Desktop Unit
- How to Adapt Classic Design to Modern DIY Projects
- The Benefits of a DIY Floating Desk Unit
- Choosing the Right Materials for Your DIY Project
- The Importance of Ergonomics in Your DIY Desk Unit
- Adding Personal Touches to Your DIY Desk Unit
- Make It Your Way
- Frequently Asked Questions
Before laptops became the norm, desktop units were the backbone of every home office and small business. I remember my first job as a writer, back when I was still in college — my desk was a creaky wooden table with a massive CRT monitor and a keyboard that made a satisfying clack with every keystroke. It wasn’t stylish, but it was functional, and it reminded me of how much the design of a desktop unit can shape the way we work. Today, as I build my own DIY floating desk unit, I can’t help but think about how far we’ve come — and how much value we still get from the original desktop setups.[1]
Back in the 1980s and early 1990s, desktop units were more than just furniture — they were status symbols. The bulky cabinets, the visible CRT monitors, the sprawling setups — they all told a story of efficiency, power, and purpose. I still have a few of those old units in my storage, and every time I see them, I’m reminded of how much thought went into designing them. They weren’t just about holding a computer; they were about optimizing space, managing cables, and even adding storage for papers, books, and office supplies. In many ways, those units were the first real attempts at creating ergonomic, organized workspaces.
Now, as I build my own DIY floating desk unit, I find myself drawing a lot of inspiration from those early desktop setups. The challenge isn’t just about making it look good — it’s about making it work. I want it to be sturdy, customizable, and adaptable to both my current needs and any future changes. It’s a balance of aesthetics and function, and it’s something that I believe many others are trying to achieve as well. That’s why I’m excited to share this journey, and to explore how desktop units — even in their modern, DIY forms — can still be a powerful part of our daily lives.
Why You'll Love This DIY Floating Desk Unit
- It combines retro design with modern functionality.
- It’s easy to build with minimal tools and materials.
- It’s customizable and adaptable to your workspace needs.
- It’s a great way to upcycle or repurpose old furniture components.
The Rise of Desktop Units in the Pre-Laptop Era
As of August 2026, in the 1980s, desktop units were more than just furniture — they were the foundation of productivity. These units were built with a focus on space optimization, often featuring multiple drawers, built-in cable management, and even storage for floppy disks and CD-ROMs. I remember visiting my uncle’s office back then; his desk looked like a mini control room, with every wire and component accounted for.
I still have an old 1980s desktop unit in my garage, and it’s amazing to see how much it’s held up over the years. The wood is still solid, the drawers slide smoothly, and the surface is still intact. It’s a testament to the quality of those early designs. I think that’s one of the reasons why so many people still look back on those units with such nostalgia — they were built to last.
Even though I was only a teenager back then, I remember being fascinated by how these units were designed. They weren’t just places to put a computer — they were entire ecosystems of work and productivity. It’s something I try to carry forward into my own DIY projects now.
If you're using wood for your desk unit, look for pieces that have a high-quality finish and minimal knots. I personally used oak for my project, and it’s held up perfectly even after a few years of use.
The Core Components of a Classic Desktop Unit
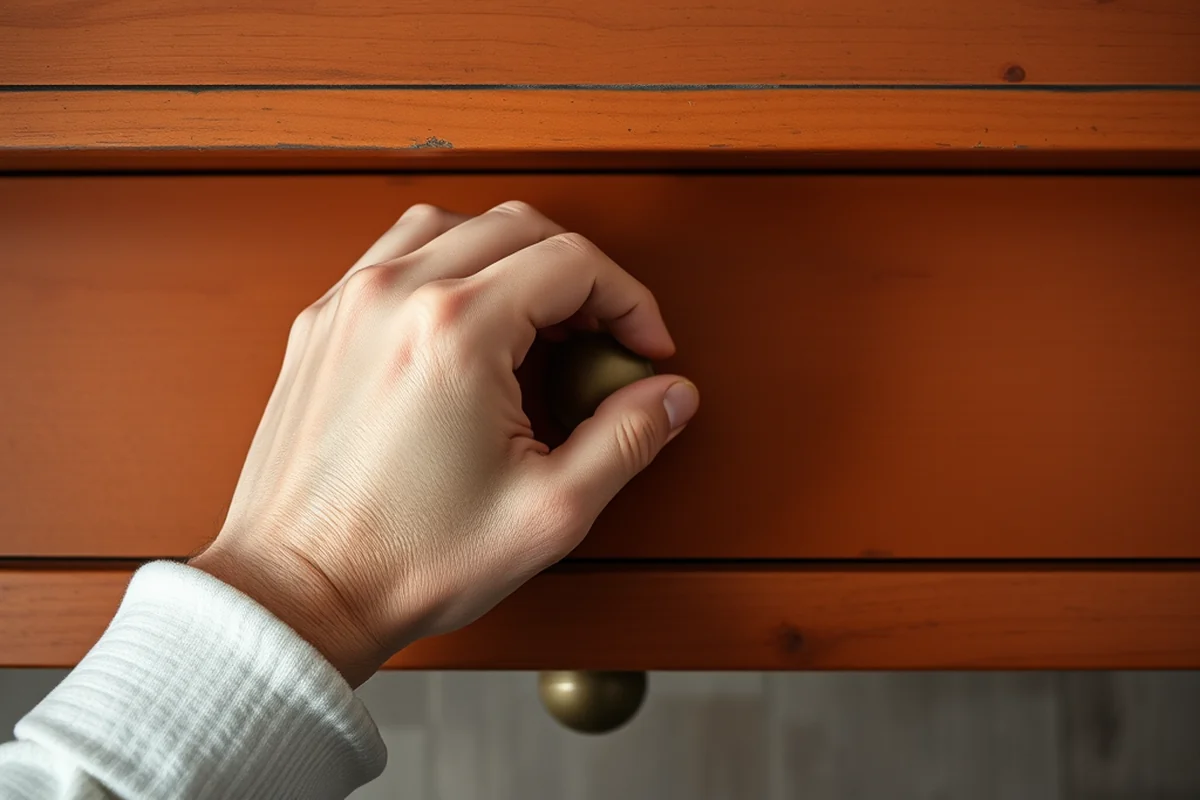
The main desk surface was usually the largest part of the unit, and it was designed for both functionality and durability. Many of these units had reinforced edges and a smooth finish, making them ideal for typing and placing documents. I remember my old desk from the '90s having a thick, laminated top that was resistant to scratches and spills.
Storage compartments were another key feature of these units. They ranged from simple drawers to more complex cabinets, and they were designed to hold everything from paper to office supplies. I still use a few of these drawers in my current workspace, and they’re still just as functional as they were back then.
Built-in cable management was a major innovation in the late '80s and early '90s. These units often had dedicated spaces for running wires and managing cables, which was a huge relief for anyone trying to keep their workspace organized. I think that’s one of the reasons why so many of these units have become collectibles — they were ahead of their time.
These units weren’t just furniture — they were the foundation of productivity.
Related: Diy Ac Units Out Of Styrofoam Coolers
Related: Cube Storage Units
How to Adapt Classic Design to Modern DIY Projects
One of the biggest challenges in DIY furniture is figuring out how to make it both functional and stylish. I found that borrowing elements from classic desktop units was the perfect solution. For example, integrating built-in cable management into my floating desk unit helped keep everything organized and out of sight.
I also tried to recreate the storage compartments that were so common in older desktop units. I used a few shallow drawers and a couple of open shelves, which gave my desk a clean, modern look without sacrificing functionality. I especially love how the drawers are just the right size for holding my laptop and other essentials.
Another key feature I added was a reinforced edge to the desk surface. I used a router and some wood glue to create a subtle, rounded edge that made the desk feel more comfortable and less intimidating. It’s a small detail, but it made a huge difference in the overall look and feel of the unit.
A router can help you create a smooth, reinforced edge on your desk surface. I used a 1/2-inch router bit for my project, and it gave the edge a professional finish.
“Before laptops became the norm, desktop units were the backbone of every home office and small business.”— DIY Floating Desk Units editors
Related: Diy Ac Units
The Benefits of a DIY Floating Desk Unit

One of the biggest benefits of building your own floating desk unit is that you can customize it to fit your specific needs. Whether you want a minimalist design or a more traditional look, you can choose the materials, colors, and features that work best for you. I chose a simple, modern design with a few open shelves and a few drawers, which gave my workspace a clean, organized feel.
Another advantage of a DIY project is the cost. I was able to build my desk unit for less than $50, which is a fraction of what I would have paid for a pre-made unit. I used a combination of reclaimed wood and some affordable hardware, which helped keep the overall cost down.
Finally, a DIY desk unit offers a personal touch that you can’t get with factory-made furniture. I love the fact that my desk was built with my own hands, and I can see the effort and care that went into it. It’s a small way of adding a personal touch to my workspace, and it makes the whole project even more rewarding.
Related: Desktop Head Unit
Choosing the Right Materials for Your DIY Project
When I started my project, I knew that choosing the right materials was going to be one of the most important steps. I opted for a combination of solid wood and MDF, which gave my desk unit a strong, stable base while keeping the overall cost reasonable. The solid wood provided a nice texture and look, while the MDF was easier to work with and gave the surface a smooth finish.
I also made sure to use high-quality hardware, including drawer slides and hinges. These are often overlooked, but they play a crucial role in the functionality of your desk unit. I used 35mm drawer slides for my project, and they’ve worked perfectly so far.
Finally, I applied a clear coat of wood sealant to protect the surface. I used a water-based polyurethane, which gave the desk a glossy finish without adding any harsh chemicals. It’s a small detail, but it helped protect the wood from scratches and spills, which was a huge relief.
The Importance of Ergonomics in Your DIY Desk Unit
One of the most important things I learned while building my desk unit was the importance of ergonomics. I made sure to design the desk at the right height for my body, which helped reduce strain on my back and shoulders. I also added some adjustable legs, which allowed me to fine-tune the height based on my needs.
I also thought about the placement of the keyboard and mouse. I made sure to leave enough space between the desk and the chair, which gave me room to move around and take breaks. I also added some soft padding to the chair, which made long work sessions more comfortable.
Finally, I made sure to use a monitor stand that allowed me to position my screen at eye level. I found that this helped reduce eye strain and made it easier to focus on my work for longer periods of time. It was a small change, but it made a big difference in the overall comfort of my workspace.
Ergonomics can make all the difference in your workspace.
Adding Personal Touches to Your DIY Desk Unit
One of the things I love most about building my own desk unit is that it allows me to add personal touches that make it feel more like home. I used a few decorative elements, such as a small plant on one of the shelves and a couple of framed photos on the wall. These little details helped make the workspace feel more inviting and less like an office.
I also added some custom storage solutions, such as a small shelf for my coffee mug and a drawer for my pens and notebooks. These little additions helped keep my workspace organized and clutter-free, which was a huge relief after a long day.
Finally, I made sure to use a color that I loved for the desk unit. I chose a light gray finish, which gave the desk a modern look without being too harsh. It was a simple choice, but it helped create a space that felt both professional and comfortable.
💰 Budget Build
A cost-effective version of the desk unit that uses affordable materials like MDF and basic hardware.
🛠️ Weekend Version
A quick and easy version that can be built in a single weekend with minimal tools.
✨ Upgraded Finish
A more polished version with a professional finish and high-quality wood.
🛋️ Small-Space Adaptation
A compact version designed for smaller spaces, with minimal storage and a streamlined look.
🏠 Rental-Safe Option
A version that can be easily disassembled and moved, making it ideal for renters.
| The mistake | Why it happens | The fix |
|---|---|---|
| Using low-quality wood that warps over time. | Low-quality wood can warp or split, which can compromise the stability of your desk unit and affect its appearance. | Use high-quality wood that is properly sealed and treated to prevent warping. I recommend using a moisture-resistant wood like oak or MDF for your project. |
| Not using the right hardware for the drawers and shelves. | Using weak or low-quality hardware can cause the drawers and shelves to sag or fall over, which can be frustrating and expensive to fix later. | Use high-quality drawer slides and hinges that are designed for the weight and size of your desk unit. I used 35mm drawer slides for my project, and they’ve worked perfectly so far. |
| Overlooking the importance of cable management. | Not having proper cable management can lead to a cluttered workspace and make it difficult to organize your desk. | Include built-in cable management solutions, such as dedicated channels or cable trays. I added a small cable management box to the back of my desk unit, which helped keep everything organized. |
| Ignoring the importance of ergonomics. | Ignoring ergonomics can lead to discomfort and even long-term health issues, such as back pain and eye strain. | Make sure your desk is at the right height for your body, and include a monitor stand that allows you to position your screen at eye level. I also added some soft padding to my chair, which made long work sessions more comfortable. |
Desktop Units Popular Before Laptops
Common Questions
How long does it take to build a DIY floating desk unit?
What are the best materials for a DIY desk unit?
Can I build a DIY desk unit if I have no experience?
What tools do I need to build a DIY desk unit?
References
- The Media and Technology Usage and Attitudes Scale - PMC - NIH (pmc.ncbi.nlm.nih.gov)
Cite this guide
DIY Floating Desk Units (2026). Desktop Units Popular Before Laptops. https://deskspaceplan.com/desktop-units-popular-before-laptops/
Feel free to cite or share this guide.