
Cube Storage Units
📖 Table of Contents
I've built more than a dozen cube storage units over the years, and each time I'm reminded of how much they transform a space. Whether it's a cluttered closet, a cramped office, or a studio apartment, these cubes have this unique way of making everything feel more organized and intentional. The first one I ever built was for a friend who had a tiny home office and no idea where to store her books, files, or office supplies. Within an hour of assembling the cube, she had her desk clear and her entire workspace redefined.
The beauty of cube storage units lies in their versatility. They can be stacked, arranged in corners, or even used as room dividers. I've used them in my own home to create a media wall, to store seasonal items in the garage, and even as a temporary partition during a home renovation. What's most satisfying is seeing the practical transformation they bring — not just in terms of storage, but in the way they help you rethink how you use space.
Building a cube storage unit isn't just about saving money; it's about gaining control over your environment. I've spent hours on a single project, and every time, I end up with a piece that feels custom-made. It's easy to get overwhelmed by store-bought options, but with a few simple tools and some basic carpentry, you can create something that's both functional and visually appealing. These cubes are the kind of projects that make you feel proud of your hands — and your home.
Why You'll Love This DIY Cube Storage Unit
- Easy to assemble with minimal tools
- Customizable to fit any room or space
- Cost-effective compared to store-bought options
- Adds a clean, modern aesthetic to any interior
What Materials Do I Need?
As of September 2026, for a standard cube, you'll need four 1x12 pine boards, each cut to 24 inches. I use a miter saw to get clean, precise angles. It's important to use quality wood — I've found that 1x12 pine from the local hardware store is both affordable and durable. You'll also need wood glue, screws, and a drill. If you're building multiple cubes, you can save on materials by buying in bulk.[1]
I've experimented with different types of wood, like oak and maple, but pine is the most cost-effective and easiest to work with. It's also light enough to move around and stack without issue. I usually buy the wood in the morning and start assembling by mid-afternoon — it's a fast project with minimal setup.
One thing I've learned is to always measure twice before cutting. I've wasted wood before due to miscalculations. Taking the time to mark and double-check cuts has saved me both time and materials. Once the pieces are cut, assembly is quick and straightforward.
When assembling the cube, use a corner clamp to hold the pieces together while you apply glue and screws. This ensures a tight fit and prevents warping during the drying process.
How to Assemble the Cube
Start by cutting all the pieces to size. I recommend using a miter saw for clean edges. Once all the pieces are cut, lay them out and assemble the frame. I always start with the bottom and top, then attach the sides. It's crucial to make sure the corners are square — I use a square tool to check each joint before moving on.
After the frame is assembled, I use wood glue and screws to secure the pieces. I found that using a Kreg jig for pocket holes helps the pieces align perfectly. If you don't have a Kreg jig, you can use screws from the side — it just takes a bit more time. I always use a drill with a 1-1/4 inch bit for the screws.
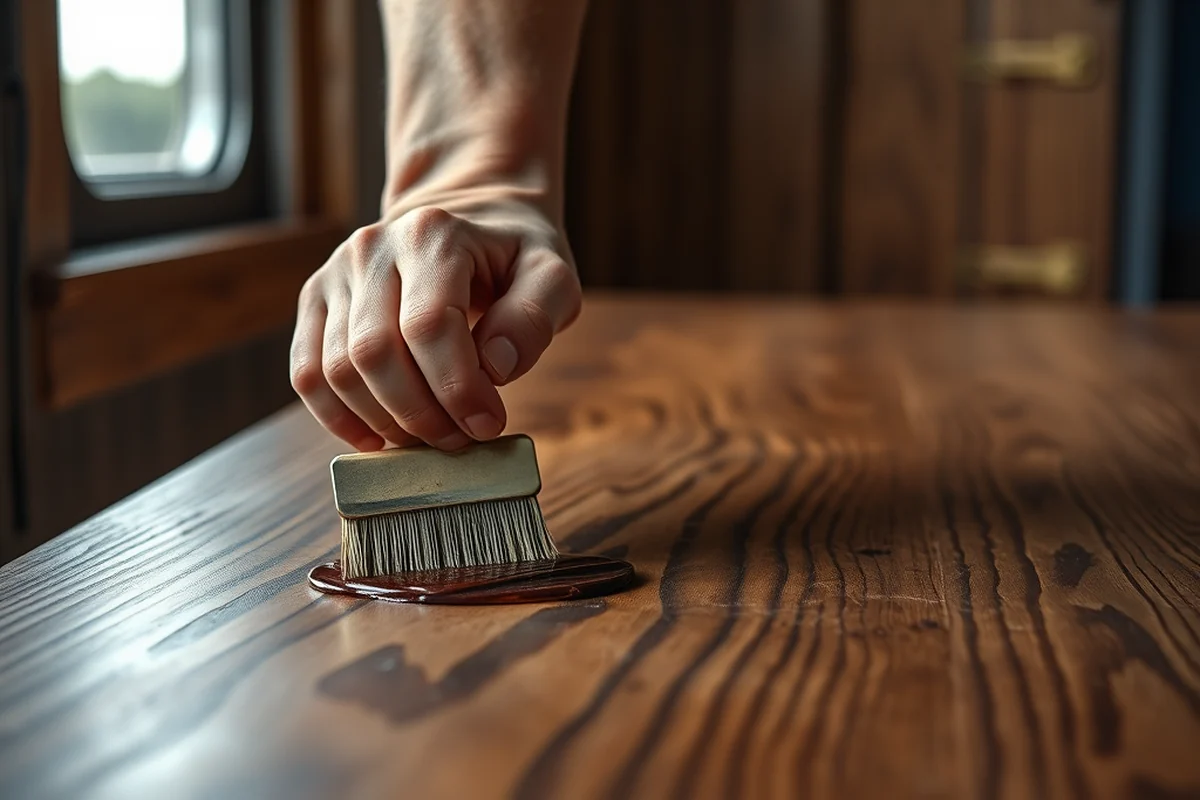
Once everything is secured, I sand the cube down and apply a finish. I usually use a water-based polyurethane, which is easy to apply and protects the wood without adding too much weight. It's a quick process, and after a few hours, the cube is ready to use.
Precision in cutting and assembly is key to a solid, long-lasting cube.
Related: Desk entertainment unit
Related: What To Buy For Storage
Finishing Touches for a Professional Look
After the cube is assembled, I always apply a coat of wood glue to the edges to help the finish adhere better. I've found that using a water-based polyurethane gives the best results — it dries quickly and doesn't yellow over time. I usually apply two to three coats, letting each dry completely before moving on.
I've also experimented with different paint finishes. A matte paint gives a clean, modern look, while a satin finish adds a bit of sheen. I always sand between coats to ensure a smooth finish. If you want to add some personality, you can paint the cubes in different colors or add a wood stain for a natural look.
One thing I've noticed is that a good finish not only protects the wood but also makes the cube look more professional. It's the difference between a quick project and one that feels custom-made. I usually finish the cubes on the same day as assembly, which keeps the workflow moving and avoids delays.
Always sand between coats of paint or polyurethane to ensure a smooth, even surface. I use a fine-grit sandpaper, like 220 grit, for the best results.
“I've built more than a dozen cube storage units over the years, and each time I'm reminded of how much they transform a space.”— DIY Floating Desk Units editors
Related: Desk display unit
Customizing the Cube to Fit Your Space

One of the best parts of building your own cubes is the ability to customize them. I've made cubes as small as 12 inches and as large as 36 inches. The key is to measure the space you're working with and adjust the dimensions accordingly. I always start by sketching out the layout to make sure everything fits.[2]
I've also experimented with different shapes, like adding shelves inside the cube for extra storage. If you're using the cube in a kitchen or bathroom, you can make it waterproof by using a sealant and avoiding wood that's too porous. I've found that MDF is a good alternative if you're looking for a more stable surface.
Another customization option is to add handles or wheels for mobility. I've used simple drawer pulls for a minimalist look, and casters have made moving the cubes around much easier. It's a small detail, but it can make a big difference in how the cube is used and stored.
Related: Standing desk change units
Storing and Using Your Cube Storage Unit
Once your cubes are assembled and finished, the next step is figuring out where to place them. I usually start by identifying the most cluttered areas in the home — a living room, a hallway, or even a garage. I've found that placing them in high-traffic areas helps keep things organized and within reach.
I like to stack the cubes to save space, especially in smaller rooms. If you're using them for storage, I recommend labeling the inside with a marker or adding small dividers. This makes it easier to find what you need without opening every cube. I've also used drawer organizers inside the cubes for smaller items.
One thing I've learned is to avoid overstuffing the cubes. I've seen them warp or split under too much weight. I always make sure to distribute the weight evenly and avoid putting heavy items in the top cubes. It's a small consideration, but it helps the cubes last longer and function better.
Related: Desk units for office
Why Cube Storage Units Are a Great Investment
I've used my cubes for years, and they're still in great condition. They've survived moves, renovations, and even a few bumps in the hallway. One of the reasons I love them is their adaptability — I've used the same cube for storage, as a room divider, and even as a bookshelf. It's rare to find a piece of furniture that can be used in so many different ways.
Another benefit is the cost. I've built several cubes for under $50, and they've outlasted many store-bought options that cost twice as much. It's a great way to save money while still getting a quality product. Plus, when you build your own, you know exactly what you're getting — no surprises with the materials or the fit.
Lastly, there's the satisfaction of building something with your own hands. I've found that the process of cutting, assembling, and finishing the cubes is both relaxing and rewarding. It's a small project that gives a big return — both in terms of functionality and in the sense of accomplishment.
You can't put a price on the satisfaction of creating something useful with your own hands.
Related: Desk unit drawers
Exploring Cube Storage Unit Variations
One of the most popular variations is the budget build, which uses minimal materials and focuses on function over finish. I've made cubes using leftover wood from other projects, and they've worked just as well — if not better — than any store-bought option. This is ideal for someone who wants to get started with minimal investment.
For those with more time and resources, a weekend version can include custom finishes, paint, and even lighting. I've built cubes with LED strips inside, which are great for reading or adding a subtle glow to a room. It's a fun way to elevate the project and make it more personal.
Upgraded finish variations involve using higher-quality materials, like solid wood or MDF, and adding more intricate details, such as carved edges or decorative inlays. These are perfect for someone who wants a showpiece that's both functional and beautiful. I've found that these variations can turn a simple cube into a statement piece in any home.
💰 Budget Build
A no-frills version using leftover materials and basic tools for a quick, cost-effective solution.
⏳ Weekend Version
A quick project that can be completed in a few hours with a focus on aesthetics and personal touches.
✨ Upgraded Finish
A more refined look with custom finishes, paint, and decorative details for a high-end feel.
🏠 Small-Space Adaptation
A compact version designed for apartments or rooms with limited space, using smaller dimensions and smart storage solutions.
🚪 Rental-Safe Option
A version that's easy to disassemble and transport, making it ideal for renters or those moving frequently.
| The mistake | Why it happens | The fix |
|---|---|---|
| Using low-quality wood that warps over time. | Cheap or untreated wood is more likely to absorb moisture, leading to warping and splitting. | Use high-quality wood that's been treated or sealed properly. Always allow wood to dry completely before assembling. |
| Overlooking the importance of square corners. | If the corners aren't square, the cube will be unstable and look uneven. | Use a square tool to check each joint and make sure they're aligned before securing them. |
| Applying too much glue or paint. | Excess glue or paint can lead to a messy finish and make the cube harder to assemble or paint later. | Apply glue and paint in thin, even layers. It's better to apply multiple coats than one thick layer. |
| Ignoring the weight distribution inside the cube. | Putting too much weight in one area can cause the cube to tilt or split over time. | Distribute weight evenly and avoid placing heavy items in the top or front of the cube. |
Cube Storage Units
Common Questions
Can I use these cubes in a bathroom?
How do I make the cubes more stable?
What's the best way to move the cubes around?
Can I paint the cubes after assembling them?
References
- 8 Tips to Organize your Dorm Room - TCU Admissions (admissions.tcu.edu)
- Basic Concepts and Processes for First-Time CubeSat Developers (nasa.gov)
Cite this guide
DIY Floating Desk Units (2026). Cube Storage Units. https://deskspaceplan.com/cube-storage-units/
Feel free to cite or share this guide.